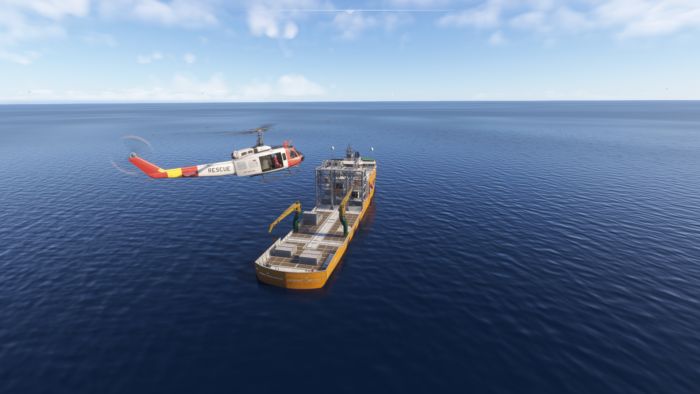
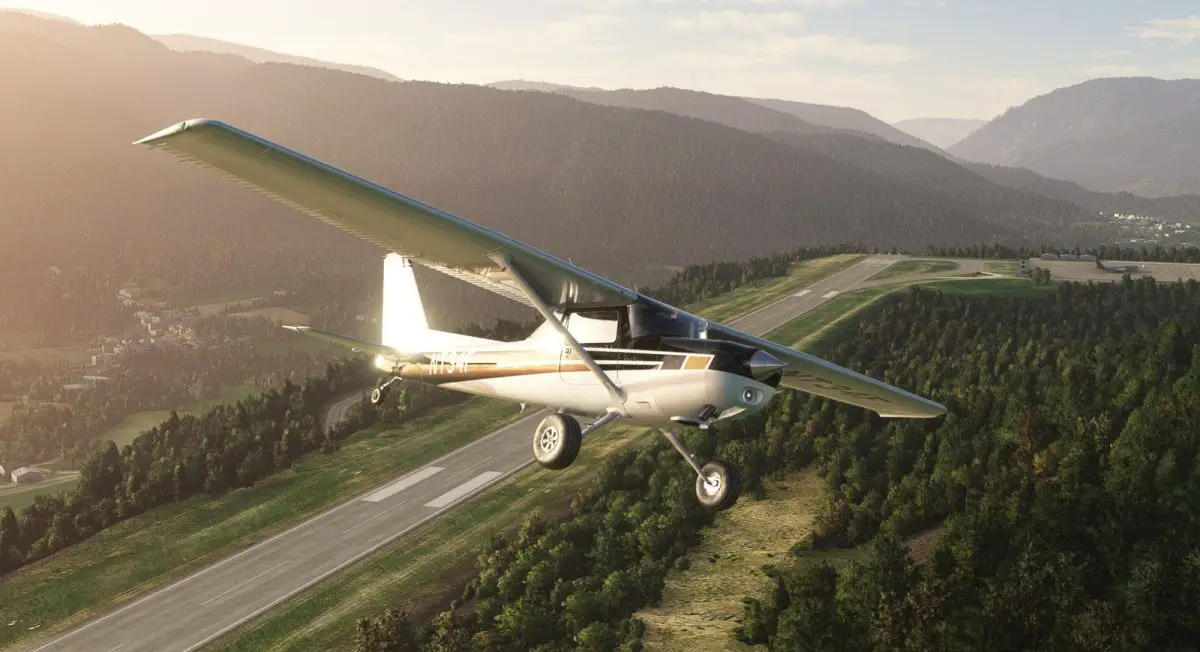
Microsoft Flight Simulator, released in the summer of 2020, introduced a fan-favorite, hard-core hobby to an even more comprehensive and casual audience. An audience who, in times of lockdown and isolation, were looking to explore the world from the comfort of their home. With the introduction of a platform that is so well-received and widely used came the niche market of addons and peripherals. The addons market especially has become an incredibly wide and diverse market, containing thousands of products in various stores with tens of hundreds more released every week.
For the average user, installing, managing, and sometimes should an issue arise, troubleshooting these software products can be an incredibly frustrating task and this is what we aim to alleviate with this guide. In this article, we will take a look at various developers and the vast array of products they have released over the years since MSFS was released and give you step-by-step instructions to install their software whether it be via an installer or otherwise. Please note that everything we discuss and explain in this article is intended for users on the PC version of the platform only, owing to the flexibility and complexity of, well, Windows.
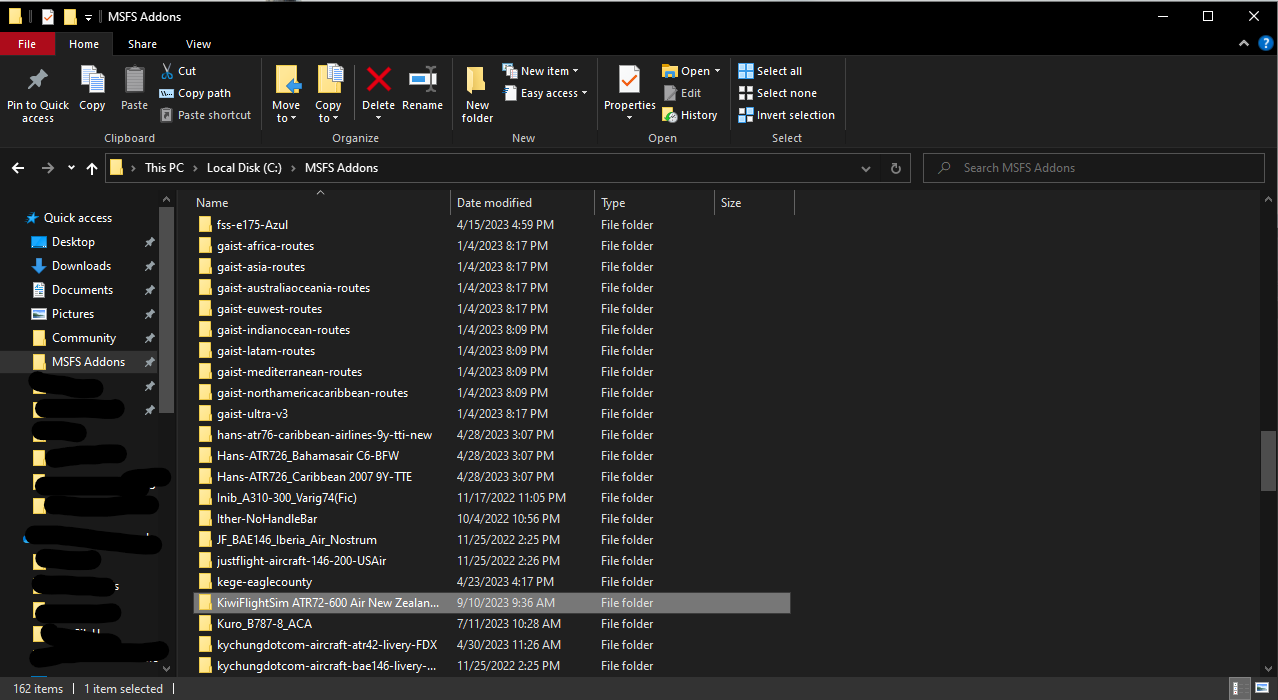
Locating your Community Folder
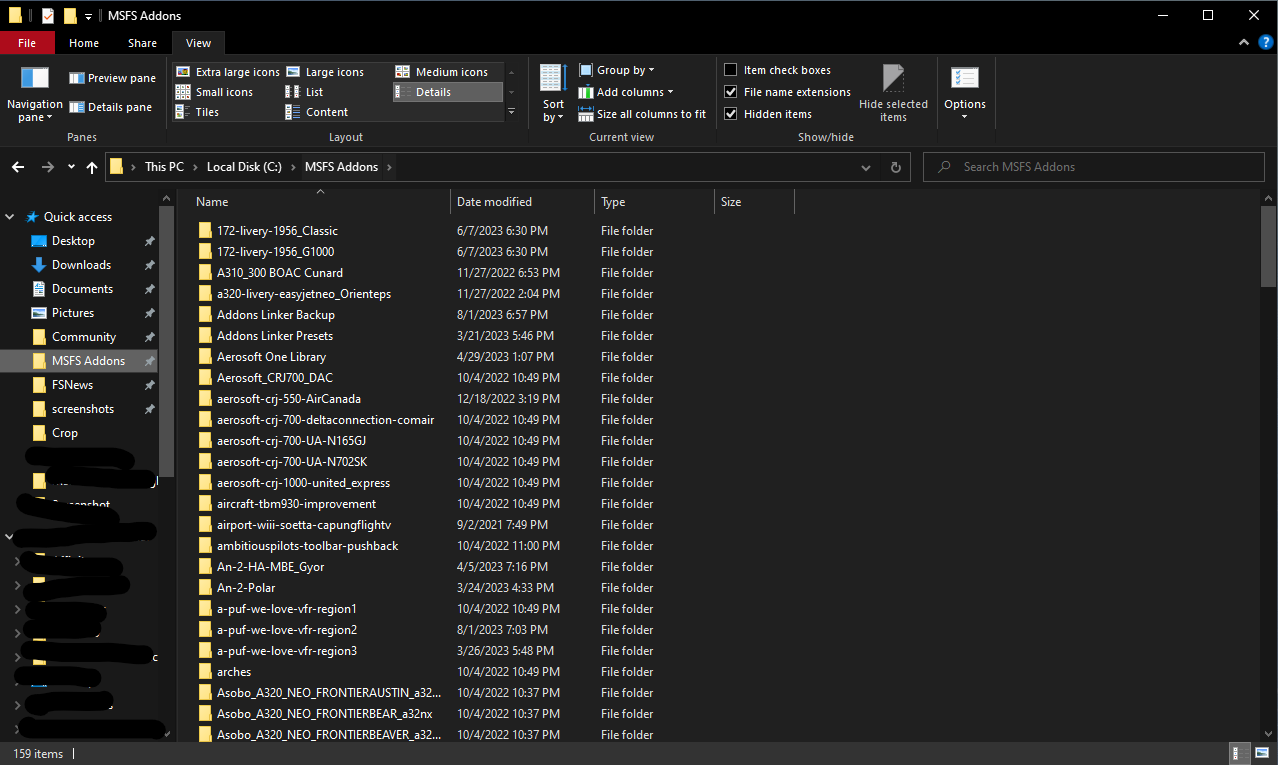
Pretty much all third-party addons and aircraft in Microsoft Flight Simulator are installed via the Community folder. This is the way Microsoft makes things work and in our opinion makes installing most addons fairly simple. Hence, it is crucial you locate your community folder since outside of the marketplace (more on that later) all third-party addons for the PC version require the community folder.
Locating the community folder is a little less simple than installing addons, but following our steps you can do so fairly easily. Although the location will depend on where you installed your simulator, the default installation paths will be as follows:
For users who bought the simulator directly from Microsoft/Xbox or have a GamePass subscription: C:\Users\YourUsername\AppData\Local\Packages\Microsoft.FlightSimulator_8wekyb3d8bbwe\LocalCache\Packages\Community
For users who bought the simulator from the Steam Marketplace: C:\Users\YourUsername\AppData\Roaming\Microsoft Flight Simulator\Packages\Community
For users who bought a retail disc: C:\Users\YourUsername\AppData\Local\MSFSPackages\Community
If you’ve installed the simulator in a custom location, you’ll need to navigate there manually. As an example, if you installed the simulator to a folder named “Flight Simulator” on your G:/ drive, the location will be as follows: G:\Flight_Simulator\Community
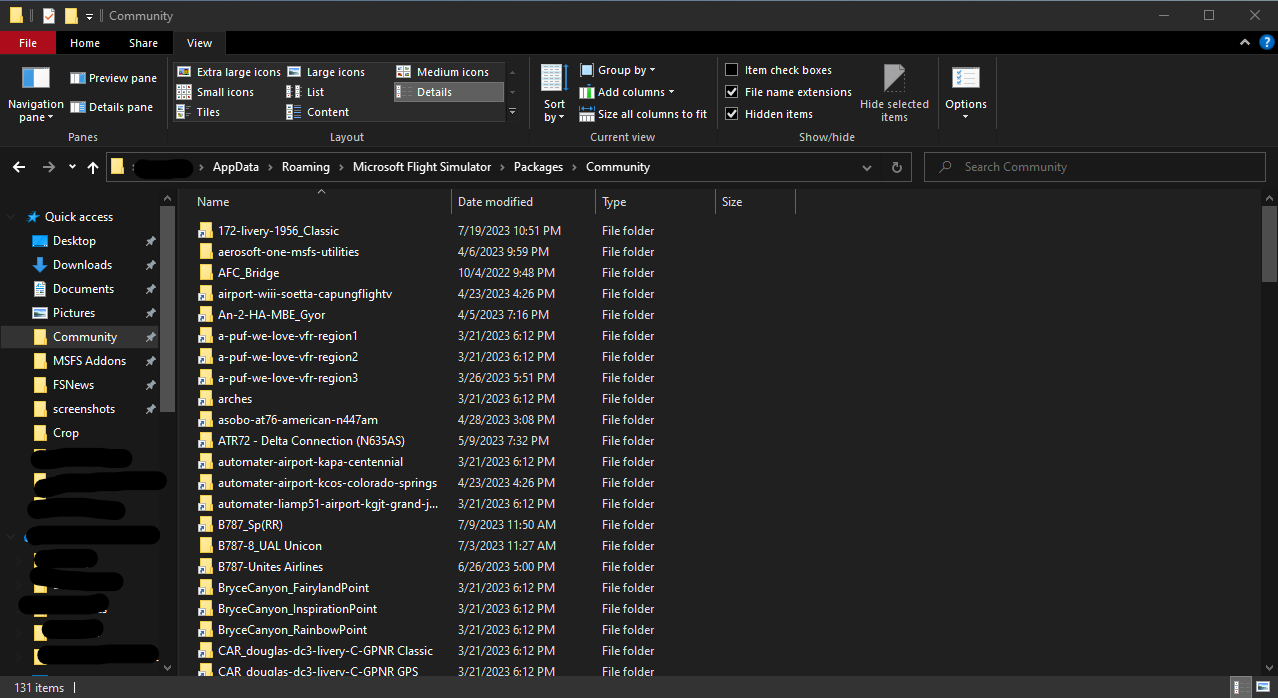
Do note the AppData folder by default is hidden from view, at least in Windows 10, and can be enabled by following three easy steps:
- Select File Explorer Options.
- Select the View tab of the File Explorer Options window.
- Choose Show hidden files, folders, and drives > Apply > OK
After you’ve located the folder, we highly recommend pinning these to the Windows Explorer sidebar for easy access.
Managing freeware addons
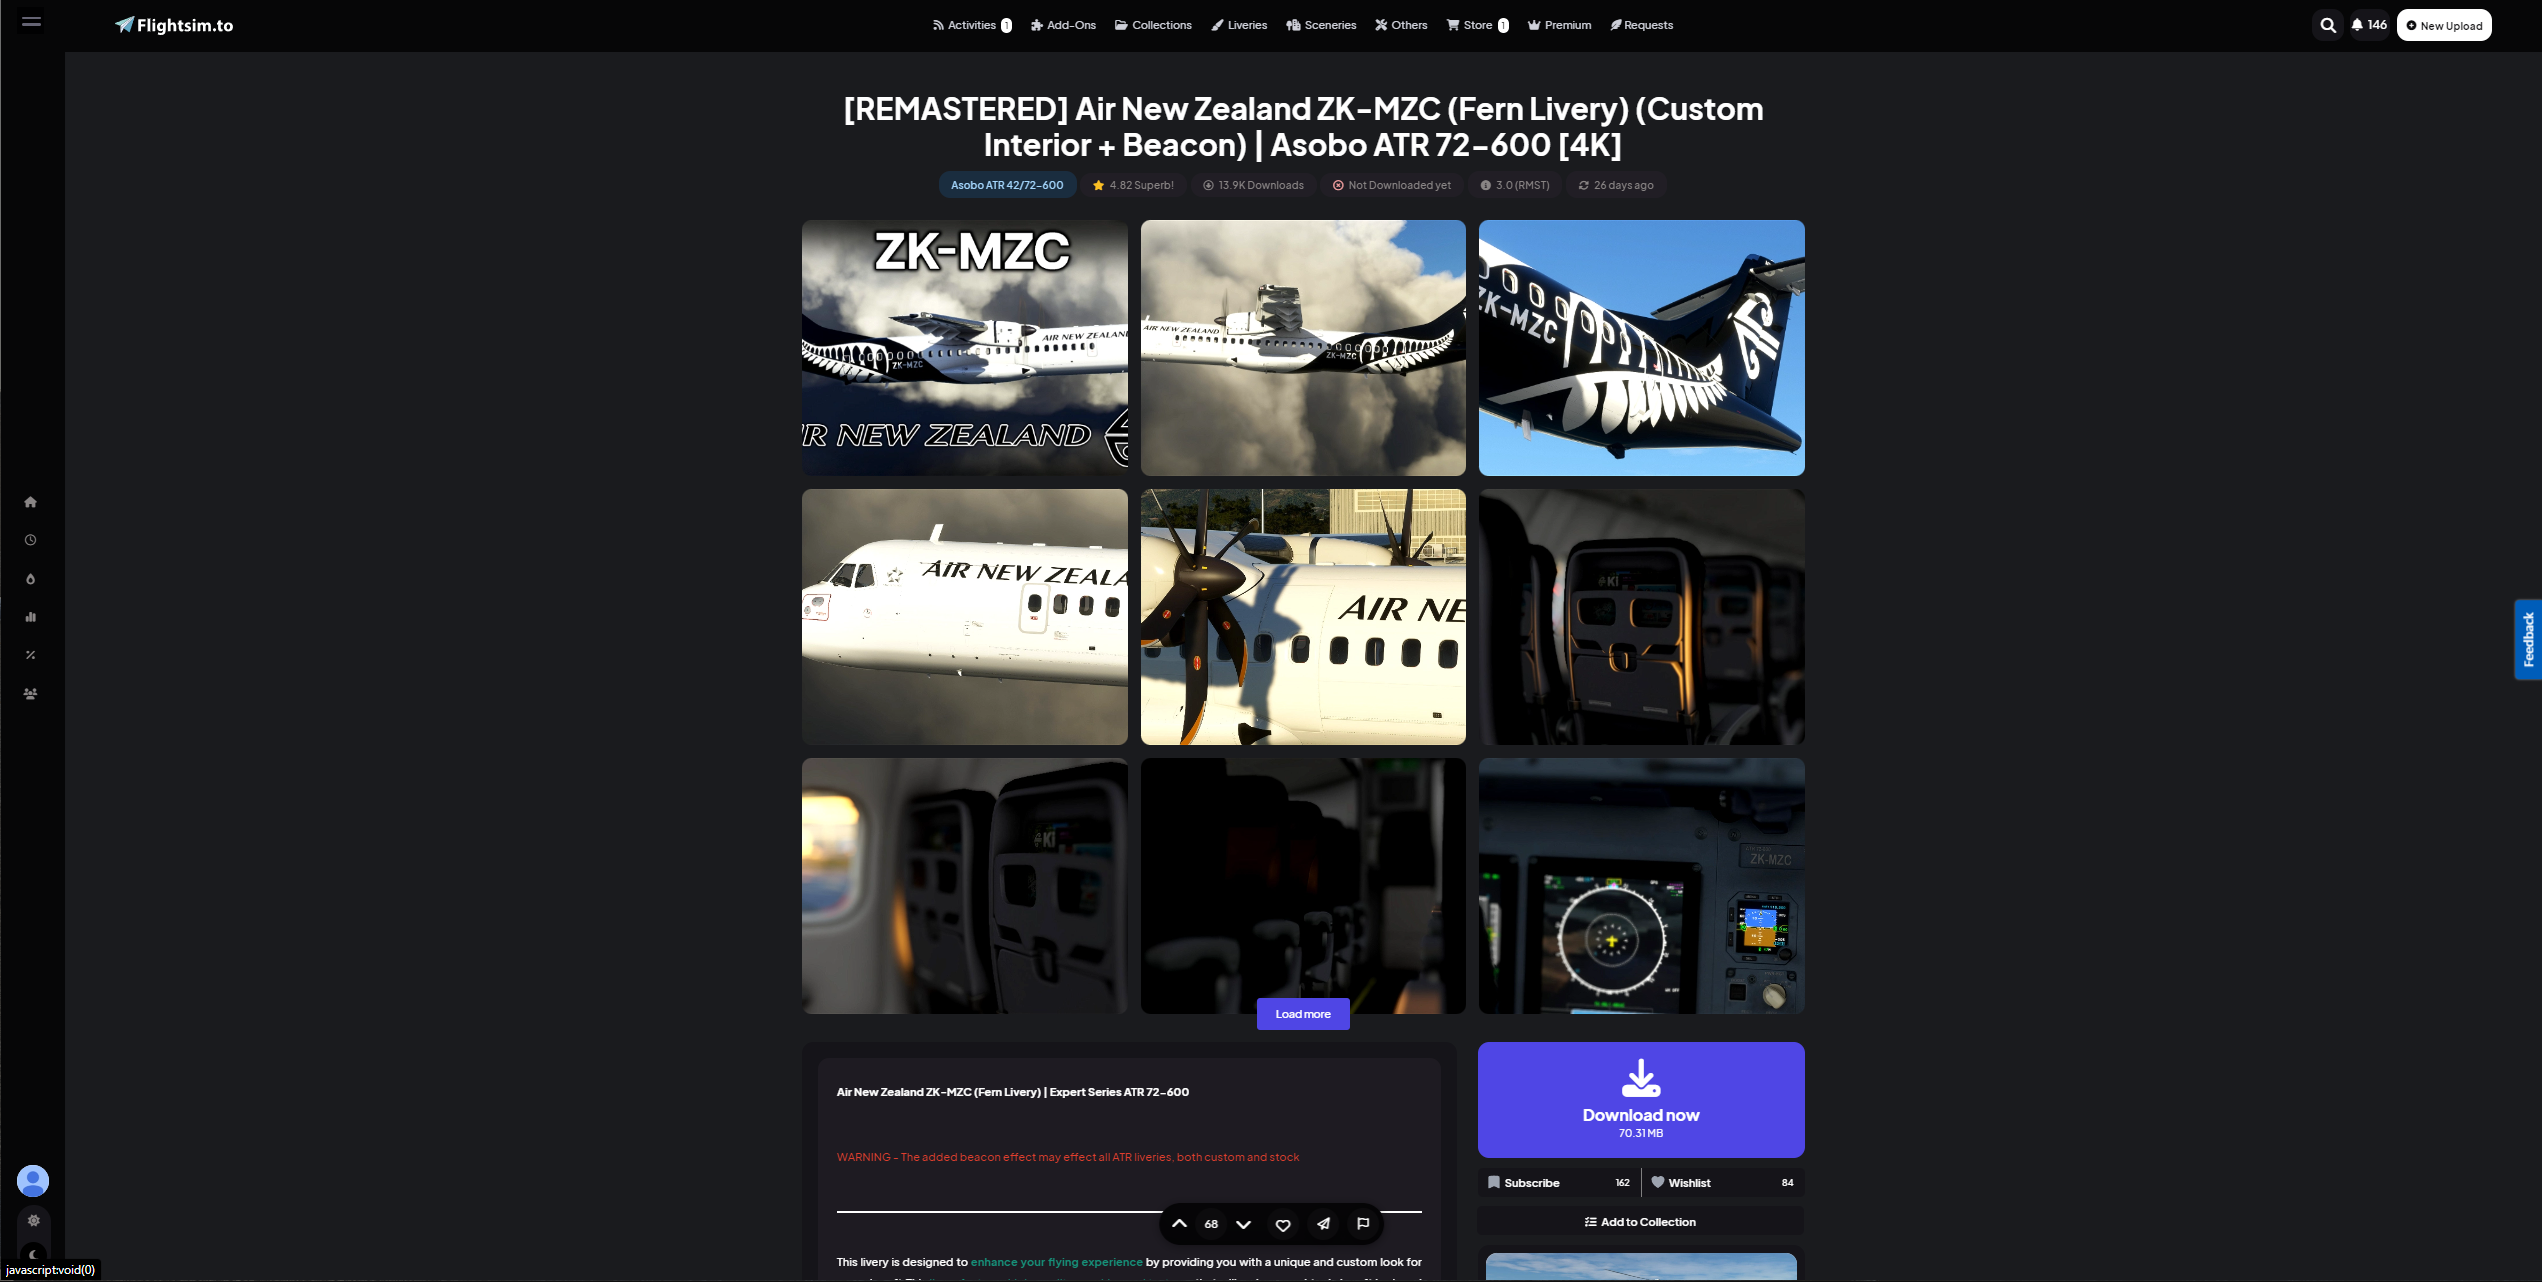
The majority of users (myself included) would prefer to find good quality products that are free of cost as purchasing even USD 10 products builds up over time in terms of cost. While few major developers release products that are free of charge, the majority of freeware products are created and managed by various talented members of the community. For MSFS a lot of these addons are hosted on perhaps the most popular, easy-to-use, and intuitive freeware website for all flight simulators, Flightsim.to.
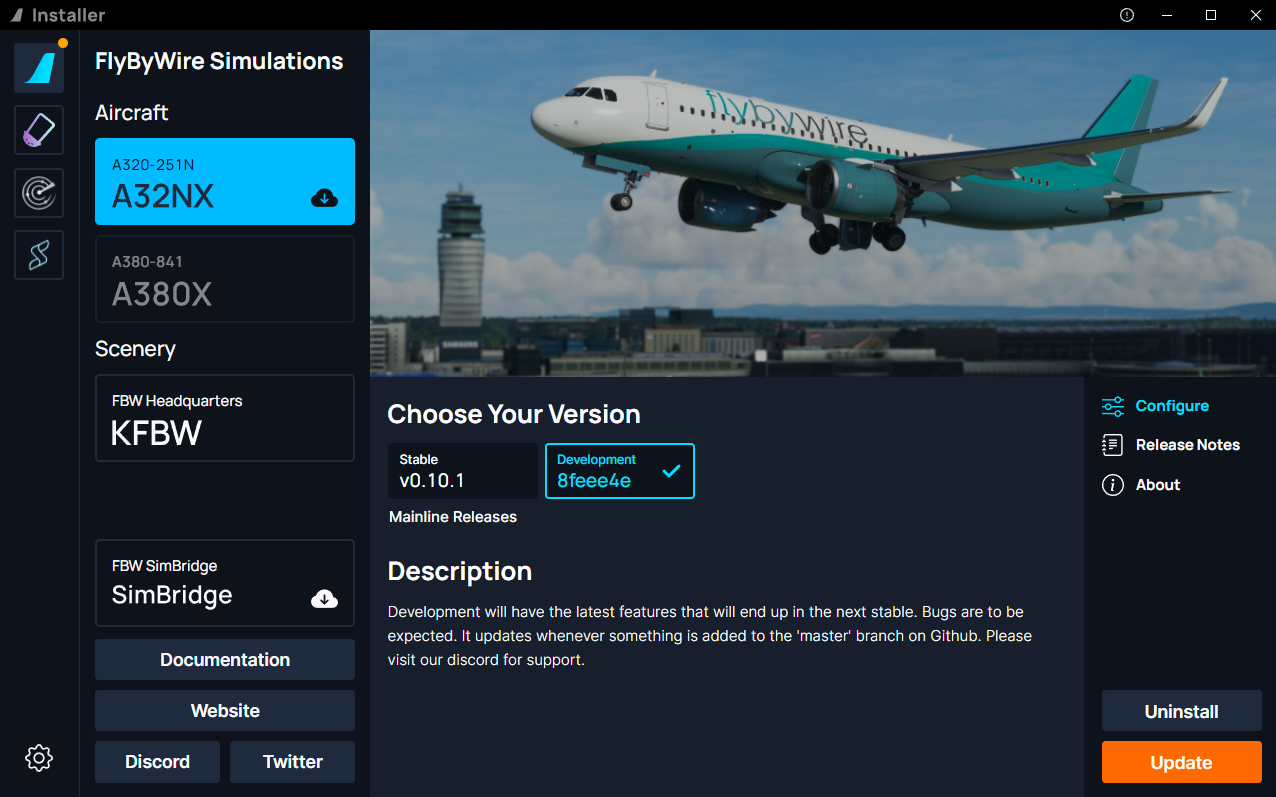
Nevertheless, however intuitive and well-known FS.to might be, there are still various other methods developers use to host their addons. These methods range from Discord servers, individual sites (for larger projects), and GitHub, to some even having developed their own installers (FlyByWire is a very popular example). These are also used by other developers to host their own content. Salty Simulations’ 747-8 mod, FSLTL AI Traffic mod, and even the WIP Synaptic Simulations A220 are some mods that are hosted on the FBW installer.
Searching for and downloading addons from Flightsim.to is fairly intuitive and hassle-free. Just go to the website’s search bar for what you are looking for and download the addon provided you have created an account on the website. Now, depending on what addon you download, the installation will vary but not by much which again depends on what method you use.
MSFS Addons Linker
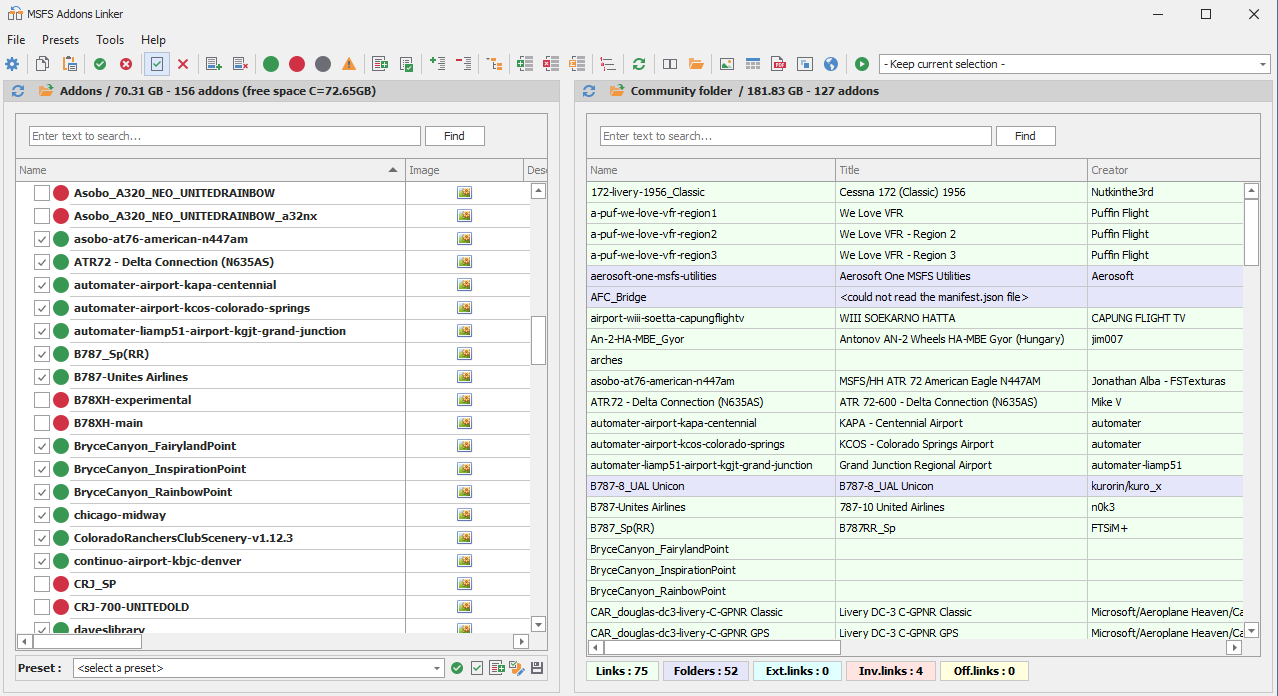
MSFS Addons Linker, a freeware utility tool available on the Flightsim.to website, is an application created by FS.to user bad2000. It is a wonderful piece of software that allows you to very easily manage the plethora of sceneries, airports, and liveries that will pile up in your community folder over a long or even short period of time.
The utility, once installed and connected to your separate addons folder, lists all of the addons present in the chosen folder. This allows you to separate the official Community Folder and a custom folder located elsewhere on your drive that houses all of your addons. This has a couple of benefits:
- You can keep these folders on separate hard drives so that in the event your primary SSD is already full because MSFS is just humongous, your addons space need not suffer.
- Since your Official Community is now independent and will work via “simlinking”, anytime you perform a fresh install of your simulator your addons are completely safe. No need to download, extract, and copy-paste all over again.
Once the installation is complete, folders are linked in the settings, and necessary permissions are given (there aren’t many just run in Administrator mode every time you load it up), you can “enable” or “disable” addons present in your custom addons folder.
The “enabled” addons are hyperlinked to the official Community Folder and when “disabled” the link is simply broken. What this allows you to do is maintain control over the addons you want to actually show up in the simulator. This helps in pinpointing faulty sceneries/liveries/utilities and instead of having to cut-paste in Windows Explorer between different folders, now all you have to do is click a check-mark button. This also helps in disabling addons you aren’t using for an area-specific session thus slightly improving performance.
Installing freeware sceneries/airport enhancements/city landmarks, freeware/payware aircraft, and airline liveries if you are using MSFS Addons Linker is a little different than the default method:
- First, if you haven’t already, create a folder that is separate from the official community folder. This will be the primary location where you will be storing your addons.
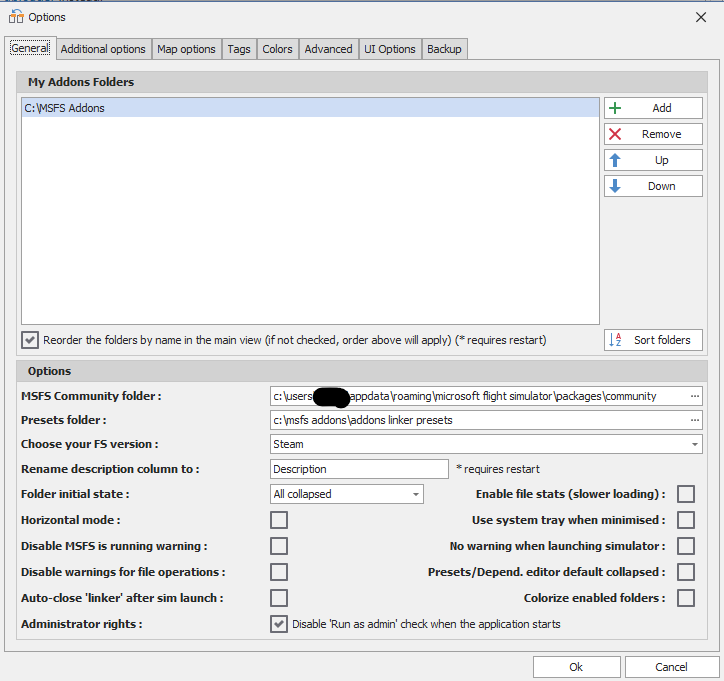
- Then in the Addons Linker application, go to your settings and add that folder you just created. Click on the green add button and select the folder wherever it may be. (Note that you can add multiple addon folders so go nuts!)
- Below that where it says “MSFS Community Folder”, select your official Community folder in the window that pops up. This sets up your respective addons and Community folder.
Now when you extract an addon file, make sure you extract (or copy-paste) it to the addons folder you created in the step above, open up Addons Linker, navigate to the addon you just extracted there, and check the box next to it. Your addon is now installed and should show up the next time you load up your flight simulator.
How to install freeware scenery/airport enhancements
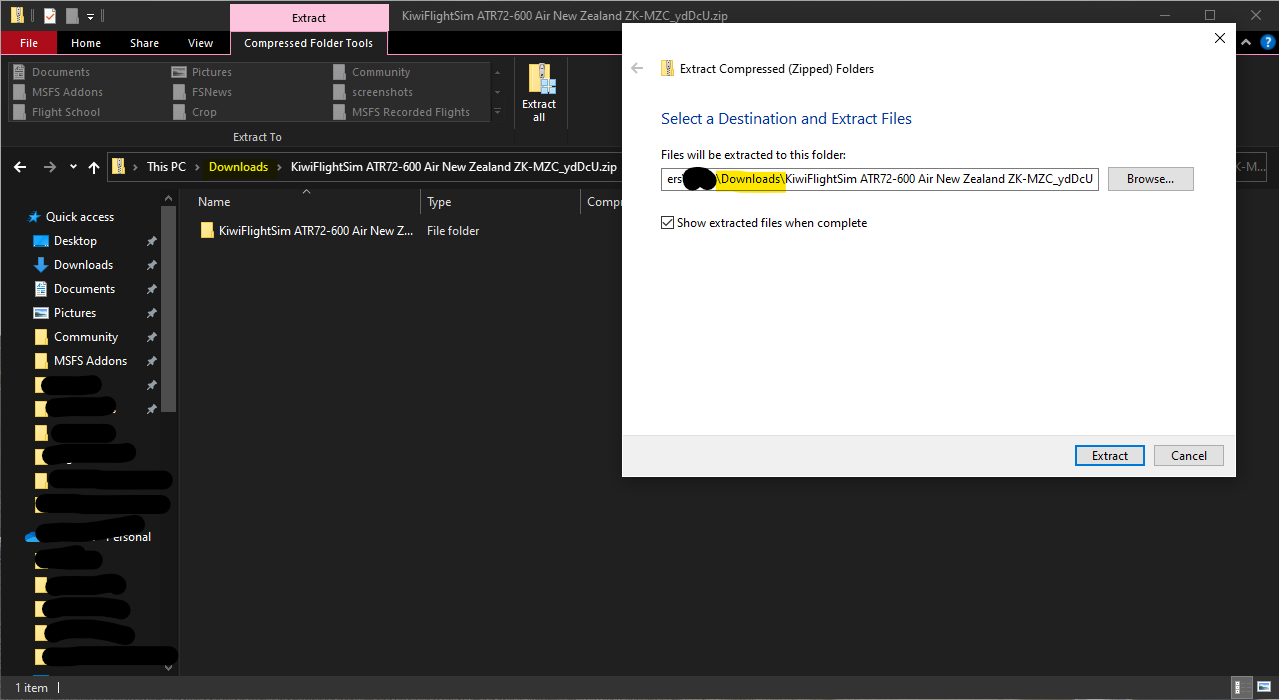
For most scenery and airport enhancements, just drag and drop the extracted folder from the .zip file you just downloaded using Windows Explorer’s built-in tool into your community folder or into the separate addons folder (if you are using Addons Linker). It is also worth noting that some zip (compressed) folders are distributed via .rar files which Windows by default does not recognize. Third-party utilities such as WinRar and 7zip are free-to-use software that decompresses or “unzips” these files which are extracted into the folders that will be installed into your sim.
The scenery and/or airport will be installed and should pop up in your world map interface with a yellow star sign when you load into the sim. Make sure your simulator is not running when you copy-paste the addon files into your community folder.
If you are using MSFS Addons Linker, open the program and make sure the box next to that addon is checked. If you do not see the scenery installed, make sure you drag the correct files into the correct folder, double check MSFS Addons Linker has that scenery/airport marked, and restart the sim. Also, make sure there are no conflicting files if you have installed an enhancement for the same airport/city/area previously.
How to install freeware aircraft
Installing aircraft from Flightsim.to also follows the same steps as those mentioned above. Download the aircraft file of your choice from the website and extract it using a utility of your preference. Drag the extracted files into your community folder while making sure MSFS is not running. The next time you load up the sim the aircraft you installed should show up in your aircraft selection menu.
On the off chance it does not appear, follow the steps we mentioned above:
- Make sure your sim is not running.
- Verify the installation in the correct folder.
- Make sure MSFS Addons Linker is configured correctly.
- Make sure the scenery you want to install is checked.
- Restart MSFS.
Some aircraft installations require the execution of a Windows batch file (extension .bat) and if so the developer will have included a “readMe” file. Follow their steps correctly and your aircraft of choice will show up when selecting an airframe in the main menu.
If you are using an installer such as the excellent one from FlyByWire, you can follow the steps we have detailed below:
- Grab the installer’s installer (sorry!) from the FlyByWire website and install it onto your desktop.
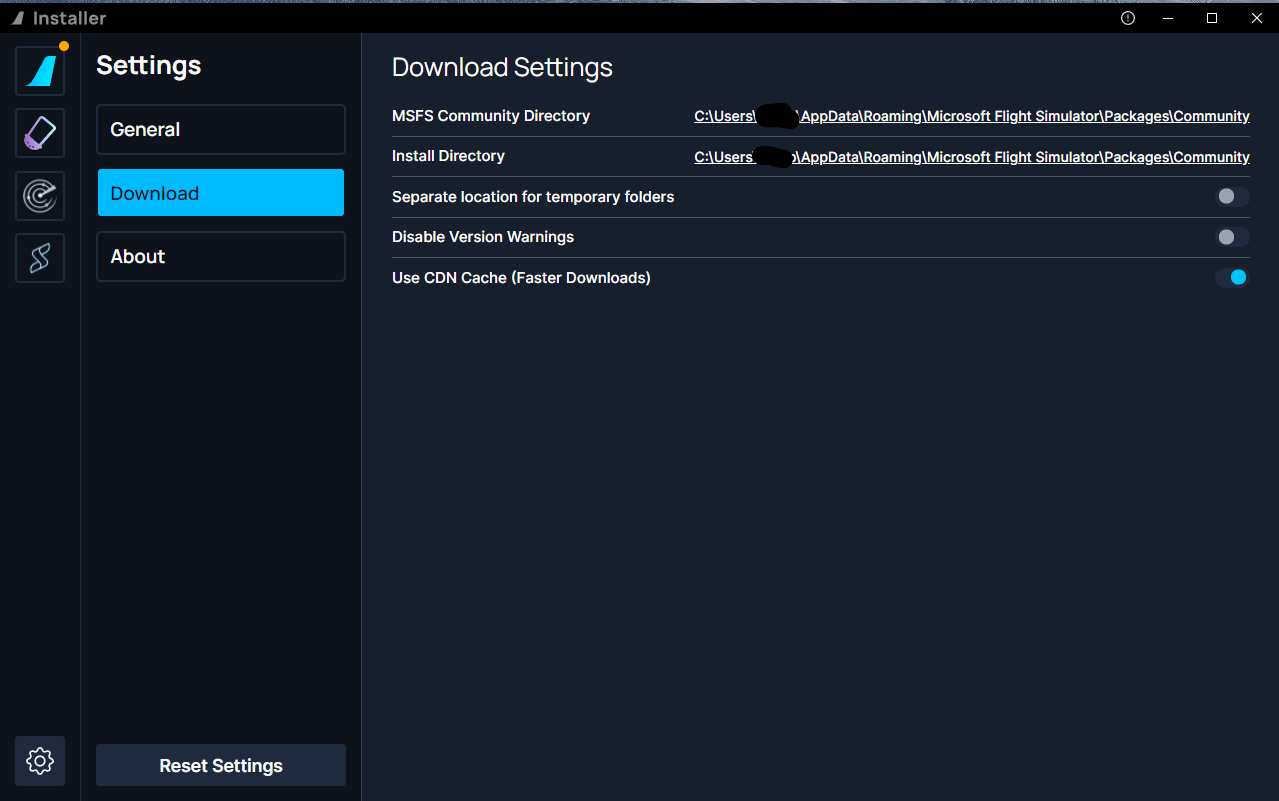
- You can choose to install the addons into a folder of your own choice and then use Addons Linker to hyperlink into the Official Community Folder. This folder to download and install can be configured on the Settings page of the installer.
- Open up the FBW installer in administrator mode and navigate to the addon you want to install.
- When you do that a big install button will appear on the product page, Click Install and the installer will do everything for you. Make sure your sim isn’t running. (FBW is particularly clever in this case and will alert you if it detects the sim is running.)
Issues could still arise and if that is the case, do reach out to the developer via their communication channels and your issues should be solved. Sometimes, enhancement mods for said faulty aircraft may be outdated and will cause conflicts within the sim. If outdated, update the mod or remove it entirely if not.
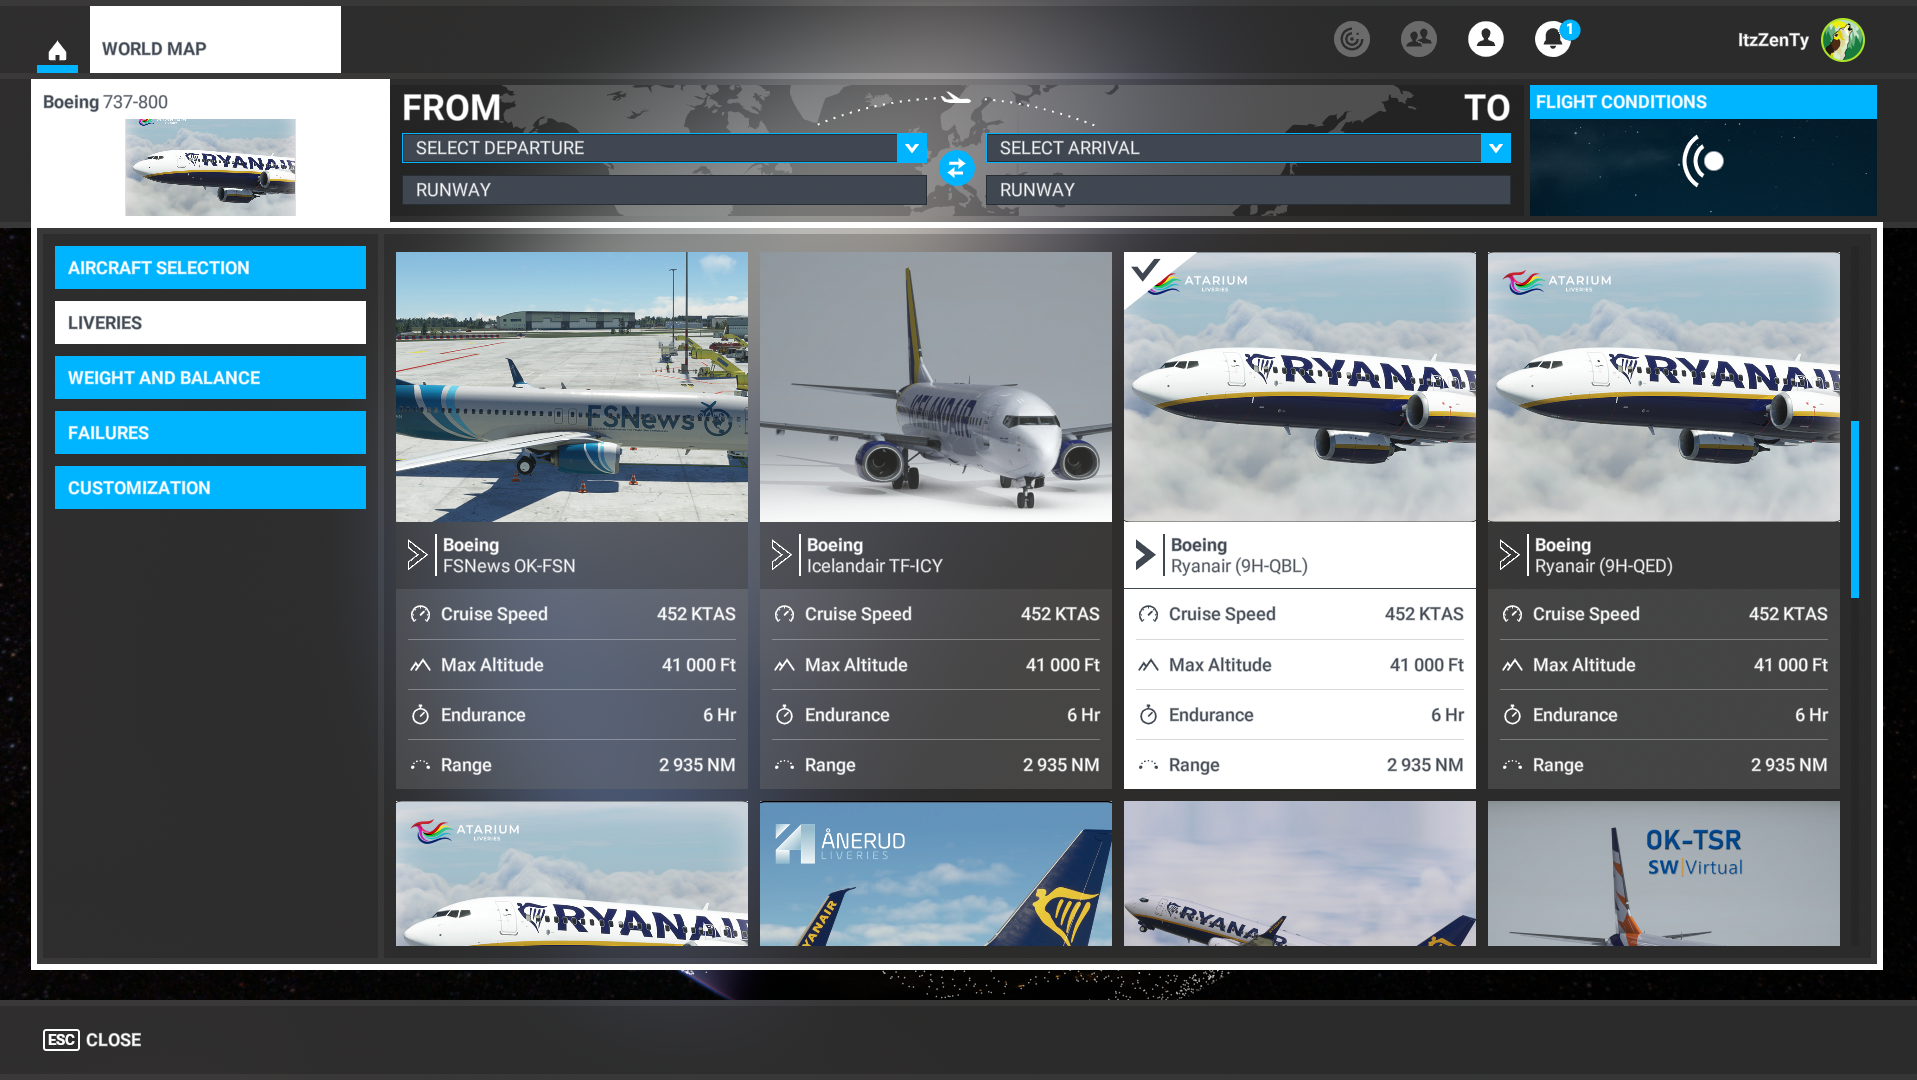
How to install airline liveries for most aircraft
Installing different airline liveries for most aircraft is largely the same barring a few odd ones.
- Download your liveries from any MSFS addon website/hosting method.
- Extract the folder from the file, and drag and drop it into your community folder.
- Again, make sure your simulator is not running and the install location is verified. The livery should show up in the livery selection menu for the aircraft you installed the livery.
PMDG aircraft such as their B738 or DC6 require a different installation process. Meanwhile, most MSFS default aircraft, the Fenix A320, the iniBuilds A310, the ATR 42/72, etc. can have their respective liveries installed this way.
How to install airline liveries for PMDG aircraft
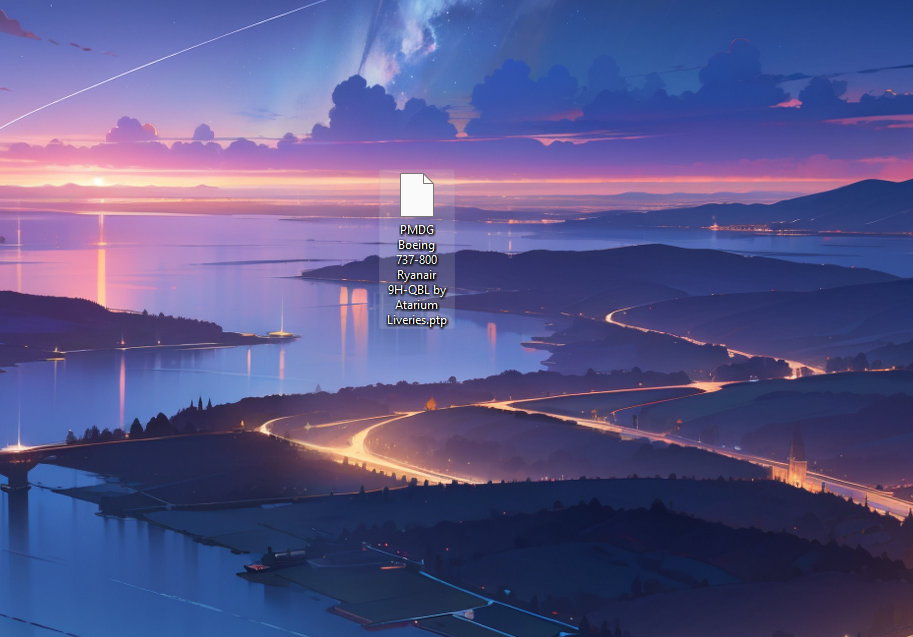
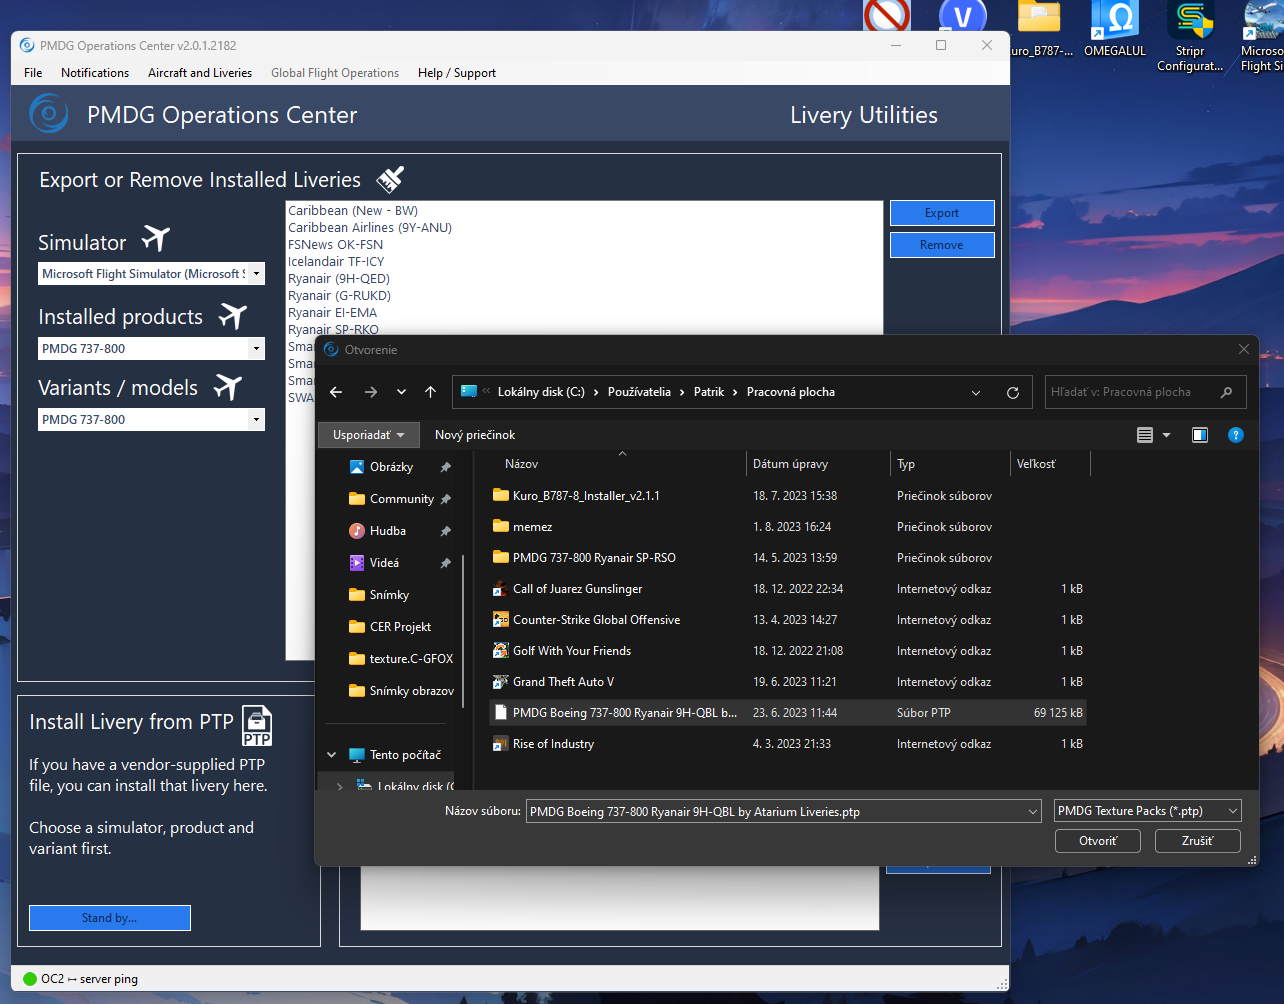
Liveries for PMDG aircraft are installed using their provided PMDG Operations Center application. Most, if not all, liveries are distributed using a unique PTP file. These of course can be downloaded from Flightsim.to created by many talented community members. Just follow the steps detailed below:
- Extract the .rar file using a utility and you should have a PTP file on your computer.
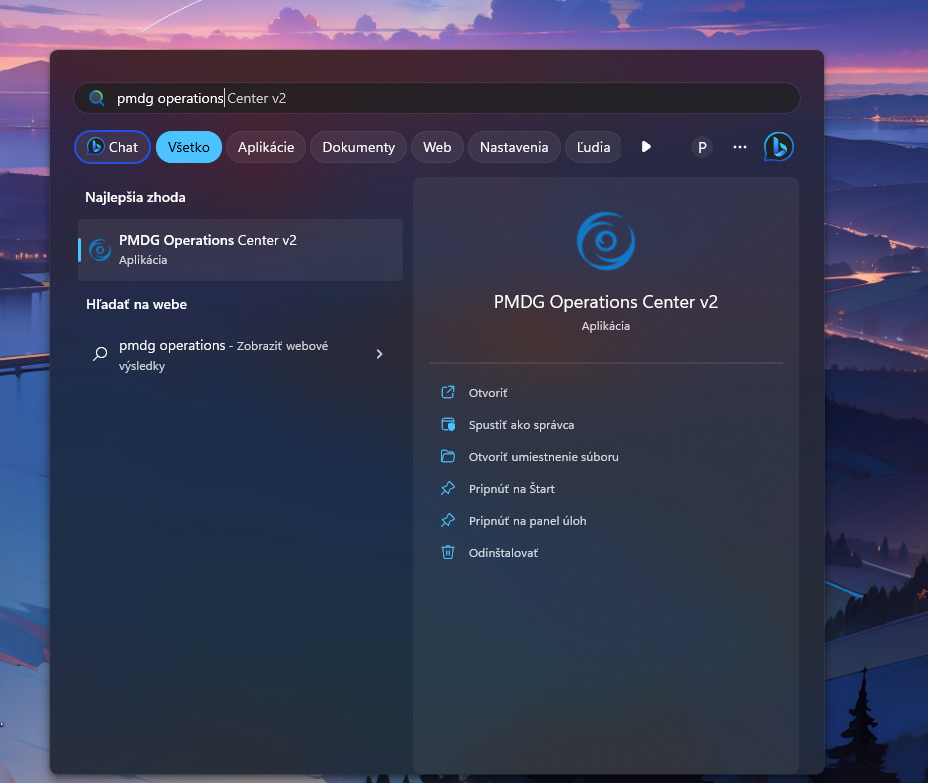
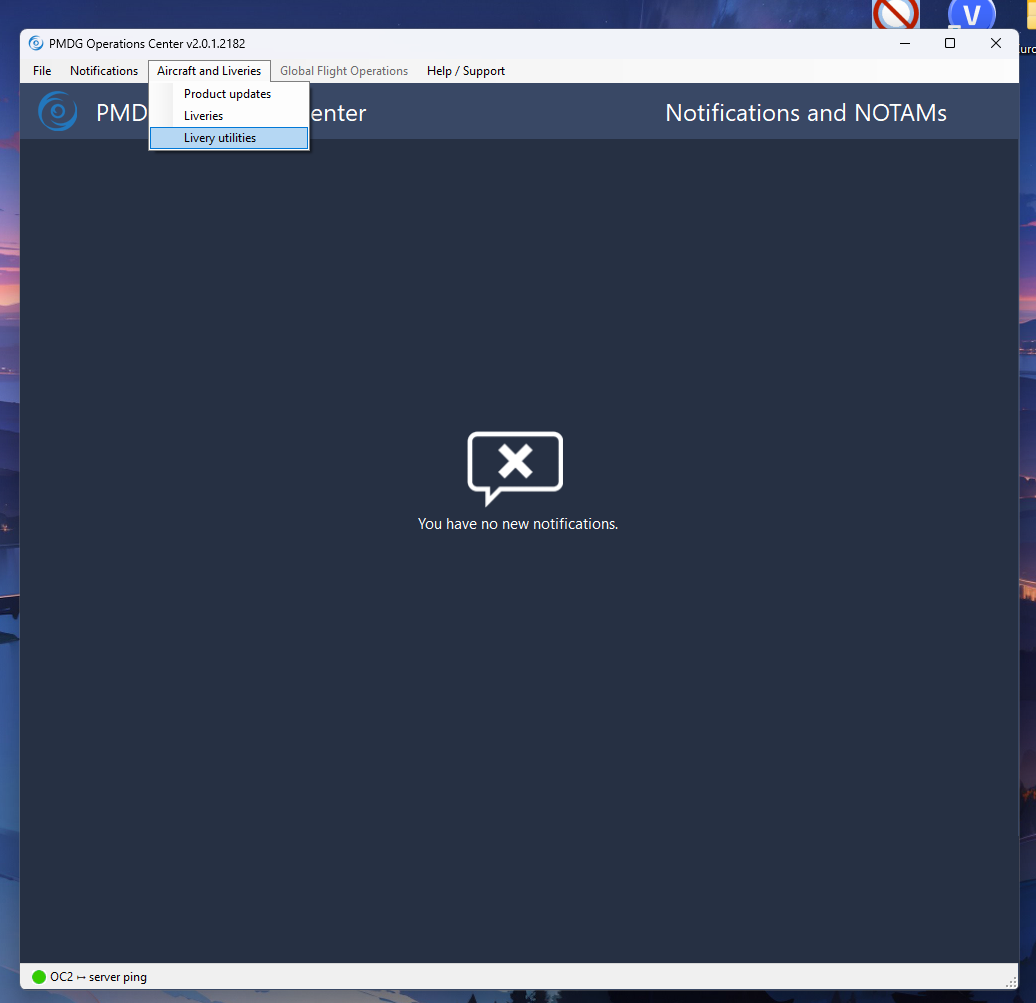
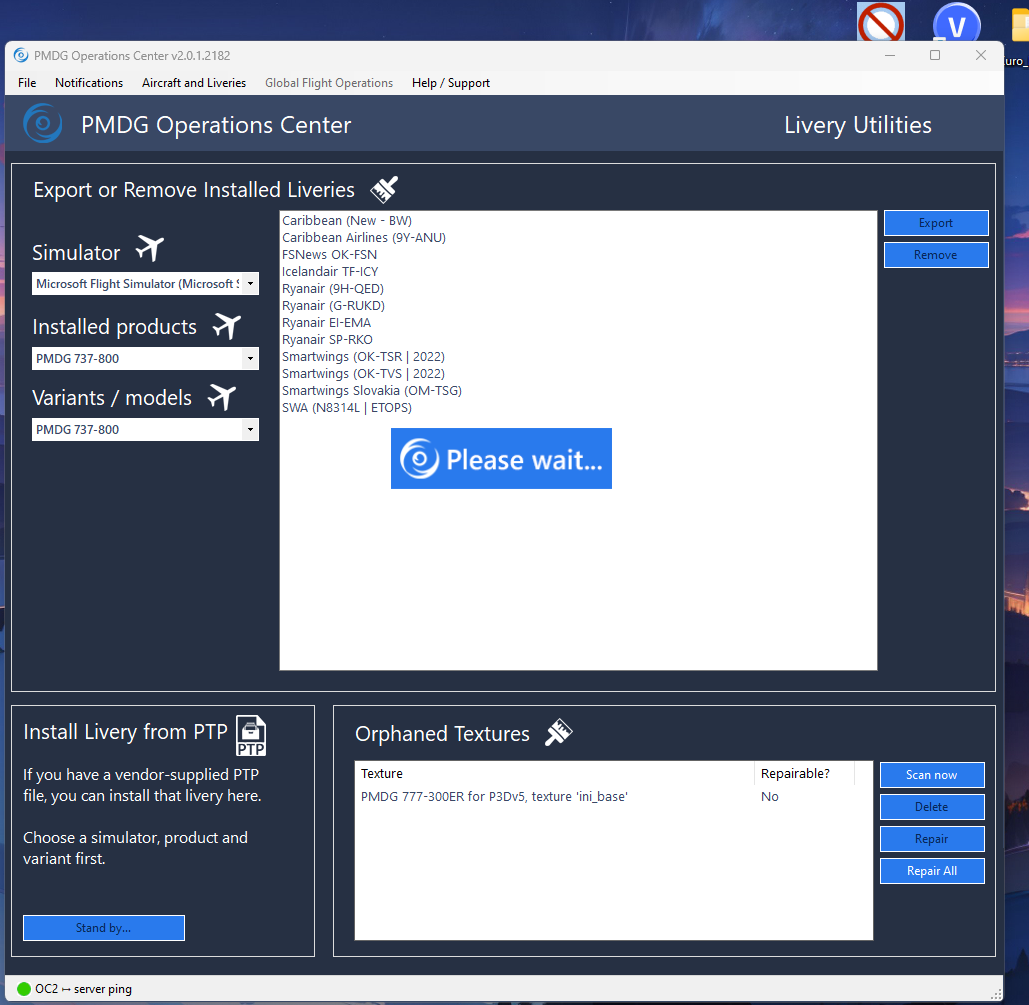
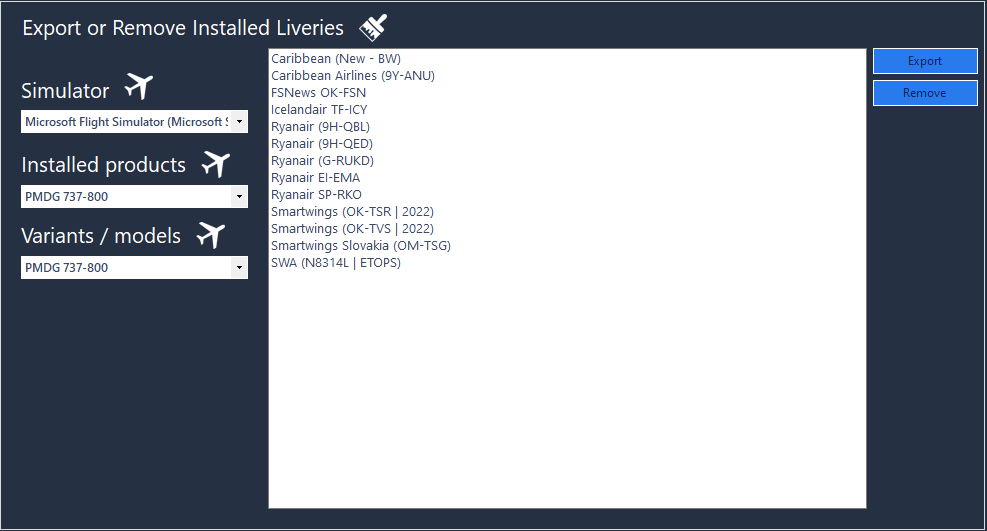
- Next, open the PMDG Operations Center application and navigate to Livery Utilies under the Aircraft and Liveries section located at the top.
- Select the aircraft and the variant for which you wish to install the livery in the section located on the left.
- In the bottom section of the application, click the button titled “Install via PTP file“.
- Navigate to and select the PTP file you downloaded and extracted earlier and click OK.
The application will then install the livery for you. It is worth noting that PMDG too provides free liveries for their aircraft. These can be found in the Liveries section in the Aircraft and Liveries tab at the top. Select your aircraft, the variant, and the livery of your choice, then click Install. Liveries provided by PMDG itself have mostly accurate cockpit configurations while community-created liveries may not.

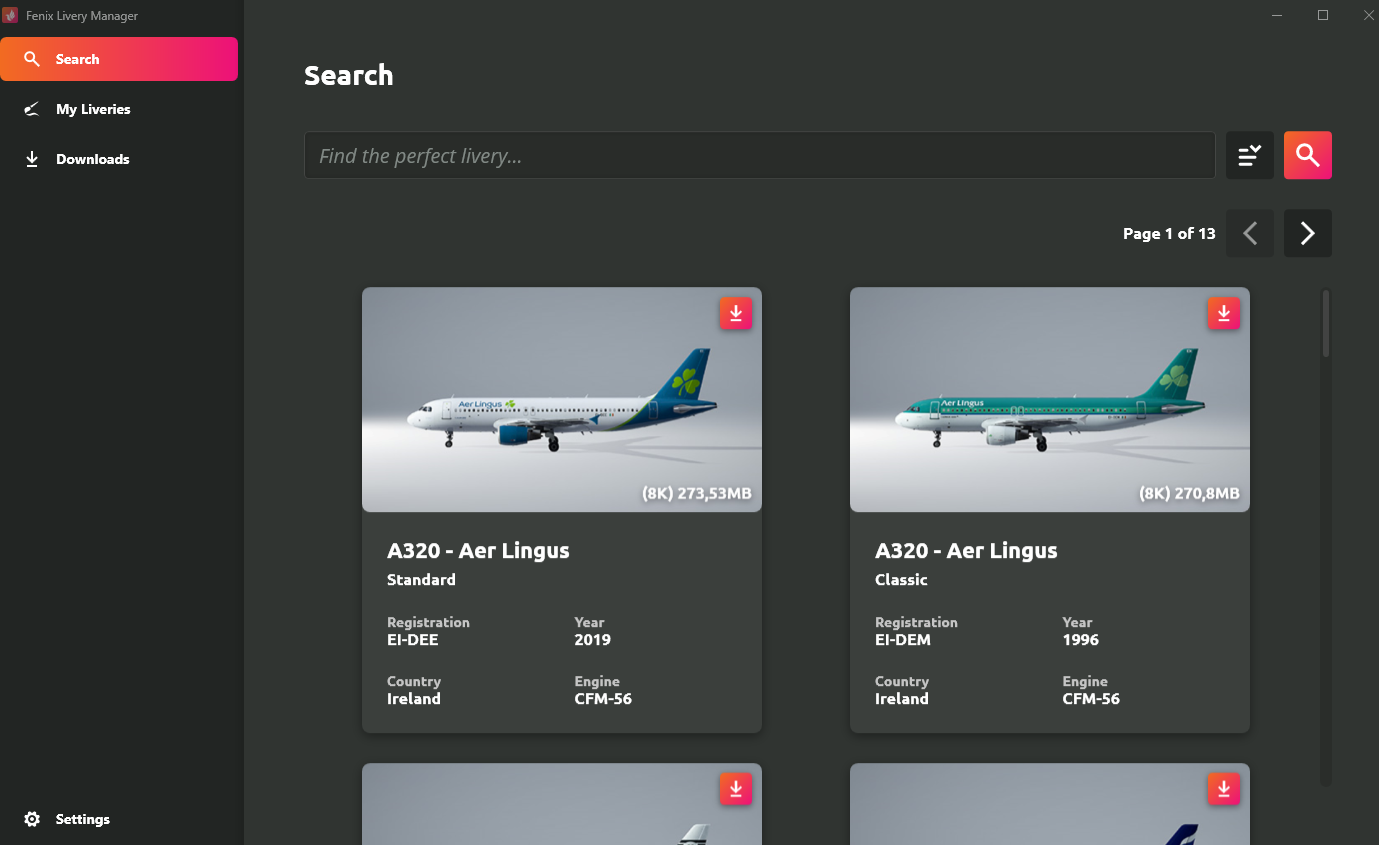
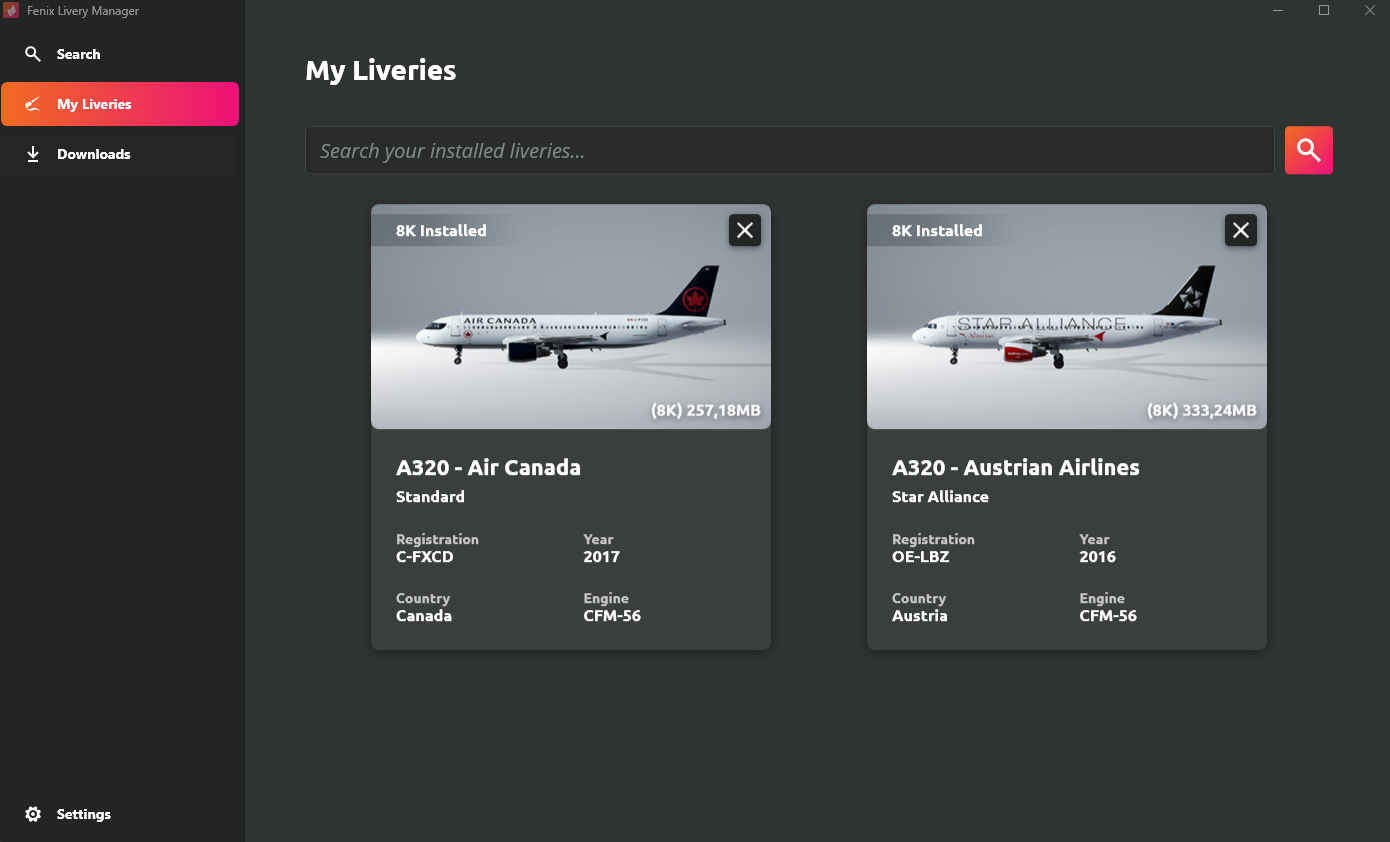
How to install airline liveries for the Fenix A320
Liveries for the very fantastic Fenix A320 for MSFS can be installed directly using the Fenix Livery Manager that should already be on your computer provided you have purchased said product. Fenix Simulations provides more than 150 liveries in their livery manager. The paint schemes are available in two different resolutions: 4K and 8K. Depending on your system specs choose the one that best suits your needs.
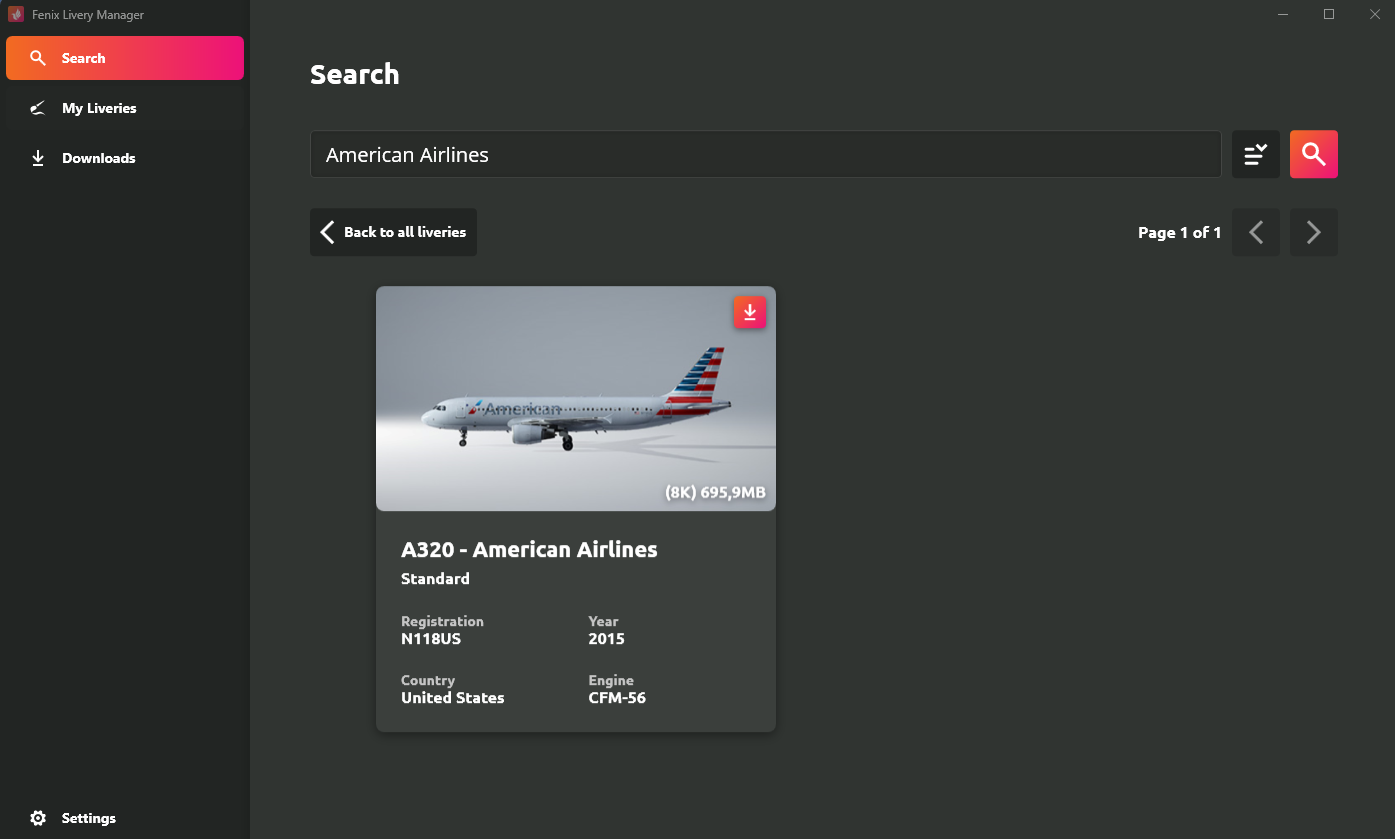
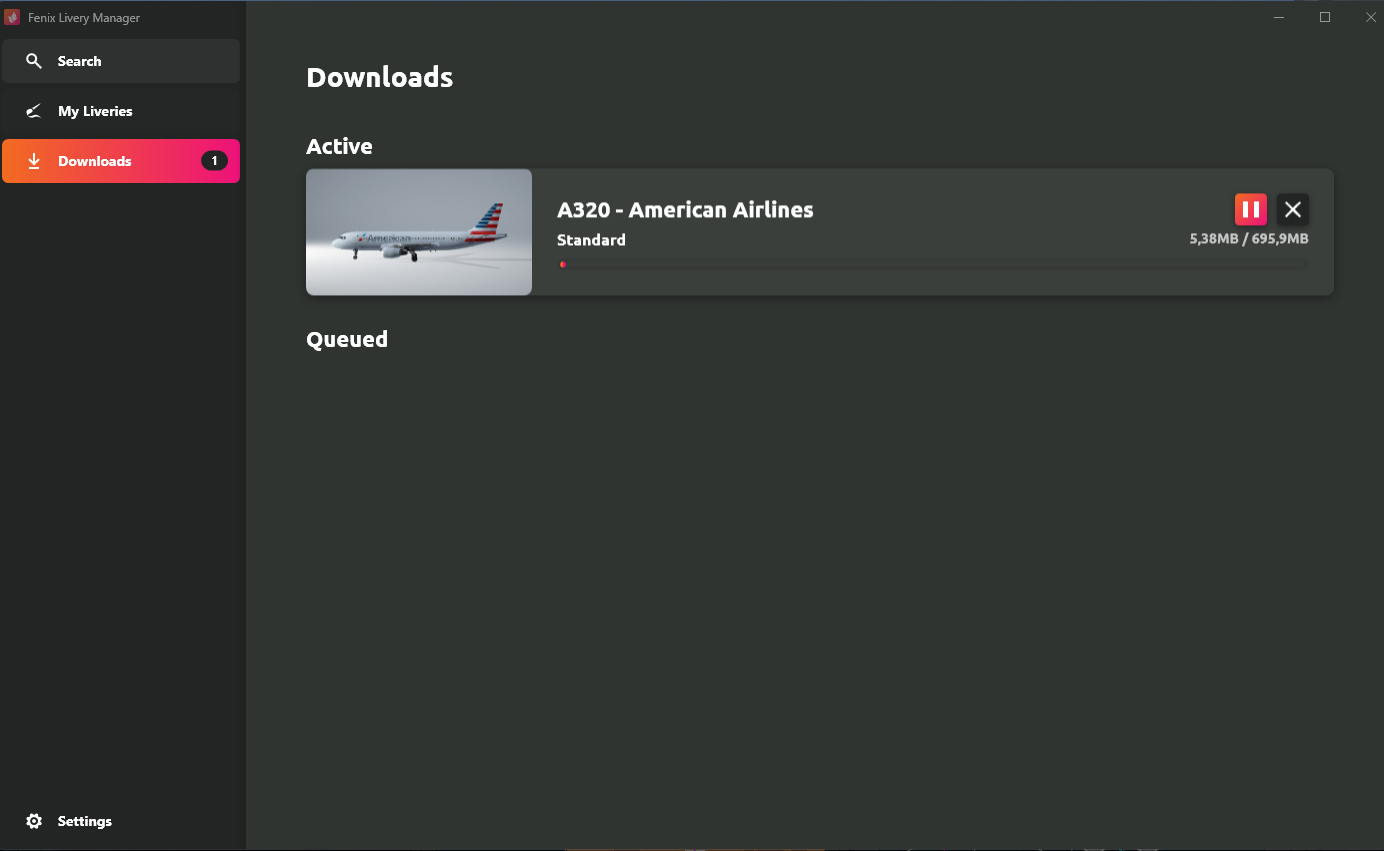
Installing your desired livery is as easy as opening up the Livery Manager application, navigating to the search bar, and browsing to the livery you want to install. From there it’s just a matter of clicking install after which the application will handle everything for you: it downloads the livery package (which you can track in the downloads section by the way), installs it for you, updates it when required, and also delete them in the future should you so wish.
There’s also a second way you can install liveries for the Fenix A320. Any livery package created by community members can be installed using a familiar method. Download any airline paint scheme of your choosing, extract it to your community folder (or your separate addons folder making sure you enable it in Addons Linker), and restart MSFS for the livery to show up in the selection menu. This method allows you to install liveries not created by Fenix Simulations itself so cockpit configurations may not be accurate.
Managing payware addons
Although freeware sceneries, airports, and aircraft are extremely good for what they offer and the volunteered effort that goes into them is commendable, payware addons are the more premium products in the market and are on a different playing field. A huge number of payware product developers and studios for MSFS exist around the world; some new, some old, some with a huge number of developers, some with a few, some exceptional, and some, well, downright terrible.
Different developers have different styles of managing their purchased products but most of them have the same basic approach: download and install launcher, log in to account, and link to MSFS Community folder in settings. From there downloading, installing, updating, and deleting your sceneries, airports, and aircraft will be handled for you by the installer itself.
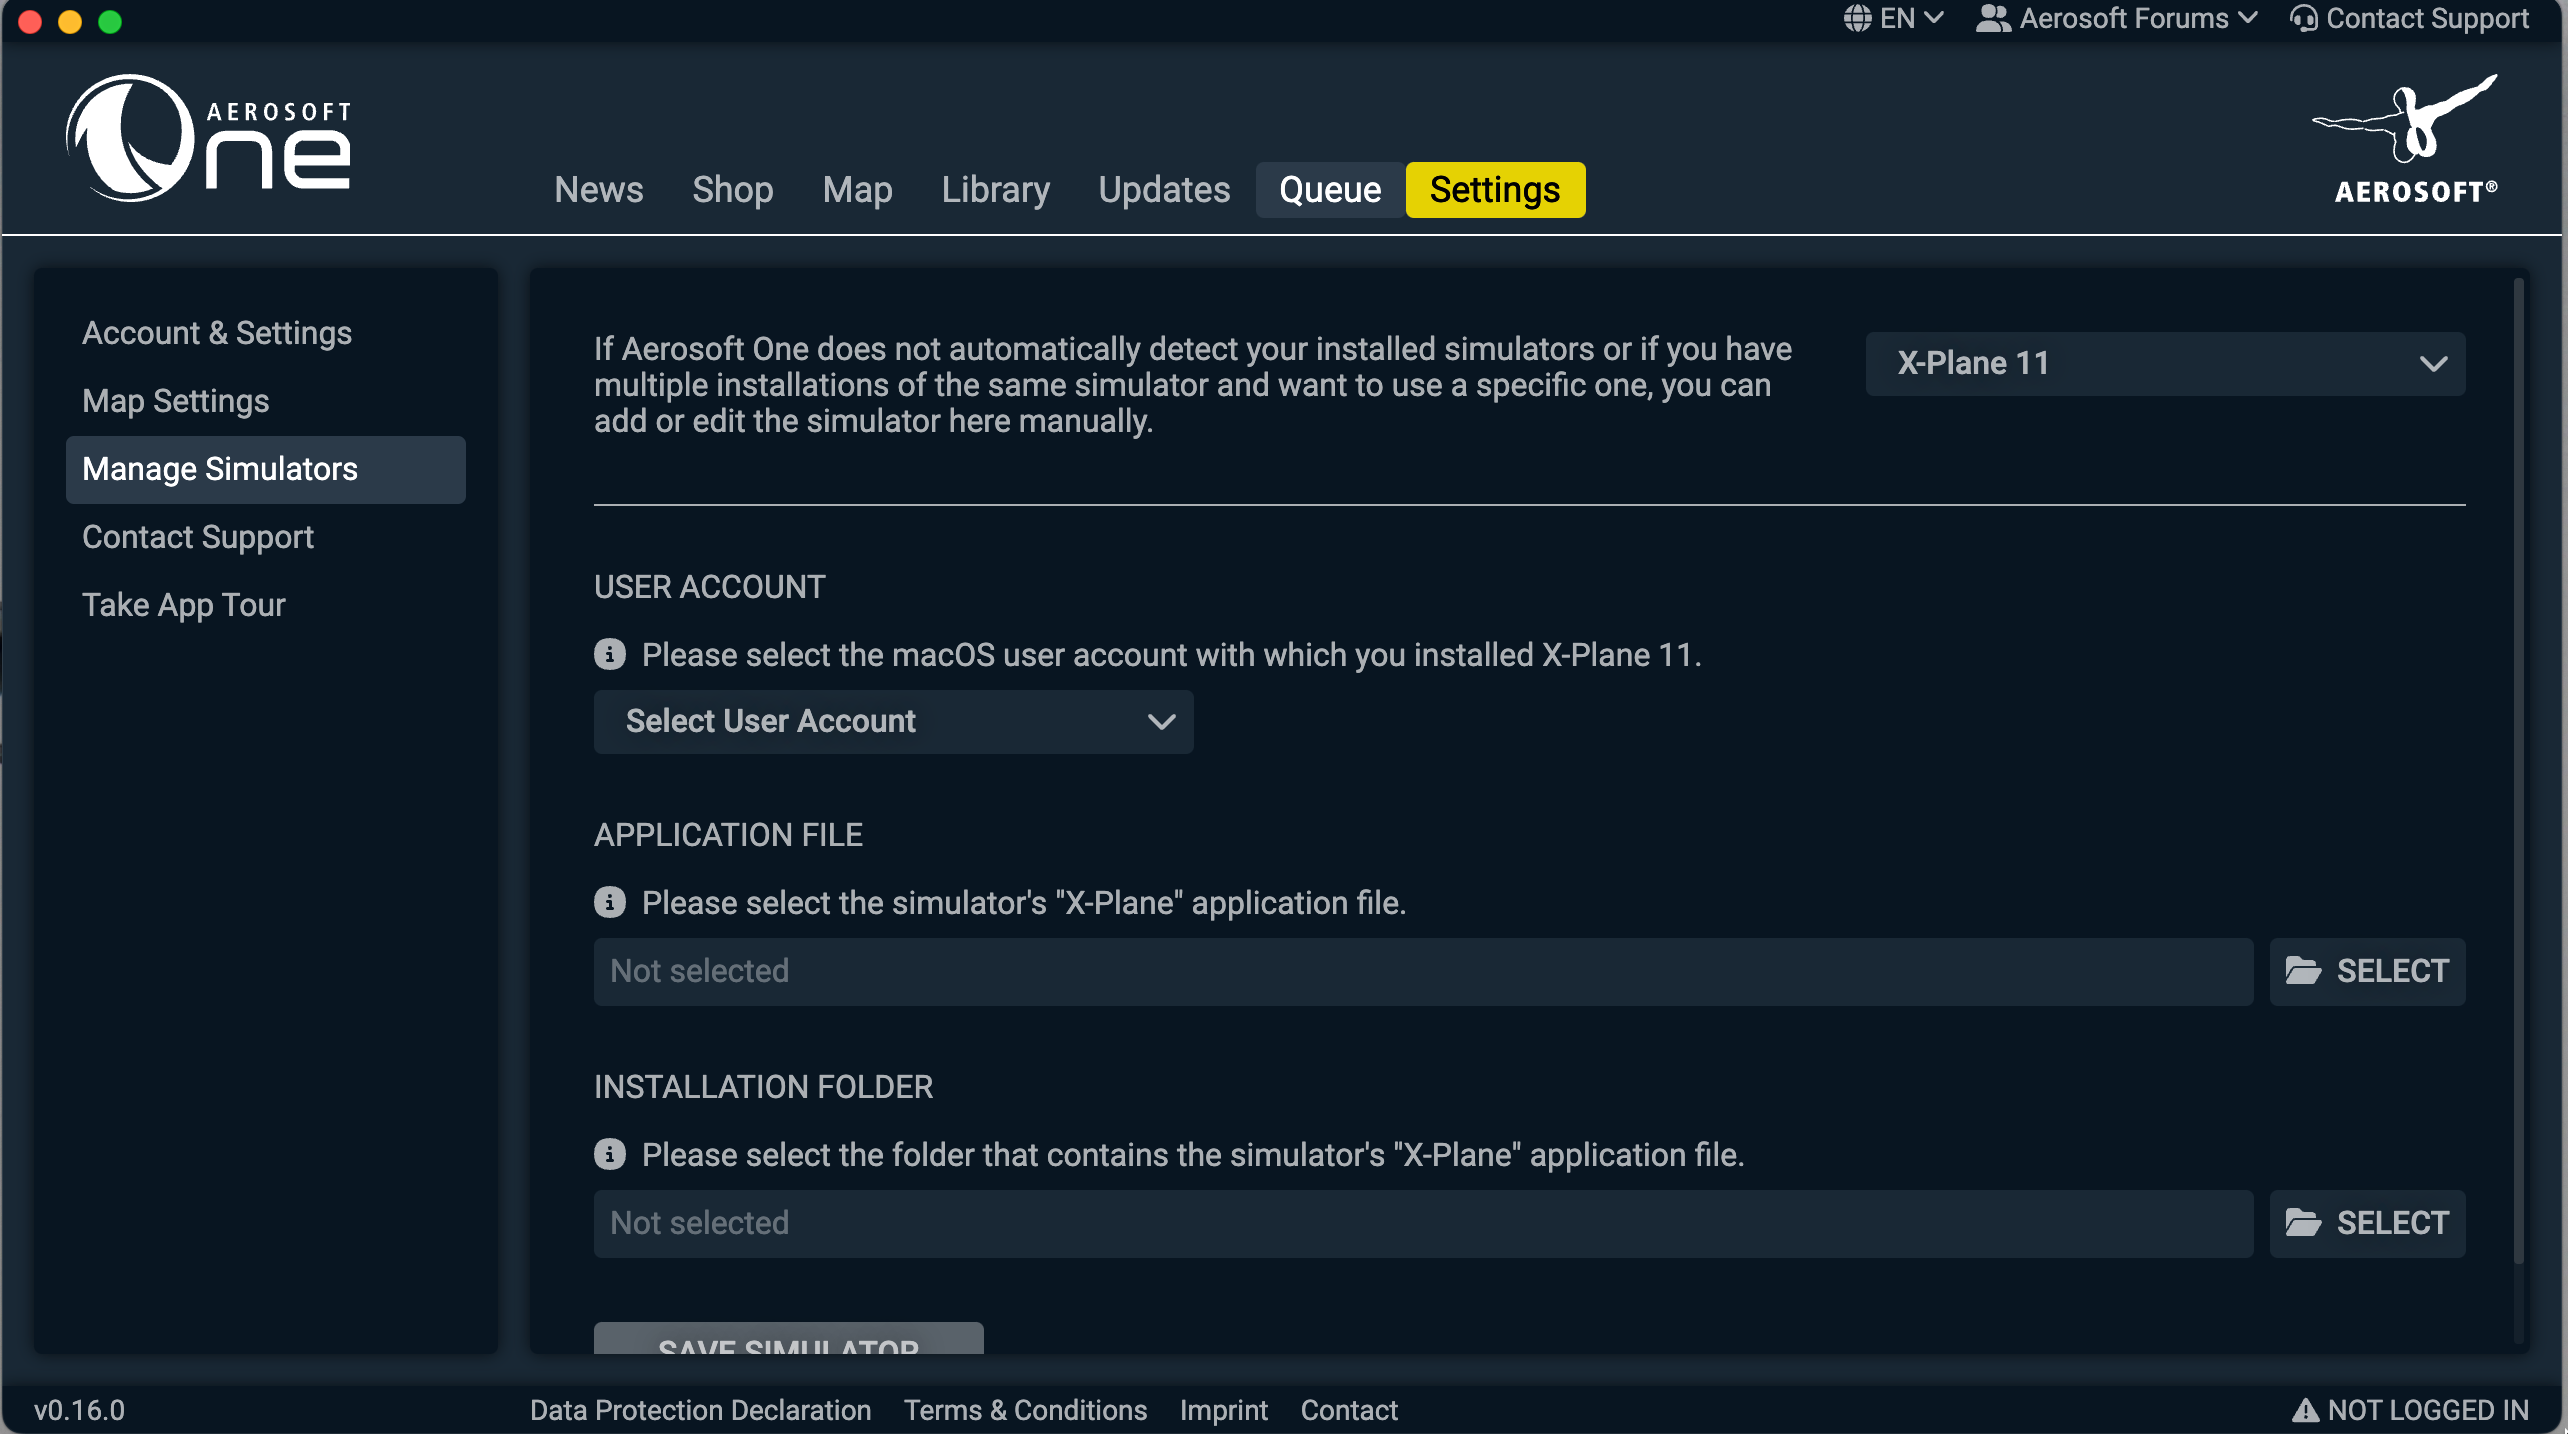
Just navigate to the purchased product on the developers’ content manager and click install, first verifying the correct install location. Your installed product should show up in MSFS provided you restarted it (or it was closed at the time of installation); if not try deleting and re-installing the product and restart MSFS.
In the rare case, that you have installed the product in a custom folder and are using MSFS Addons Linker, double check the specific addon is “enabled” by making sure the box next to the name is checked. If this still does not rectify your issue, the developer’s forum website may have solutions provided it’s a known and common issue. Otherwise, you can raise a support ticket on their website and wait for them to provide a solution.

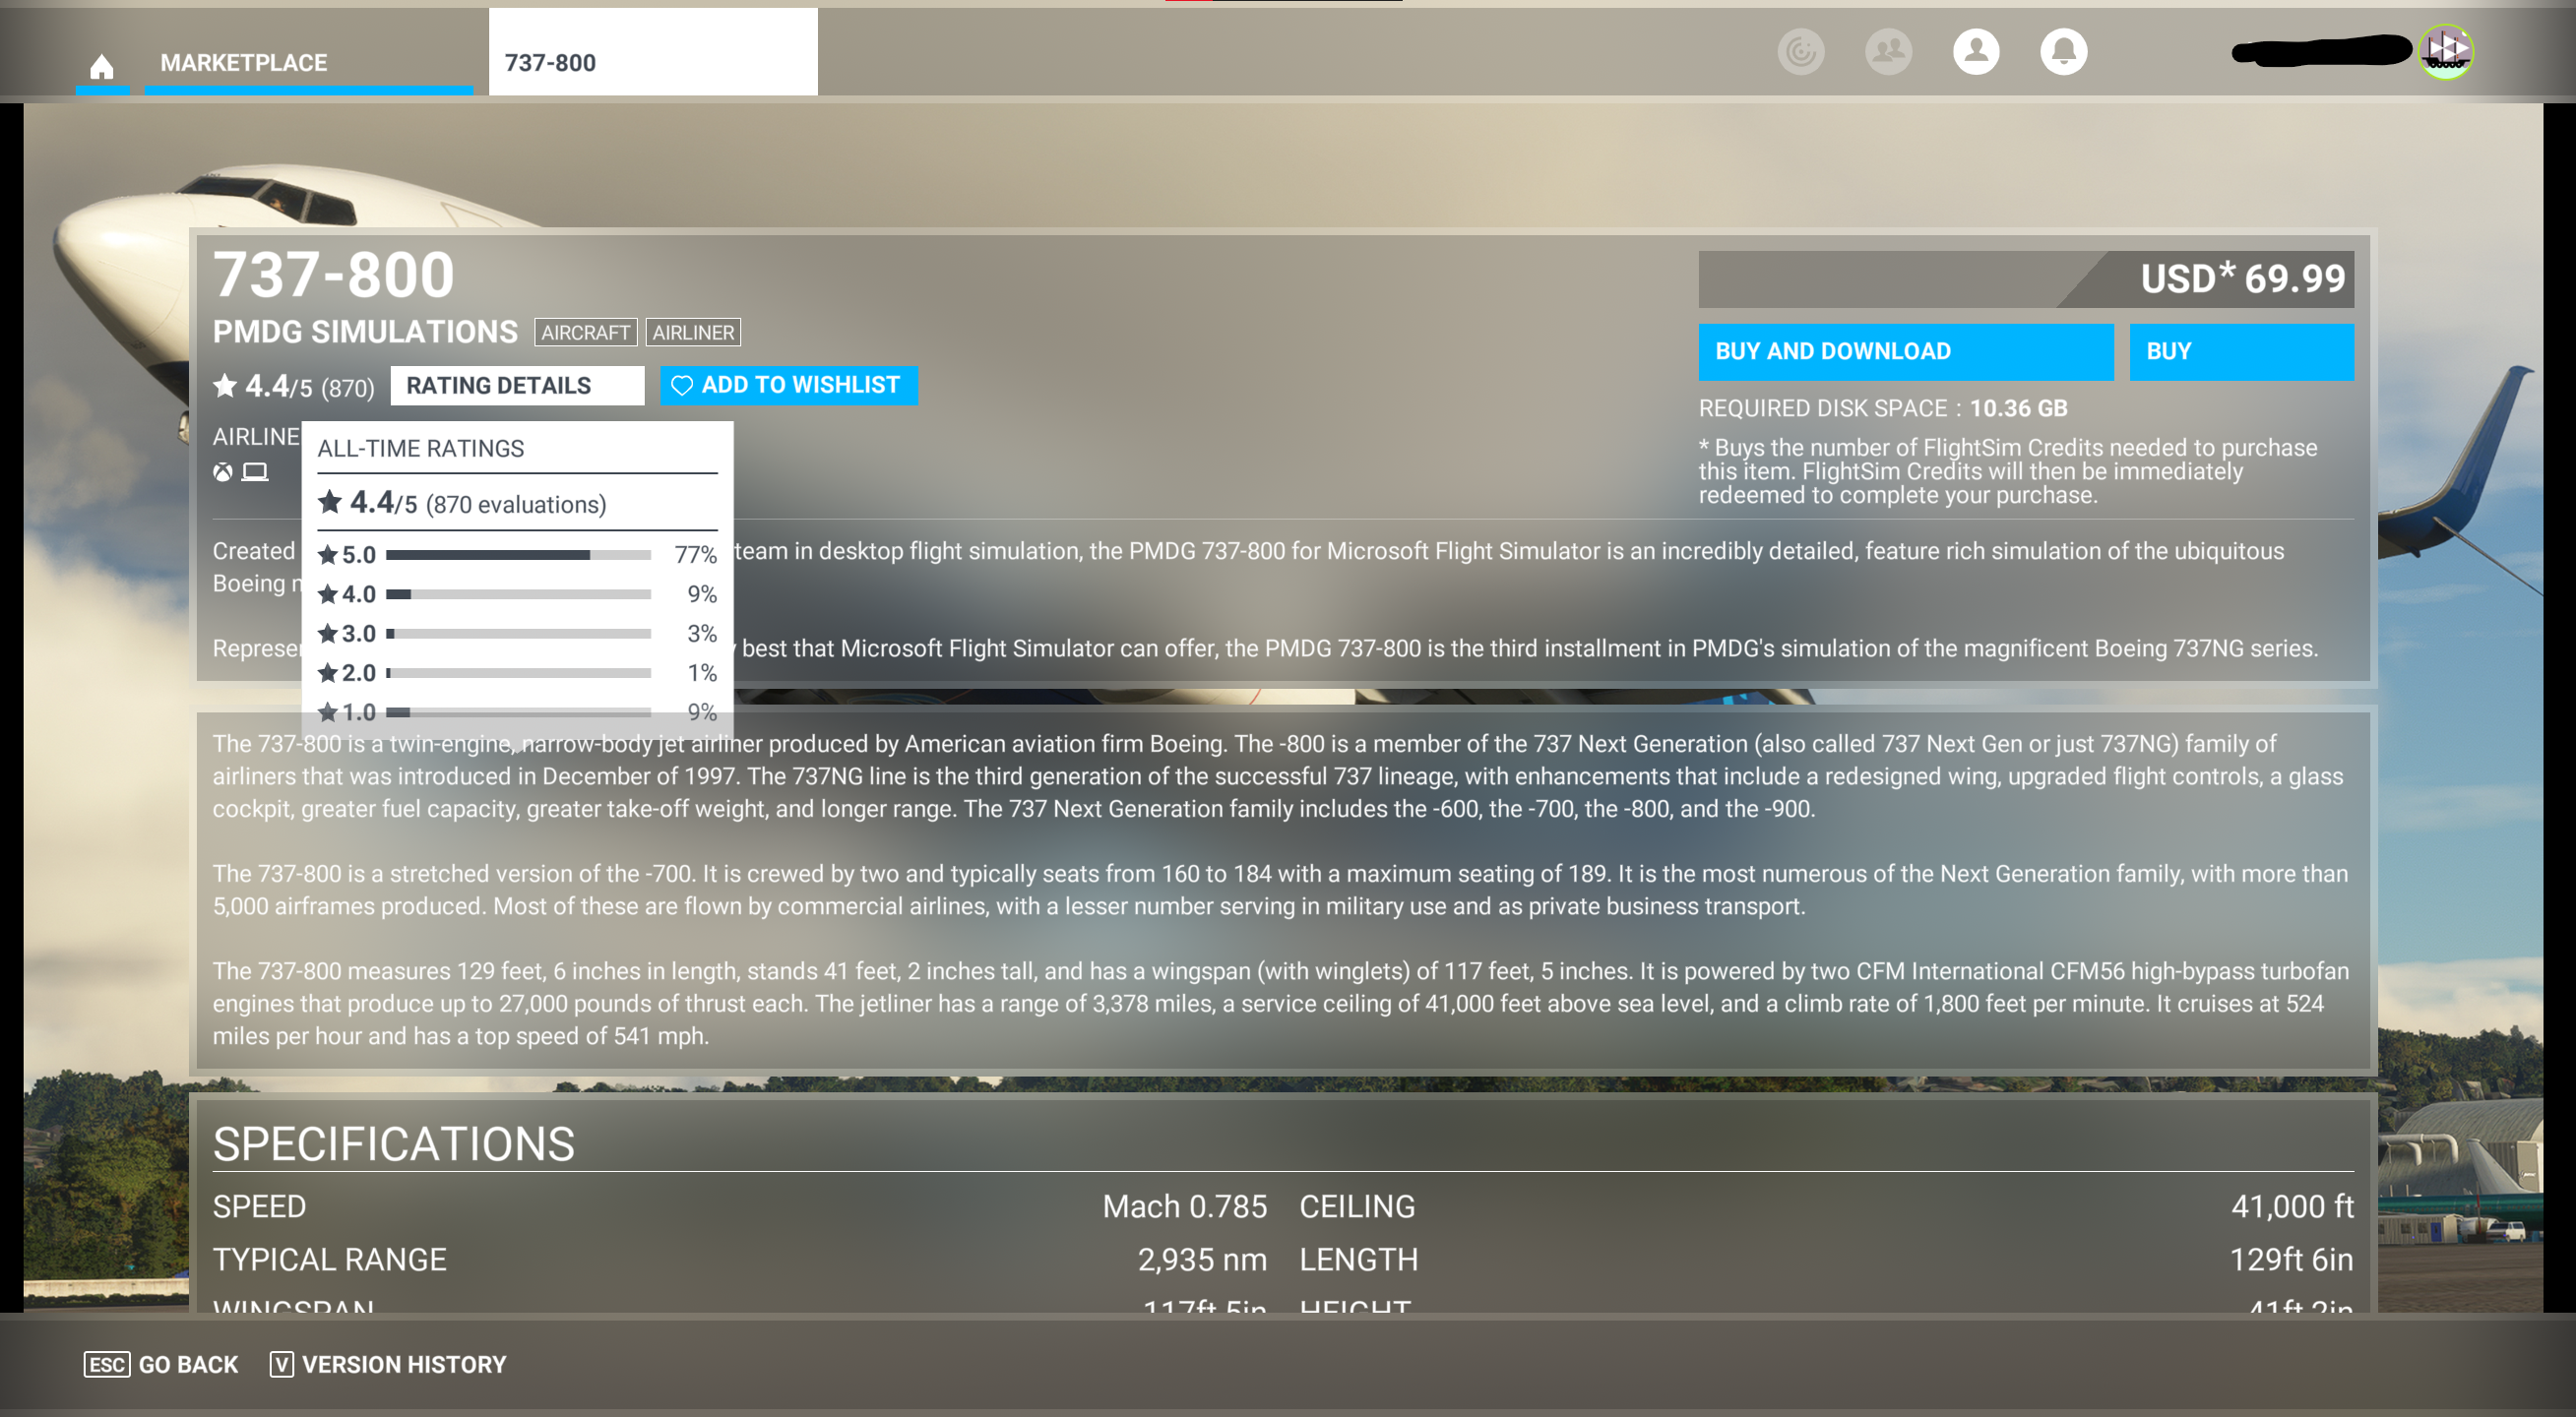
The Marketplace
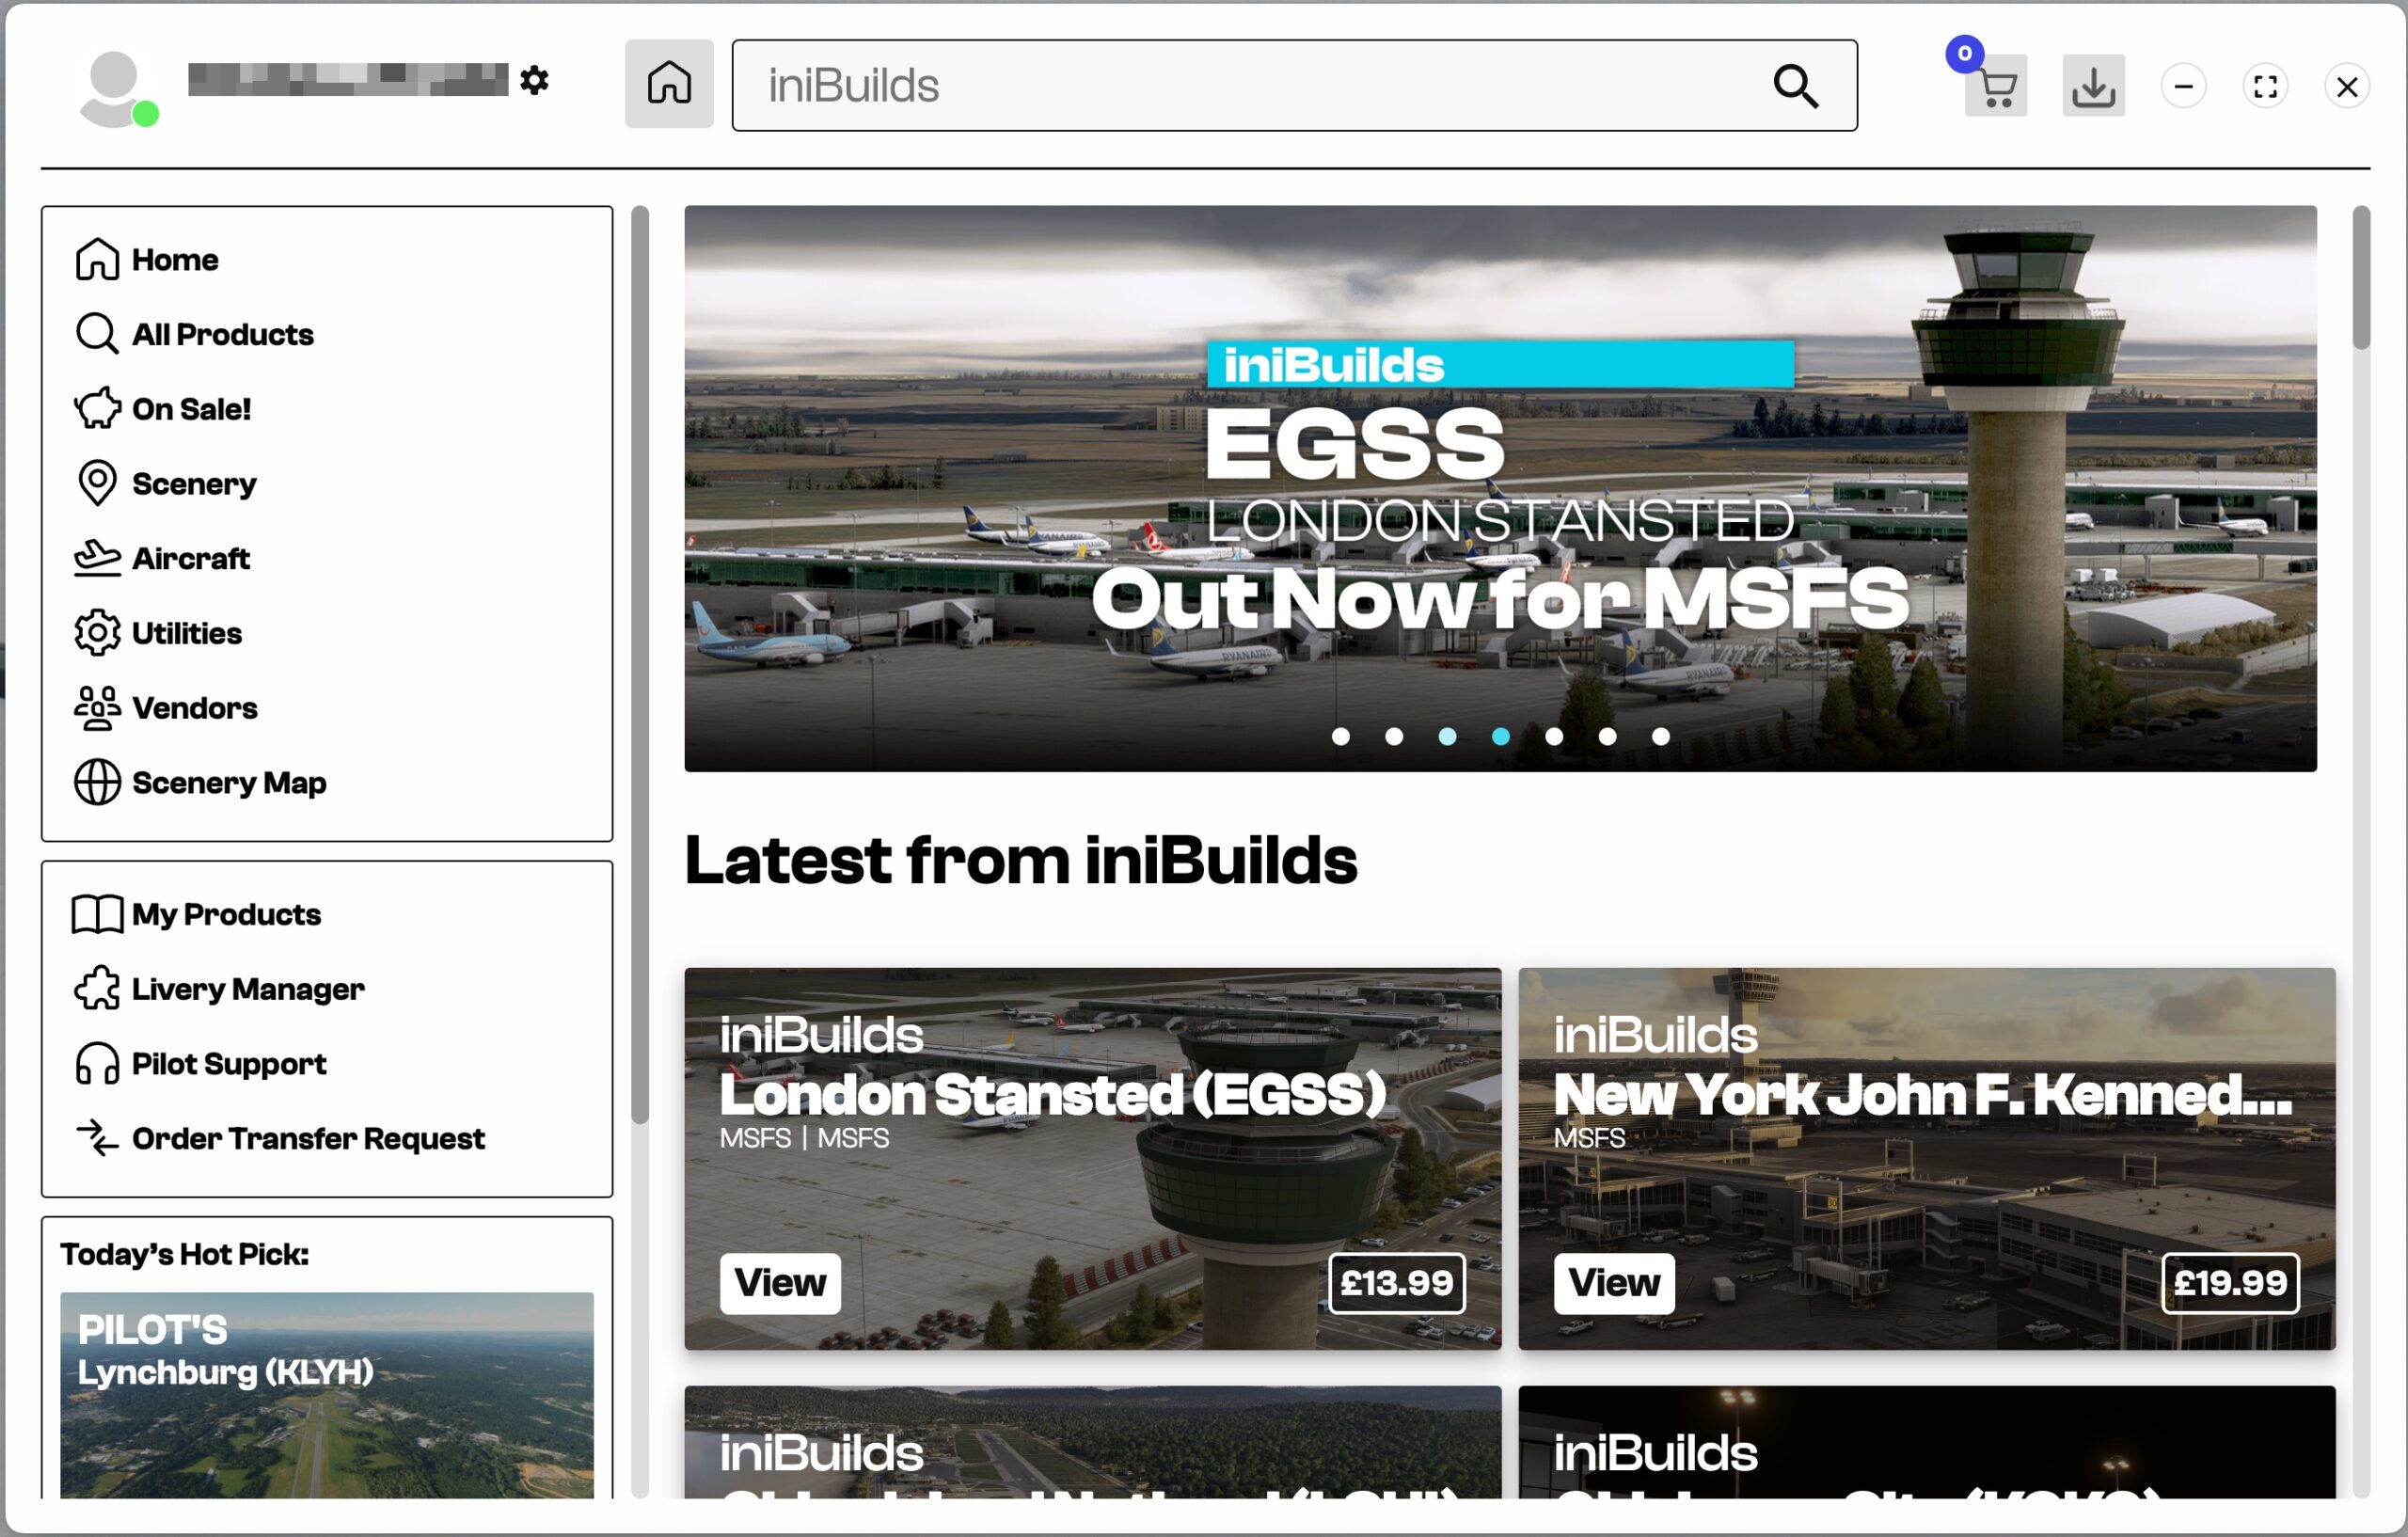
Turns out Discord servers, FS.to, dedicated online stores from larger developers, installers, and GitHub is not the only way simmers can install and use third-party addons. Or even first-party addons for that matter (addons developed or distributed under the Asobo/MS name). Microsoft Flight Simulator introduced a new way for users to download, install, update, delete, and manage third-party content: the MSFS Marketplace.
The MSFS Marketplace is an in-built online store that developers large and small alike can host content on for users to purchase, download, and install. This, by far, is the easiest way to purchase, download, install, and organize your third-party and first-party addons. Side note, Simmers with the Premium Deluxe or Deluxe version of the sim are entitled to a discount on products developed and/or distributed under the Asobo/Microsoft title such as the Antonov An-225, the DHC-4 Caribou, and the Dornier Do X.
Follow these very simple steps to get started on making your first purchases for your shiny new simulator:
- Make sure your Xbox account and card details are the same as the one on your Microsoft account.
- Additionally, make sure you start MSFS up using the Xbox app without running the app in administrator mode.
- Once you have loaded up MSFS, navigate to the in-sim Marketplace and browse through the products.
- When you select a product of your choice, enter the product’s page and click on the big purchase button.
- A pop-up window should appear that asks you to select a payment method which will vary from region to region.
- Once you have selected your preferred mode of payment and if the transaction is successful, the addon you purchased will start downloading.
- When it finishes downloading, depending on the type of product you bought should show up in its usual space for selection on your next flight.


Be aware of the fact that a lot of products on Marketplace may be misleading and/or falsely advertised and upon using the product, it may not turn out to be what you were hoping for. We recommend you do your research on any products you may buy so you know what you are getting into.
This of course applies to any product you will purchase on any MSFS-related online store, not just off Marketplace. Having your hard-earned cash end up in the worst possible hands is very heartbreaking (don’t ask how I know).
How to troubleshoot common issues
No doubt Microsoft Flight Simulator and its addons are incredibly detailed and visually stunning. Despite the best efforts of the many talented developers out there, MSFS can be a little unstable at times and infuriating issues do arise out of nowhere. Issues such as crashes-to-desktop, aircraft being invisible, frame rates getting tanked, or the simulator straight up refusing to load up are very common issues that can arise due to faulty addons.
CTDs and sim stuck at the loading screen
Literally, the most common issue with faulty addons, especially freeware, is crash-to-desktop (CTD) or the simulator stuck at the loading screen (it can get stuck on simulator startup or after you start a flight). Both issues are incredibly annoying and considering how long MSFS takes to load up really makes you wanna punch the screen.
Most commonly these kinds of issues always surface after you have installed an addon that is outdated and/or not properly tested during development. This is pretty easy to fix if you know what addon you recently installed, just sort by recently modified in Windows Explorer where your Community folder is and delete the topmost entry. If you have installed multiple mods at once you are gonna have to remove all of the ones you installed before the issue surfaced and then re-add them one by one to figure out which one ruined your day.
This is why we highly recommend Addons Linker as the application makes this process 1000 times easier. Just head on into the program, uncheck the addons you have a faint idea about which might be causing the issue, and restart your sim.
In a lot of cases, you might have to empty your entire community folder (just as easy as disabling all of the simlinks) in order to get the simulator to run without these issues. This will mostly occur after there has been a new sim update and one or more of the addons have just been rendered obsolete. It may take a while to pinpoint exactly which addon is causing the issue; just take wild guesses on which addon you think could be the issue. Depending on the developer a fix should be out soon so you’re gonna have to wait it out.
If you have an NVIDIA graphics processing unit, chances are your drivers may be outdated and could be causing issues for the sim. Make sure your drivers are up-to-date and restart your PC after you have done so. Sometimes, issues can also arise due to the latest NVIDIA drivers being faulty, and if you do see a new update hold off on it until you know for sure it is MSFS friendly and stay on the older drivers. We know this is incredibly frustrating but it is what it is.
Invisible aircraft and frame rate spikes
Aircraft not showing up is one of the rarer issues MSFS can spew up from time to time. Yes, you heard that right, sometimes an aircraft will load up with sounds and systems and all but will just not be visible. This issue is more common with faulty third-party liveries and freeware aircraft that have not been compiled properly. In such a case it is best to choose another aircraft or livery and wait it out until the developer has worked out a fix for the issue.
Frame rate spikes also arise from time to time due to addons not being developed with proper practices. In such a case, “leakages” occur where seemingly low resource-hogging mods use resources that are not meant for it and end up using valuable resources meant for the sim. This results in the simulator’s overall performance absolutely tanking into single-digit FPS. These issues are more common than “invisible aircraft” but rarer than CTDs so a quick Google search might let you know some of the common programs that can cause FPS spikes.
We hope you learned something!
With this guide coming to a very hard goodbye, we really hope you learned something from this painstakingly put-together guide, whether you are a complete beginner or a seasoned expert. There was, I hope, everything for everybody here and that you got what you came here looking for.
That said, the scope of products available for the platform and the uniqueness of every system that this beloved simulator runs on is something we took into consideration but could not realistically fully take into account in terms of resolving issues. We highly encourage you to join our Discord server to not just discuss and resolve issues, but also to talk about your favorite addons, addons that are underrated, why you love flight sim, what got you into the hobby, etc. We look forward to interacting with you and learning about your opinions, passion, and love for this hobby that has forged a huge community of love and kindness.
Feel free to join our Discord server to share your feedback on the article, screenshots from your flights or just chat with the rest of the team and the community. Click here to join the server.