Whether it’s time to make the jump to PC, or you’re a long-time PC simmer ready for an upgrade, this is the ultimate MSFS 2024 PC build guide. We have put together four PC builds that will deliver an excellent simulation experience for whatever your budget is, as well as some excellent general information about how to build a PC for flight simulation.
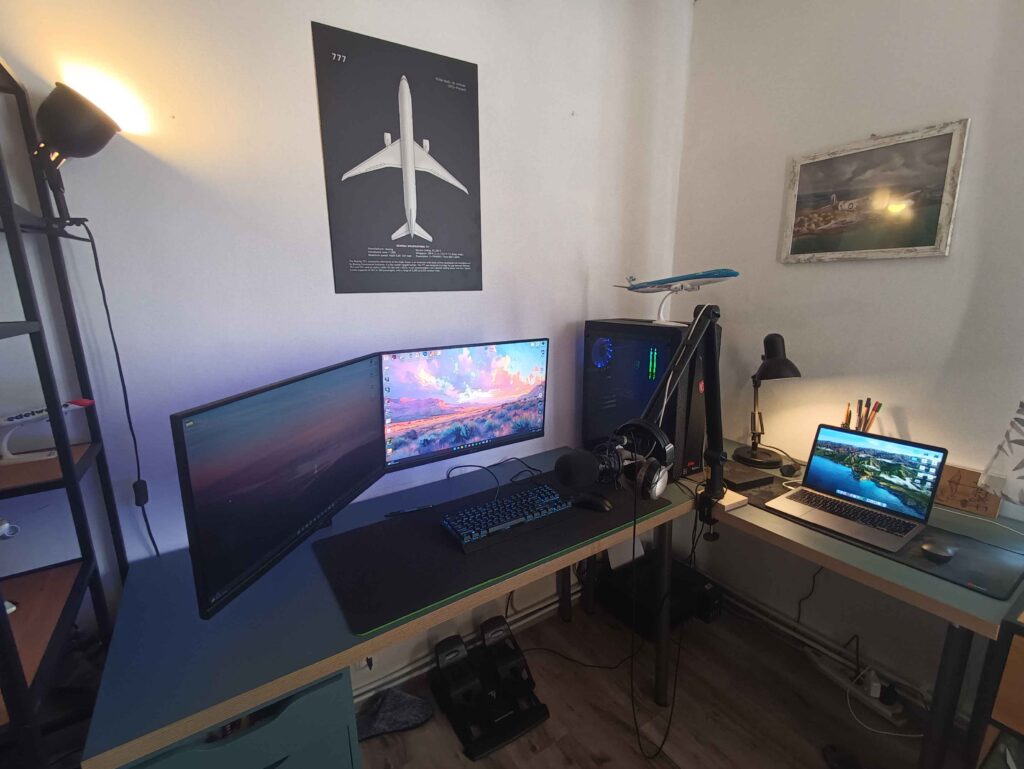
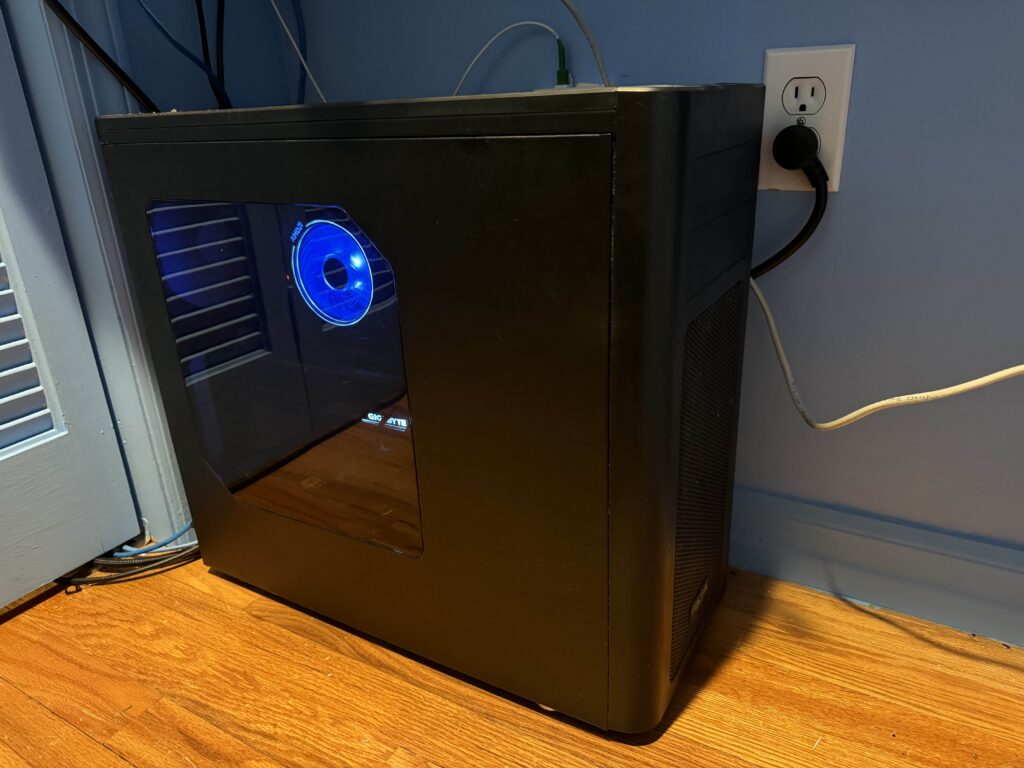
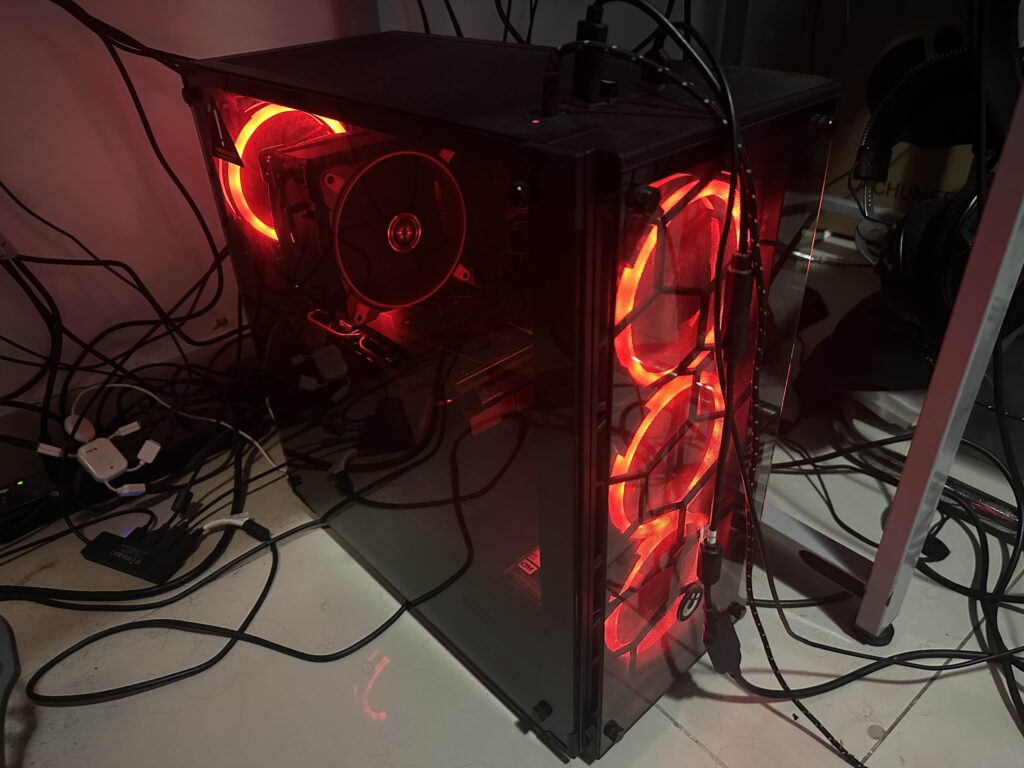
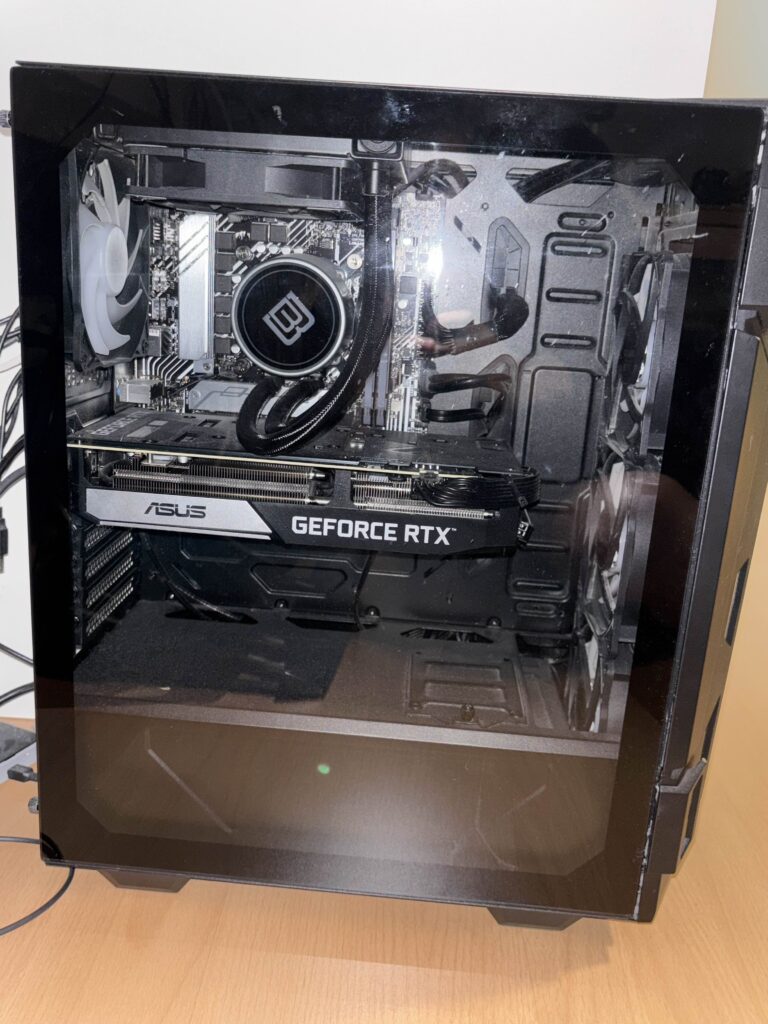
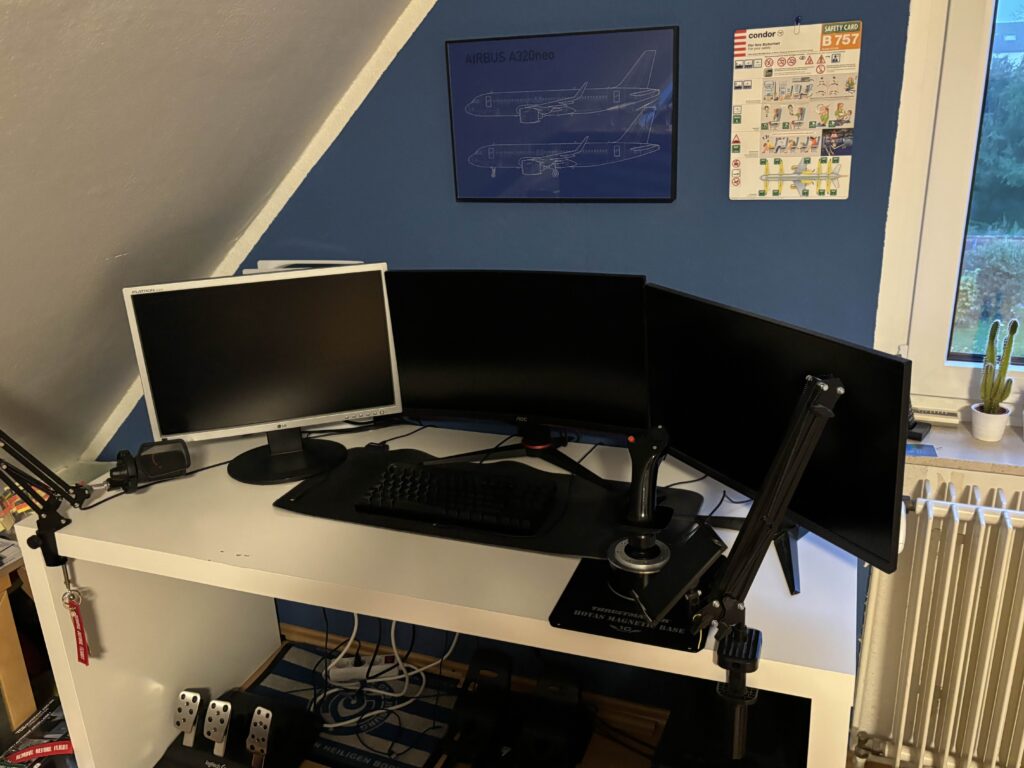
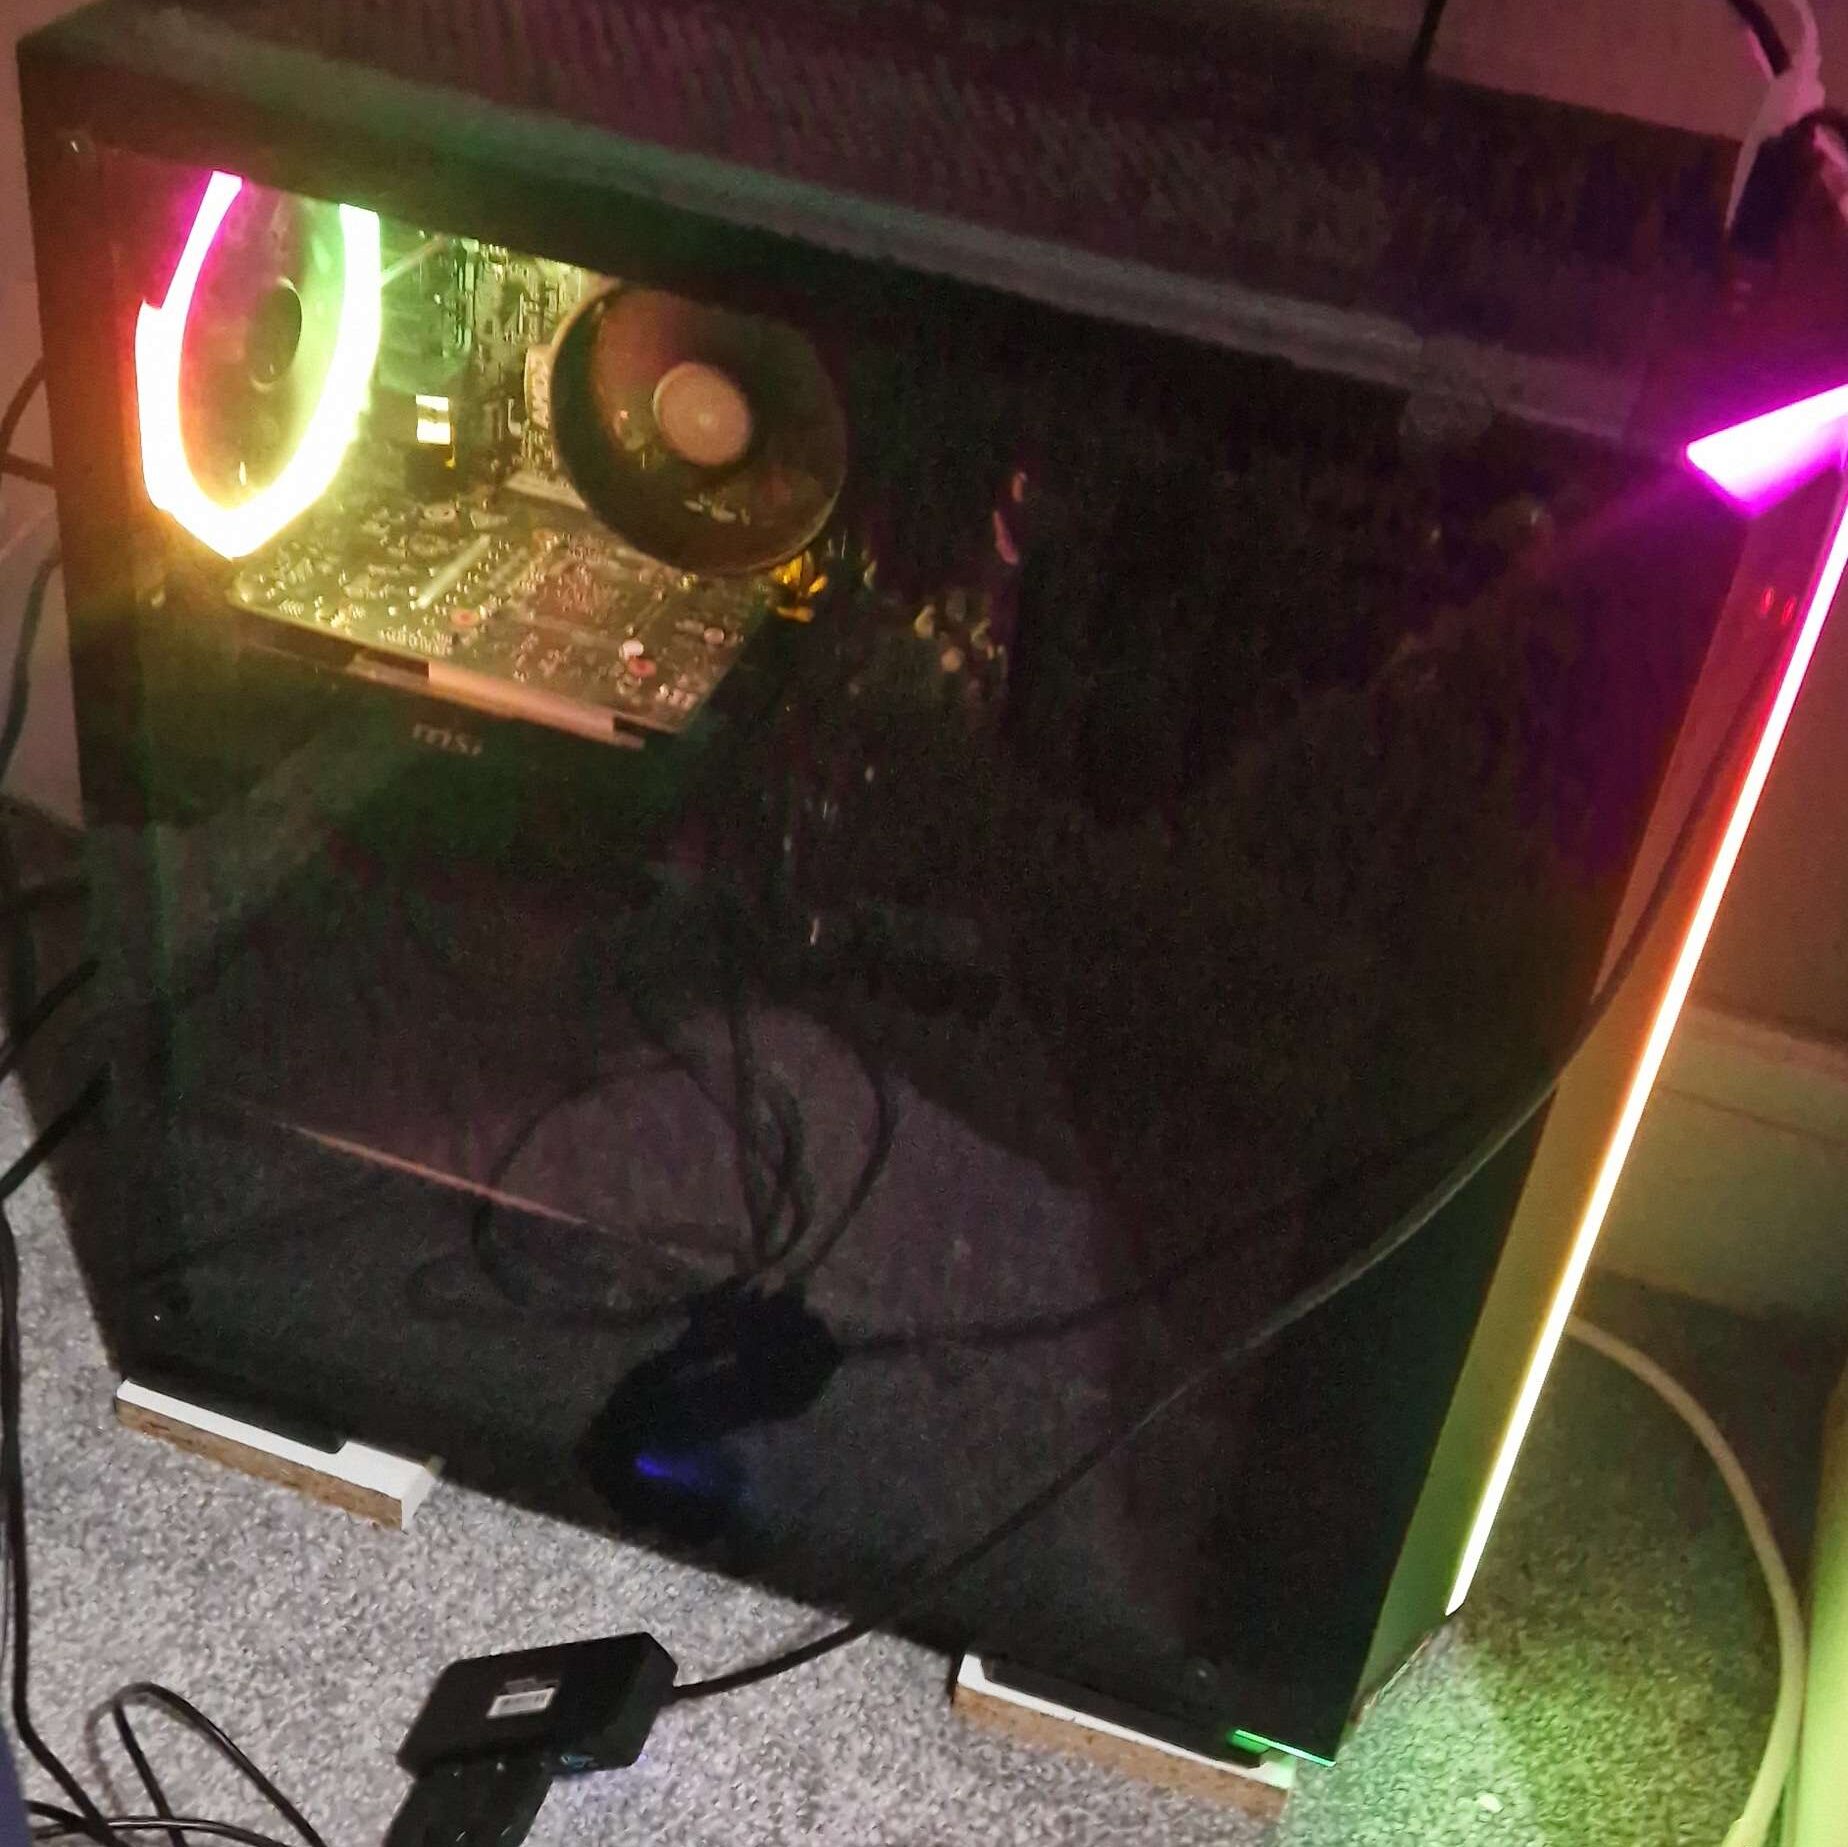
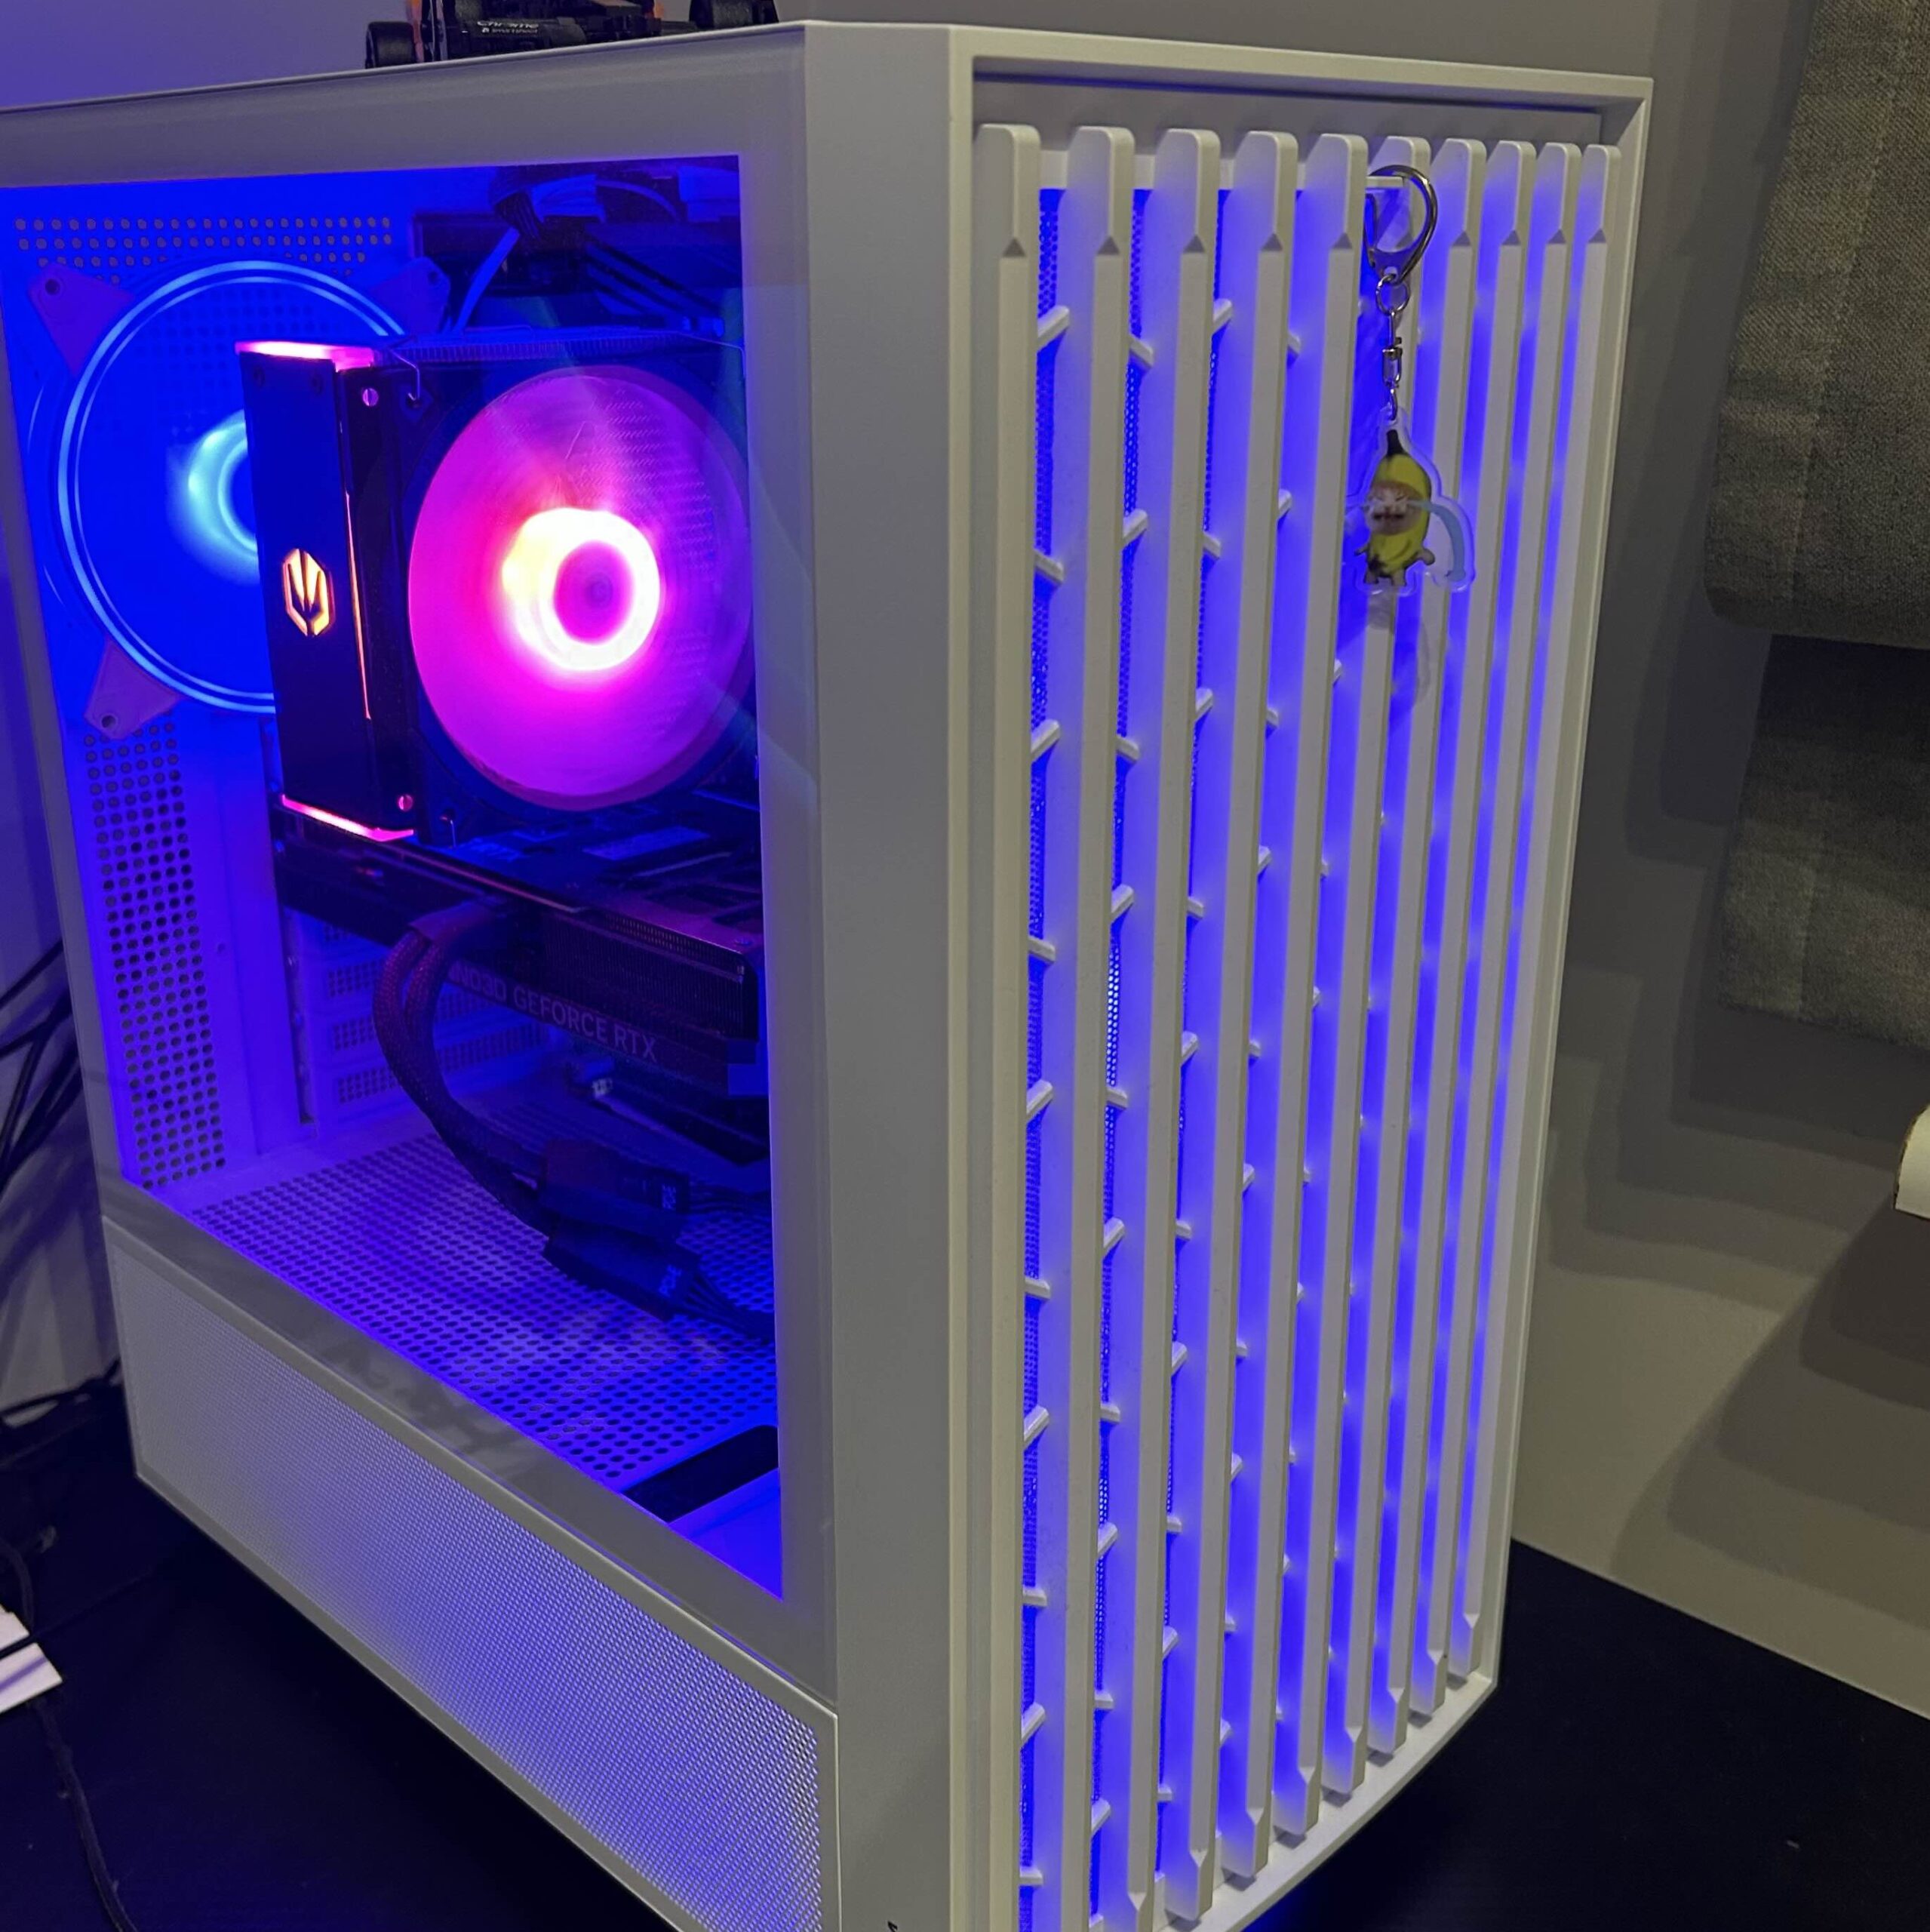
While this guide will be focused on building your own PC, these parts lists can serve as a great guide for selecting a pre-built option if that’s your choice as well. Throughout this Ultimate Flight Sim PC Build Guide, we’ll have a bit of fun as well by showcasing the FSNews Team’s sim PCs, as well as notes on what they would like to upgrade if they could. By the end of this guide, I hope you’ll be well-equipped to build or buy the flight sim rig of your dreams!
How to Use This PC Build Guide
If you’re new to PC building, I would recommend reading this guide cover-to-cover as I discuss several topics that are essential for understanding how to build a flight sim PC in 2024. While most of the material in this guide is tailored towards MSFS 2024 specifically, the recommendations will hold true no matter what simulator you fly.
If you’re more experienced, or ready to just see the builds, start with the build that corresponds closest to your budget. Starting at $800, each build goes up in $600 increments (except for our top-end build) to align with the most significant performance steps you can make. If you would like to customize a build, feel free to mix and match – just remember to consider each component selection and have a reason for making changes. If you have questions, comments, or want to share your builds, join the conversation on our Discord!
Finally, note that the information in this build guide is accurate as of November 2024 to pricing & availability in the United States. While the principles and building concepts I make here are evergreen, pricing and availability will change with time and your region.
Microsoft Flight Simulator 2024 System Requirements
Let’s contextualize this build guide by first discussing the published system requirements for Microsoft Flight Simulator 2024. Microsoft has helpfully divided the requirements into “Minimum,” “Recommended,” and “Ideal” system configurations:
MSFS 2024 Minimum PC Specs:
- CPU: AMD Ryzen 5 2600X/Intel i7-6800K
- GPU: AMD Radeon RX 5700/NVIDIA GTX 970
- RAM (System Memory): 16GB
- VRAM (Video Memory): 4GB
- Storage: 50GB
MSFS 2024 Recommended PC Specs:
- CPU: AMD Ryzen 5 2700X/Intel i7-10700K
- GPU: AMD Radeon RX 5700XT/NVIDIA RTX 2080
- RAM (System Memory): 32GB
- VRAM (Video Memory): 8GB
- Storage: 50GB
MSFS 2024 Ideal PC Specs:
- CPU: AMD Ryzen 5 7900X/Intel i7-14700K
- GPU: AMD Radeon RX 7900XT/NVIDIA GTX 4080
- RAM (System Memory): 64GB
- VRAM (Video Memory): 12GB
- Storage: 50GB
As you can see, the minimum specs for Microsoft Flight Simulator 2024 are very permissive. It is expected to run on hardware from 2014-2016 (i7-6800K/GTX 970), almost a decade old. Impressions from the technical alpha earlier this year are very positive, and Microsoft has insisted that performance optimization was a big focus. This means that if you have any reasonably modern system with a dedicated graphics card, you are likely to be able to run MSFS 2024. However, as simmers, we strive for a better-than-minimum experience – so let’s dive into the build guide! Note: All component images have been sourced from the manufacturer’s marketing materials. Additionally, although affiliate links are included to parts where applicable, FSNews has not been incentivized to recommend any specific part/brand over another.
MSFS 2024 PC Build Guide: General Considerations
When building or buying a PC for flight simulation specifically, there are a few considerations that I like to keep in mind, above and beyond just trying to get the best performance for a given price point. Things such as USB ports are not something I typically pay attention to on a “normal” gaming PC, but I’ll pick a motherboard with additional USB ports over another, all else being equal, since USB performs better when plugged directly into the motherboard rather than a hub – and we all have a ton of USB sim accessories!
Sim PCs can be in high-load operation for extended periods of time during those long-haul flights, and for that reason, good cooling is important. I like cases with a lot of mesh and included fans, and I generally put aesthetics behind cooling performance. After all, many sim rigs are under desks or buried behind large monitors or a bunch of gear clamped to the desk – no need to RGB if you’re not going to see the PC!
Why Sim on PC?
Microsoft Flight Simulator has finally brought the high-fidelity flight sim experience to home consoles, which is absolutely wonderful for accessibility. After all, an Xbox Series X is still less expensive than any of the new PC builds here. However, flight simming on a console is highly limiting in a number of key ways.
First, you lock yourself into the in-sim marketplace for add-ons and mods. The MSFS Marketplace certainly has its problems, and while it’s evolved since that article was written (And MSFS 2024 brings new consumer-friendly features), the storefront has inherent limitations. You miss out on freeware entirely such as FlyByWire’s excellent A380X due to licensing restrictions and the lack of a freeware category in the Marketplace. Many developers choose not to release on the Marketplace at all for various reasons, and products that are available across multiple storefronts often see updates delayed compared to non-Marketplace releases.
You also limit your hardware accessory options compared to PC. Xbox compatibility for yokes, throttles, and pedals has improved, but you’re still limited to basic controls. Accessories such as radio panels, autopilot panels, and more are simply off-limits, and sometimes the control binding interface of MSFS limits what you can do with that hardware.
Finally, simming on a PC opens up a whole new world of performance and visual fidelity. Xbox has no VR option, for example, and Ultrawide monitors are not supported either. Even the lowest-priced PC suggested here will give you visuals and performance that handily exceeds that of the Xbox, and a PC can be upgraded in the future to improve performance. You’re also not required to subscribe to online services in order to fly online and use MSFS 2024’s streaming features – no extra monthly payment for Xbox Live! Overall, while there are plenty of reasons to sim on console (and there is nothing wrong with doing so – despite what some may say!), making the switch to PC will provide the best sim experience for years to come.
AMD Vs. Intel Processors For Flight Sim PCs
When choosing a processor for a flight sim PC, select one with at least 6 cores – but remember that single-threaded performance is also very important. This is usually represented by the speed of the processor in GHz (Gigahertz), but it’s not always that simple due to architectural differences in different processors. These differences manifest differently in every game, but there are particular advantages to certain AMD processors over the entire Intel lineup that make them my go-to recommendation for flight sim PCs.
For example: Intel’s Core i7-14700k processor clocks in at an impressive 5.6GHz max clock, far higher than the AMD Ryzen 5800X3D at 4.5GHz. However, the 5800X3D meets or exceeds the i7’s performance in MSFS, at a typically lower price. This is due to the AMD processor’s higher “Instructions Per Clock” (IPC) and special X3D architecture, which gives a program immediate access to an immense amount of on-chip cache memory – something Microsoft Flight Simulator in particular benefits from immensely. AMD tends to support their sockets for longer than Intel, meaning that it’s more likely that you’ll have an upgrade path in the future.
AMD Vs. NVIDIA Graphics Cards for Flight Sim PCs
When selecting a graphics card, it’s important to keep three things in mind: First, the resolution of the monitor you’re simming with. A higher resolution, such as 4K or ultrawide, will put higher demands on your GPU (Graphics card). The next consideration is VRAM, or dedicated video memory on the graphics card itself. High-resolution liveries, combined with high-detail sceneries, quickly exhaust the dedicated VRAM of all but the best-equipped graphics cards. Finally, consider extra features of your card: upscaling technologies like NVIDIA DLSS (Deep Learning Super Sampling) and AMD FSR (FidelityFX Super Resolution), as well as frame generation, can increase your performance quickly and easily if your card and simulator support it.
Microsoft Flight Simulator 2024 will support DLSS 3 and DLSS 3 Frame Generation, as well as FSR 3 Upscaling (but not FSR frame generation, at least not at the time of writing). MSFS 2024 will also support real-time Ray Tracing for enhanced lighting. NVIDIA graphics cards generally experience less of a drop in performance compared to AMD cards when ray tracing is enabled, although the performance cost for marginally enhanced lighting is still significant. Due to NVIDIA’s exclusive support for DLSS 3 Frame Generation in MSFS, as well as their enhanced performance in ray tracing compared to AMD cards, NVIDIA cards are a popular choice for Microsoft Flight Simulator.
However, the pricing of AMD cards is a lot more attractive if you don’t plan on using those extra features – and not everyone likes the look of ray tracing, upscaling, and frame generation. DLSS in particular has some significant issues with glass cockpits in MSFS, resulting in blurry, “smeared” screens. You can also use Lossless Scaling to enable frame generation on AMD cards for minimal effort and just a couple of dollars. For that reason, I will recommend both an AMD and NVIDIA card for each build, and you can expect excellent performance from each option. Choose the NVIDIA card if you plan to use upscaling and ray-traced lighting, and the AMD card if you want the best bang for your buck performance without relying on upscaling to meet your performance targets.
Benchmarks Can Lie: How to Compare PC Components and Balance Your System
If you type “Processor 1 vs. Processor 2″ into a search engine, the first results that come up may not be accurate at all and in fact may present a misleading picture as to the differences between different components. There are a number of reasons that this is the case, and it’s important to be able to differentiate between reliable and unreliable comparisons and benchmarks when comparing and selecting components for your flight sim PC.
Understanding Benchmarks and Reviews
In 2024, a direct stats-for-stats comparison is often unable to tell the full story. As I mentioned earlier, for example, architecture differences between CPUs can make the “faster” processor effectively slower in certain tasks. Different companies take different approaches to increasing performance and that makes stat comparisons less useful. When looking at benchmarks, beware of sponsored results and know that there are some sites that exhibit bias towards certain brands. Popular comparison site Userbenchmark, for example, is widely understood to have an algorithm intentionally tuned to favor some brands, and unfortunately appears top of search results, making accurate comparisons even more difficult to find.
When deciding between a few parts to buy, look for reliable benchmarks from established technology media. A reliable review or benchmark will control for as many variables as possible during their tests, and often present a more nuanced conclusion other than “This part is good/bad.” I highly recommend Gamers Nexus for in-depth reviews of all modern PC components. Hardware Unboxed is another outlet I recommend.
Always pay attention to the system configuration that a reviewer tests a component with, and the resolution, and understand that your results will vary. For example, most CPU reviews are conducted with the most powerful graphics card available to eliminate any GPU “bottlenecks.” Pairing the same CPU with a less-powerful GPU, or playing the same game at a different resolution, can change the performance you get. It is, unfortunately, not easy to find reliable benchmarks for Microsoft Flight Simulator specifically. Since the conditions of any flight can change hour-by-hour, and this is still a relatively niche game, many mainstream outlets simply do not test it.
Keep in mind the saying that “There are no bad products, only bad prices”, and consider current pricing against tested performance when making your decision. A product that was poorly priced at launch (such as the RTX 4060) can receive price cuts during its lifetime which makes it a more attractive option. I recommend thinking critically about the conclusions of reviews more than a few months old. Those conclusions and recommendations were made in the context of pricing and availability at the time – which may change by the time you are ready to purchase.
How to Build a Balanced Flight Sim PC
You may have heard the term “bottleneck” applied to PC parts. The concept is simple: Each component of the PC is dependent on the others in some way and if you pair a fast component with a slow component, the slow component can be the limiting factor in your performance. Without upgrading that slow component, you can spend as much as you like on the rest of the system and see little to no improvement.
In general, GPUs are considered to be the limiting factor for gaming – i.e., a better graphics card will give you a larger leap in performance than a better processor. Some components usually have little to no impact on your performance – such as your storage. Some components see greatly diminishing returns as well. RAM, for example, is only an issue when there isn’t enough of it. Buying 64GB of RAM will not make your computer faster if it only needs 20GB to function properly – it’ll just make it more expensive.
Flight simulators stress the system in all ways, so it is important that you build a system that is balanced. In particular, Microsoft Flight Simulator is very heavily dependent on a fast CPU to run its simulation. If you’ve ever booted up dev mode and seen yourself limited by “MainThread,” you’re hitting a CPU ceiling – and I would expect that most of us are. Storage speed is important for Microsoft Flight Simulator since it’s constantly streaming data in and out of memory as you fly across the Earth. Network speed is also important considering the cloud-first architecture of Microsoft Flight Simulator 2024.
Therefore, it’s important to give consideration to all aspects of your build when selecting parts for a flight sim PC. You can “get away with” an older CPU with a newer GPU in most other gaming scenarios, but often skimping on the CPU will result in unacceptable performance in complex aircraft with high-fidelity simulation. A slow drive will increase loading times and can result in stutters as the sim tries to load scenery on the fly.
Consider your budget and the screen resolution you’re planning to sim at and select parts that balance the entire system. All of the parts lists presented in this guide are neatly balanced and do not lean heavily on one specific component, since your flight simulator will use it all.
How to Actually Build a PC
If you’ve never build a PC before, it may seem intimidating. However, I would like to assure you that it is not as tough as it sounds. Modern PC parts are likened to “adult LEGOs” and that comparison largely holds true. You only need simple tools such as a screwdriver to assemble it, and all the parts go together in one way so critical mistakes are surprisingly difficult to make. It is, however, a good idea to follow some simple guidelines:
- Work slowly and read ALL the manuals. Rushing the job will lead to mistakes, especially if it’s your first build. Less expensive PC builds will usually be quicker to build due to less complexity, but this is not always the case. The manuals that come with each part will give you great instructions on how to install it. Even experienced builders read each manual carefully.
- Build the PC outside of the case first, and test it. Put the CPU into the motherboard, then connect the cooler, SSD, RAM, graphics card, and power supply outside of the case. Many people use the motherboard box as a convenient build surface. With the “naked” PC assembled in this way, connect it to a display and power it on (you may need to use a screwdriver to bridge the power button connectors on the motherboard). You’ll be able to poke around in the BIOS and verify that all your parts are connected, recognized, and working. Troubleshooting at this stage is far easier than when it’s all assembled into the case.
- Don’t wear socks, and ground yourself before assembly. Although modern parts are very ESD (Electro-Static Discharge) resistant, it never hurts to take precautions. Wearing socks on carpet can pick up static electricity, and I always like to touch a grounded connection (such as the screw in a light switch plate) before working on my PC, just to be safe.
If this is your first time building a PC, it never hurts to ask for help and get more resources. This assembly guide may be long but is an excellent visual resource to help you along the way. If you have a friend or family member who can help out, enlist their help – I promise that there’s nothing that PC enthusiasts love more than helping someone else on their first build.
A Note on Windows, Pricing, Used Parts, and Availability
PC part pricing can vary dramatically over time due to supply, demand, and regional availability. At the time and location of writing (Early November 2024 in the United States) there are some odd pricing trends due to the recent release of brand-new processors from AMD and Intel as well as the approach of Black Friday and holiday pricing. Many products are either inflated in price or out of stock. This will normalize over the coming weeks, but know that when you go to look up pricing for parts in this article, you will likely see variations.
For the purposes of this article, when researching prices, I used MSRP (Manufacturer Suggested Retail Price) if the current price is higher than MSRP, and the current price if the current price is lower than MSRP. Prices will be notated in USD with a note to the storefront where the price was observed at the time of article publication. As I mentioned in the section above, the recommendations in this article are made in the context of pricing and availability available today, and if the situation is different when you’re reading this, the best option may change.
The American retailer Microcenter deserves a special mention here. If you are lucky enough to live near one, their CPU bundles are absolutely stellar value. You can save hundreds of dollars by starting with a CPU bundle, where available.
Used PC parts could be an entirely separate article, and there is so much variability in used markets that I will not cover that in detail here. Just know that buying used can save significant amounts of money if you know what you’re looking for. If you do buy used, make sure you purchase from a reputable seller and ask if they can demonstrate the part working before you buy – especially for graphics cards.
Finally, I have not included the cost of Windows on any of these builds. If you are upgrading from a previous PC, you can easily transfer your Windows license over if you’re logged into your Microsoft account. If you’re building new, you can use Windows for free as long as you’re okay with the activation watermark. When you’re ready to purchase a license, it is typically $100.
MSFS 2024 $800 PC Build: Beat the Recommended Spec
First in line is a no-frills PC build that sacrifices some creature comforts in pursuit of the best performance per dollar I could find. While this PC can be found new for slightly more than the cost of a PS5 Pro, it handily exceeds the minimum requirements for MSFS 2024. In fact, it’s significantly more powerful than the Recommended spec as well! This PC pairs best with a 1080P screen but can still handle 1440p monitors with a little tweaking of settings. All told, this PC can be built for $779.59 at the time of writing this article. View this list on PCPartPicker here.
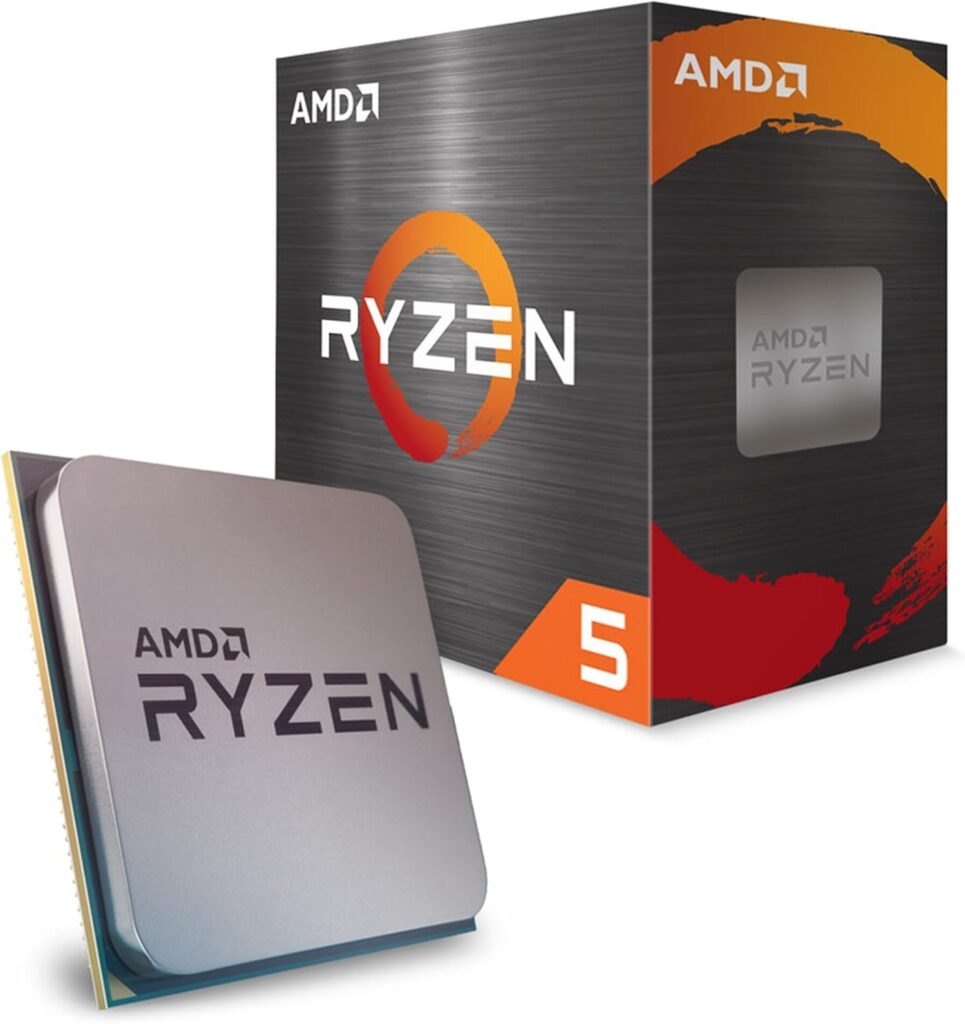
CPU: AMD Ryzen 5 5600 – $120.29 via Amazon
The Ryzen 5 5600 may be two generations old, but it’s no slouch. Far from a bargain-bin CPU, it packs the IPC improvements of all 5000-series Ryzen processors into the AM4 socket – ripe for upgrading to the excellent 5800X3D if budget or future ability allows. It also includes a perfectly adequate pack-in CPU cooler, so we don’t need to shell out for another one.
At this price point, the Intel i5-12400F will provide marginally better outright performance at this build tier for a few dollars less – but I was unable to find a motherboard that made sense. Pricing and availability of LGA1700 motherboards at the time of writing were atrocious, to the point where any savings by going for the i5 were immediately erased by more expensive motherboards. However, if your local pricing is accommodating, the i5-12400F is a good alternative.
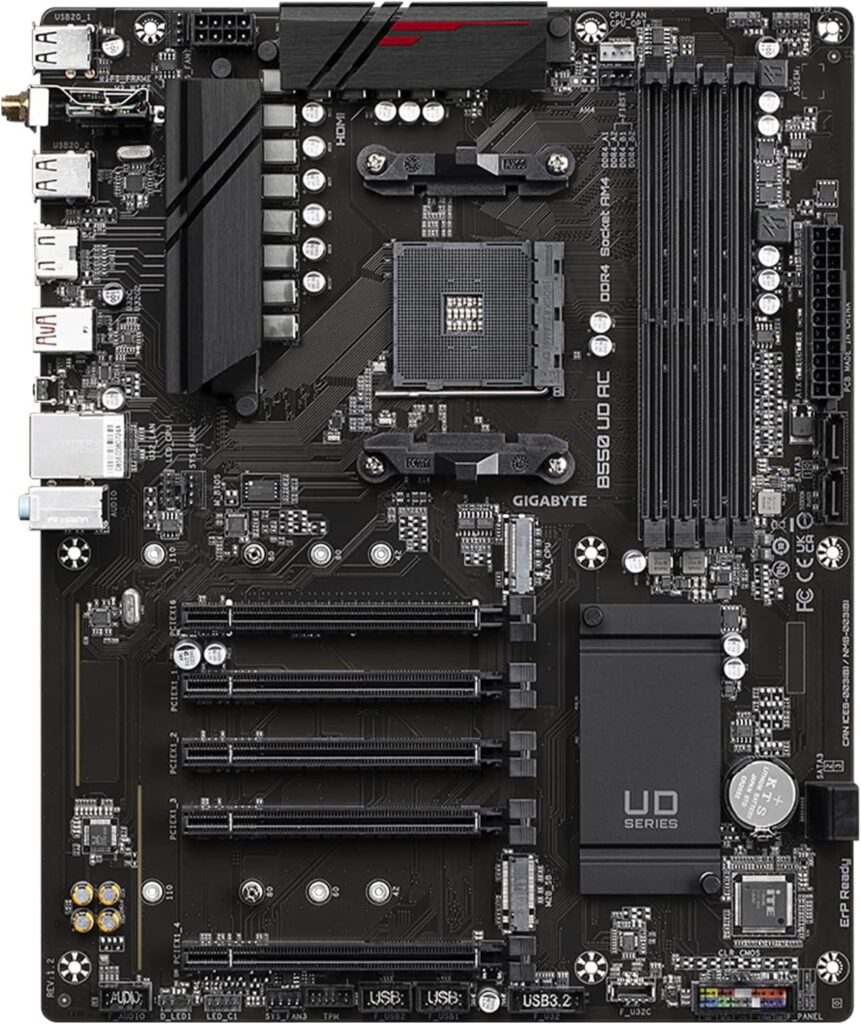
Motherboard: Gigabyte B550 UD AC ATX AM4 Motherboard – $106.45 via Amazon
Gigabyte’s UD (“Ultra Durable”) series of motherboards are the epitome of “Everything you need with nothing you don’t.” You won’t find fancy aesthetics, NVMe heatsinks, RGB lighting or the like here, but what you do get is more USB ports (7, 8 counting the Type C port) than any other motherboard at this price point, built-in WiFi & Bluetooth, and plenty of internal connectivity for your drives and case ports.
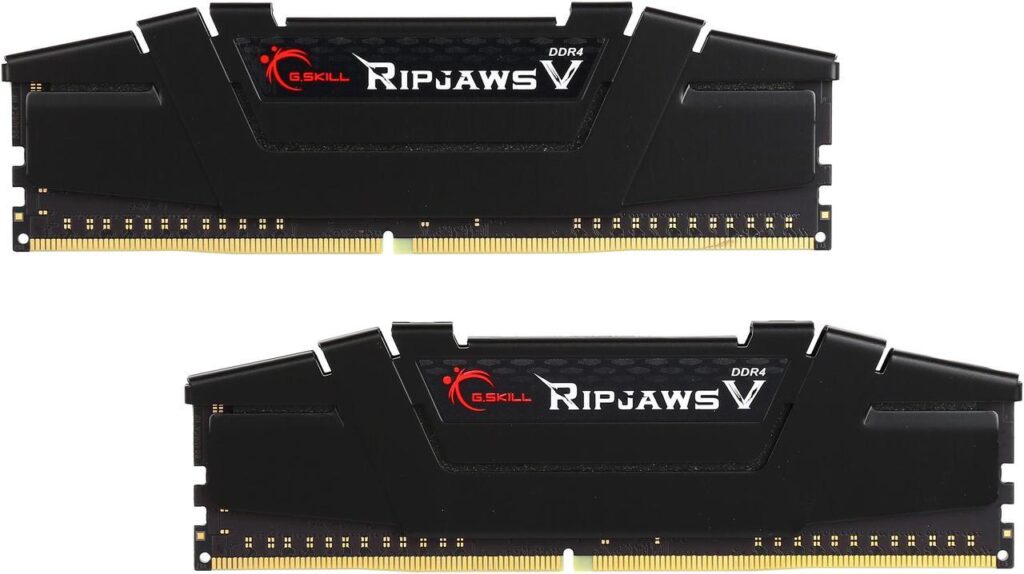
RAM: 32GB (2x16GB) G.Skill Ripjaws V DDR4-3600 CL16 – $49.99 via Newegg
It’s a good time to buy DDR4 memory. This 32GB kit from G.Skill runs at the 3600 MT/S “sweet spot” speed for Ryzen processors and boasts lower latency as well. As a note: This specific RAM kit (F4-3600C16D-32GVKC) is not listed on Gigabyte’s QVL (Qualified Vendor List – a list of supported RAM kits). However, my research brought up reports of this kit being able to run at rated speeds on the Gigabyte UD motherboard. If vendor-tested compatibility is a concern, pick up the CL18 version of this kit instead: F4-3600C18D-32GVK.
Storage: Kingston NV2 1TB M.2 PCIe Gen-4 NVMe Solid-State Drive – $55.00 via Amazon
Even though MSFS 2024 is slated to stream the majority of its content from the Internet, thus reducing drive requirements, it’s still likely that your local add-on library will start building quickly and taking up space. It’s never fun to feel constrained by your drive space and need to choose which add-ons to delete and which to keep. I chose a PCIe Gen 4 drive here instead of a slightly cheaper Gen 3 NVMe drive due to the faster read speeds. While it wasn’t significant, I did notice a reduction in load times when I upgraded from a Gen 3 to Gen 4 drive, so I have included one here since the price is right.

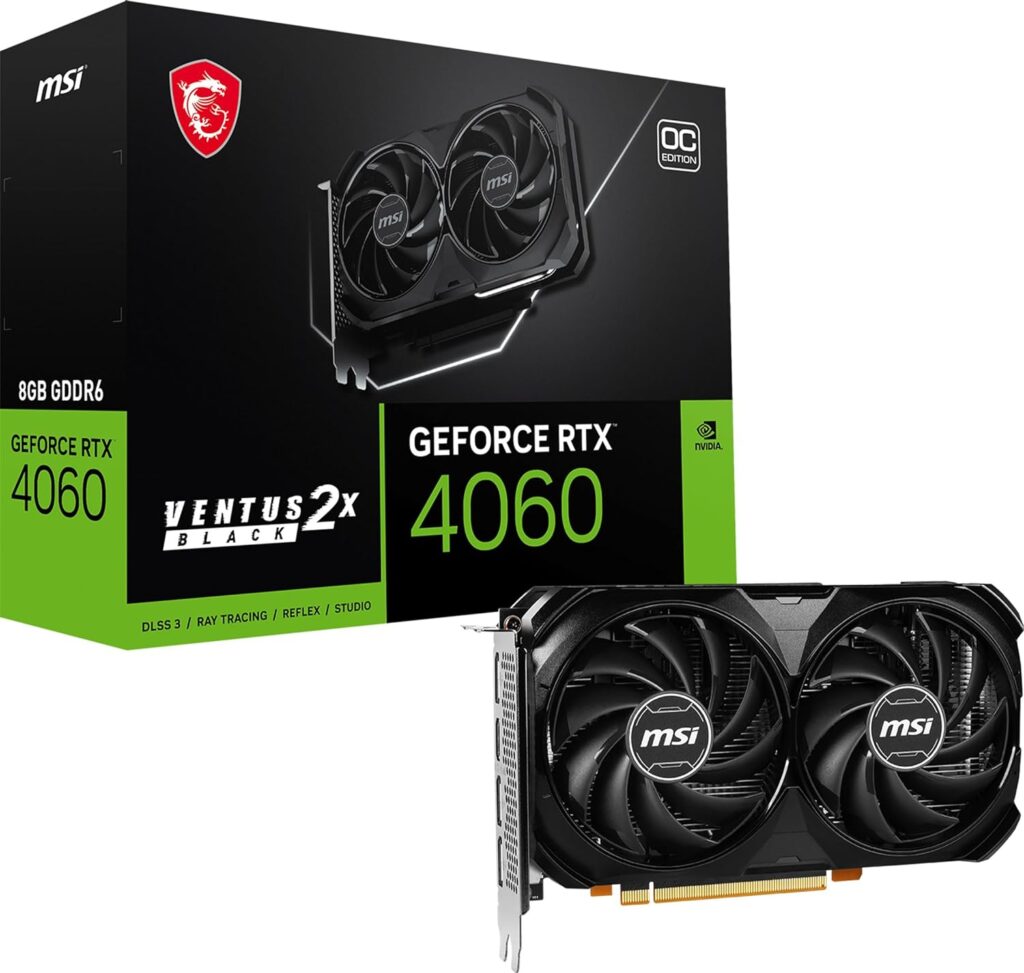
Video Card: RTX 4060 8GB (MSI Ventus 2x BLACK OC) – $298.97 via Amazon
You can substitute any ~$300 RTX 4060 here, it does not have to be the MSI version. Each 4060 will perform within margin of error of each manufacturer’s card – they’re the exact same chip underneath the fancy fans. The RTX 4060 is the entry-level card to use DLSS upscaling and frame generation in MSFS 2024, which is why I have recommended it here. With only 8GB of VRAM, though, it may struggle at higher resolutions. Buy the NVIDIA card if you plan to sim with ray tracing, using upscaling technologies.
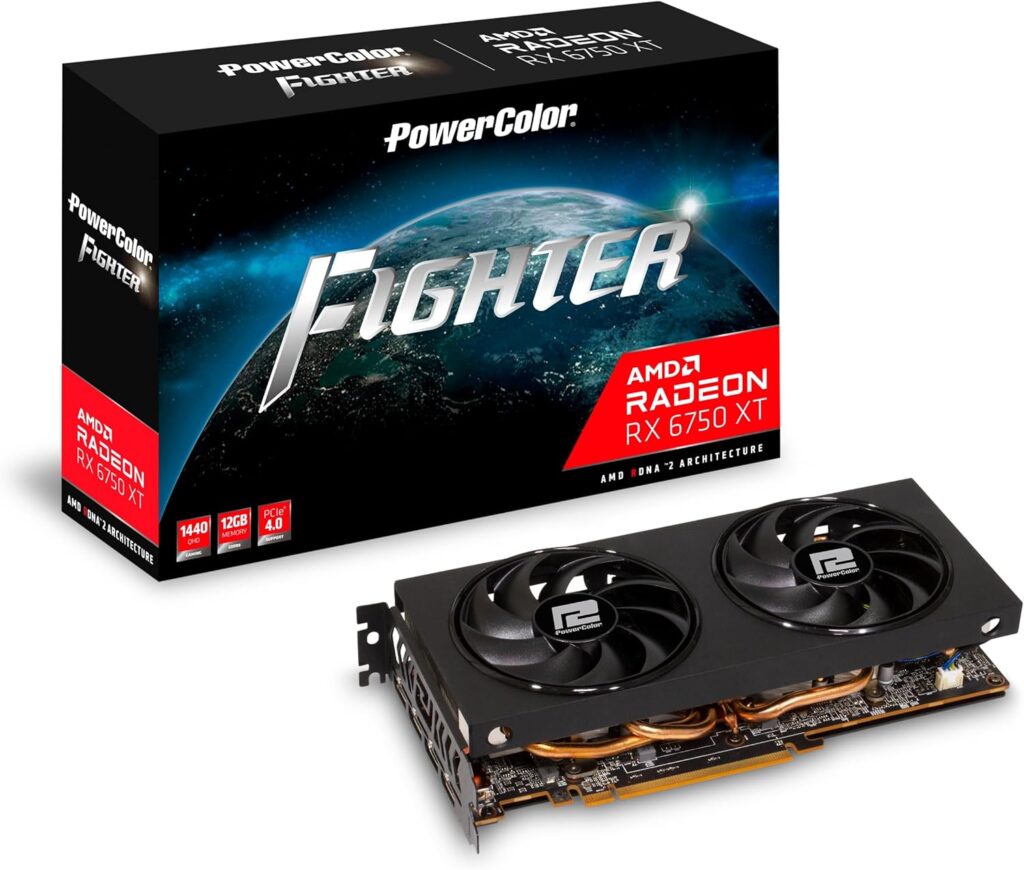
Alternate Video Card: AMD RX6750XT 12GB (Powercolor Fighter) – $299.99 via Amazon
The AMD alternative has 12GB of VRAM and will also provide stellar performance. In fact, it generally edges out the 4060 by approximately 10%, so I highly recommend choosing the AMD card if you don’t plan to use the NVIDIA-exclusive technologies. Buy the AMD card if you want the best bang for your buck and don’t plan on using upscaling or frame generation.
Case: Montech AIR 903 BASE – $59.90 via Newegg
The Montech AIR 903 BASE follows the no-frills theme of this build to the letter. It has a simple aesthetic with a tempered glass side panel, but functionality is where this case shines and at an unbeatable price. Three fans are included with the case, two of which are a larger 140mm size, pushing a lot of air through the mesh front paneling. For future upgrades, the case supports 360mm radiators as well as long GPUs. Finally, it includes USB type C on the front panel.

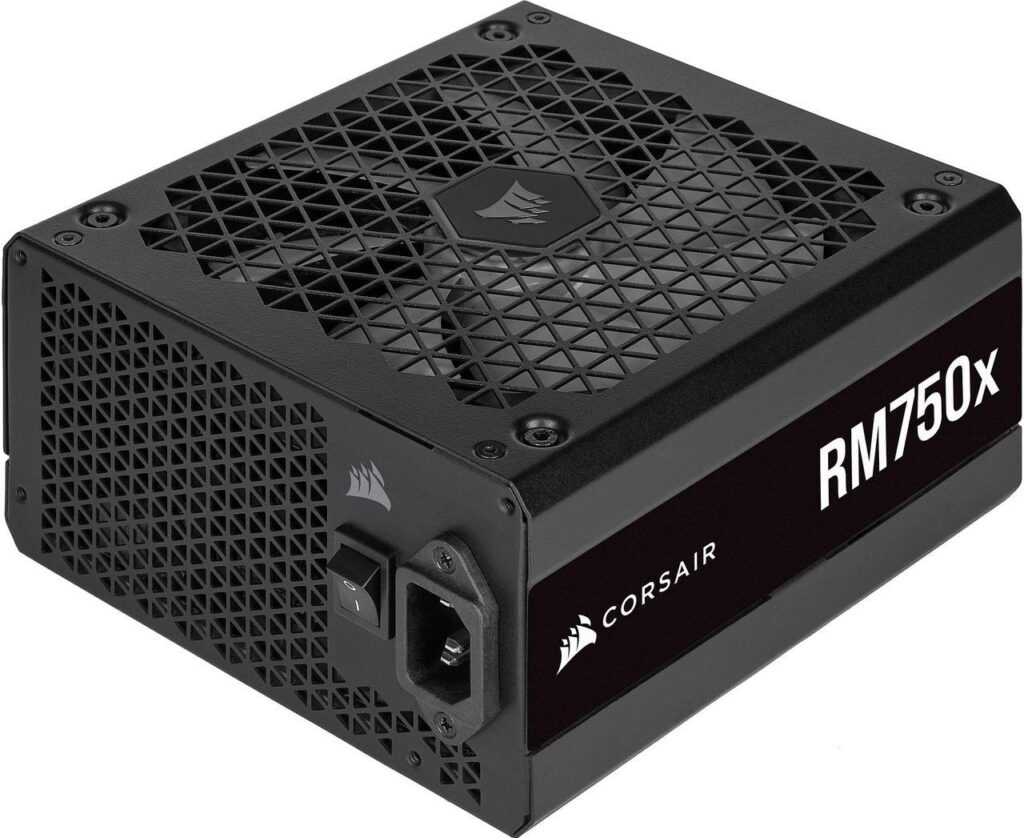
Power Supply: Corsair RM750x (2021) 750w 80+ Gold Fully Modular PSU – $79.99 via Amazon
I have used Corsair’s higher-end power supplies for about a decade now and have never been steered wrong. The black PSU and sleeved cables match the rest of the system, and it has plenty of power headroom for future upgrades as well. It’s important to note that, while the 2021 version of this power supply is cheaper, it does not include the 12VHPWR cables required by the RTX 4060. Be assured, however, that the RTX 4060 includes an adapter for this cable in the box – so you do not need to go out of your way to buy a pricier, newer power supply.
MSFS 2024 $1400 PC Build: 1440p/Ultrawide Power
At the $1400 price point, you’ll notice that a number of components actually remain the same. This is because, once again, we’re looking for bang-for-buck options here. We can just get more bang for an extra $600 of buck! We make major upgrades to the CPU and GPU, with a couple more nominal upgrades to round out the package. While it’s not quite the “Ideal” spec for MSFS 2024, it’s getting pretty close.
This build will perform excellently at 1440p, and is a great place to start getting into Ultrawide monitors for flight simulation as well. At the time of writing, this build clocks in at $1342.76. However, you can strategically mix and match some components from the $800 build above to bring the price down to $1206.21 if you don’t need some bells and whistles, for nearly indistinguishable performance. Keep an eye out for those suggestions as you read on! You can view the list on PCPartPicker here.
CPU: AMD Ryzen 7 5800X3D – $319.99 via Amazon
The 5800X3D is likely going to end up on a list of some of the most legendary processors of the modern era. It is reasonably priced and thanks to the 3D V-Cache architecture and high boost clocks, still outperforms top-of-the-line processors from AMD and Intel in 2024 despite being introduced in 2022. While the AM4 socket this processor slots into does not have an upgrade path, this is the best performance in MSFS that you can get without making a major (and expensive) upgrade to Socket AM5.
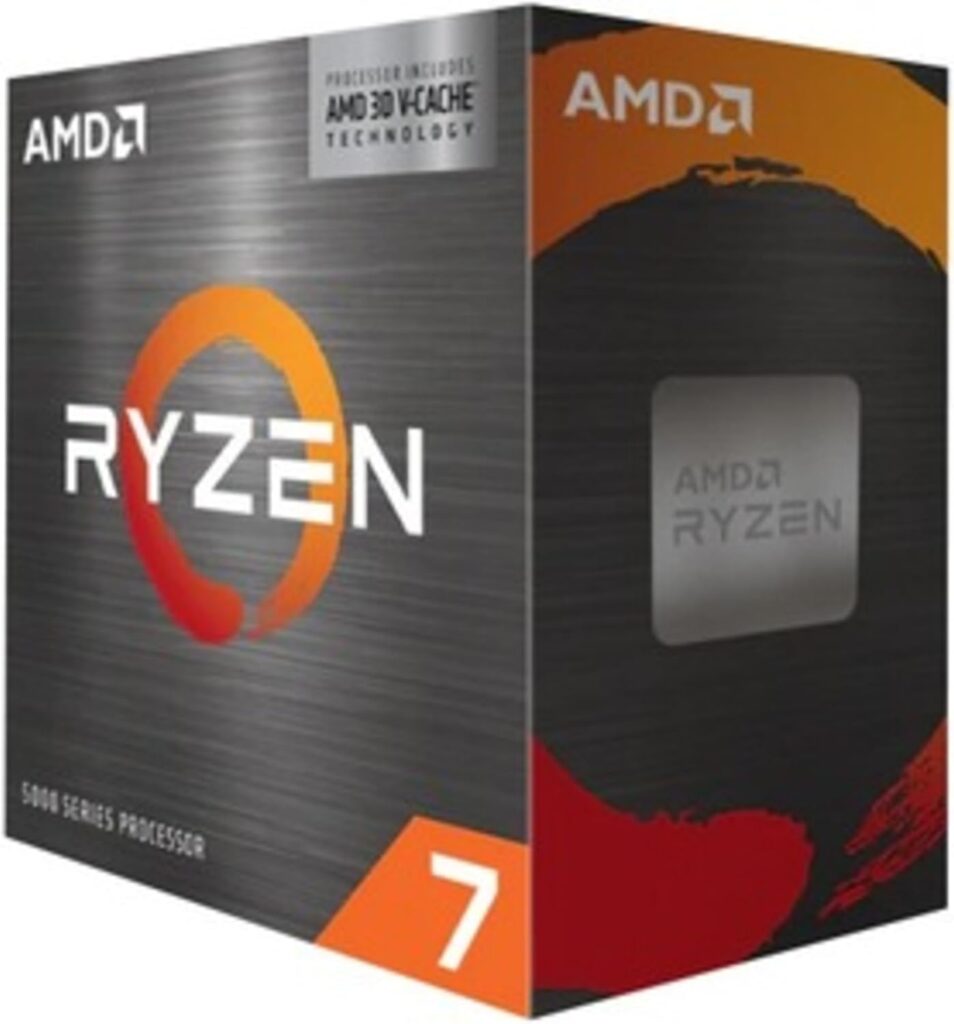
Unfortunately, its popularity makes it highly likely to be scalped or out of stock when you look for it. If you can’t find a 5800X3D at a reasonable price, look out for a 5700X3D instead. Currently at $206 on Amazon, and available, it still outperforms its competitors dollar-for-dollar by a significant margin and doesn’t have the scalper-driven supply and pricing issues of the 5800X3D. I definitely recommend the 5700X3D over the even cheaper 5800X (Non-3D) – that 3D V-Cache really makes a difference in MSFS.
Keep an eye out for good deals on the Ryzen 7800X3D too as the holiday season approaches. If you can snag one for around this price it will be absolutely killer, and I have seen them drop this low on occasion in bundle deals – though none were available outside of Microcenter at the time of this writing. Remember, though, if you do, you’ll need the motherboard and RAM to match – read on to the next build for recommendations there.
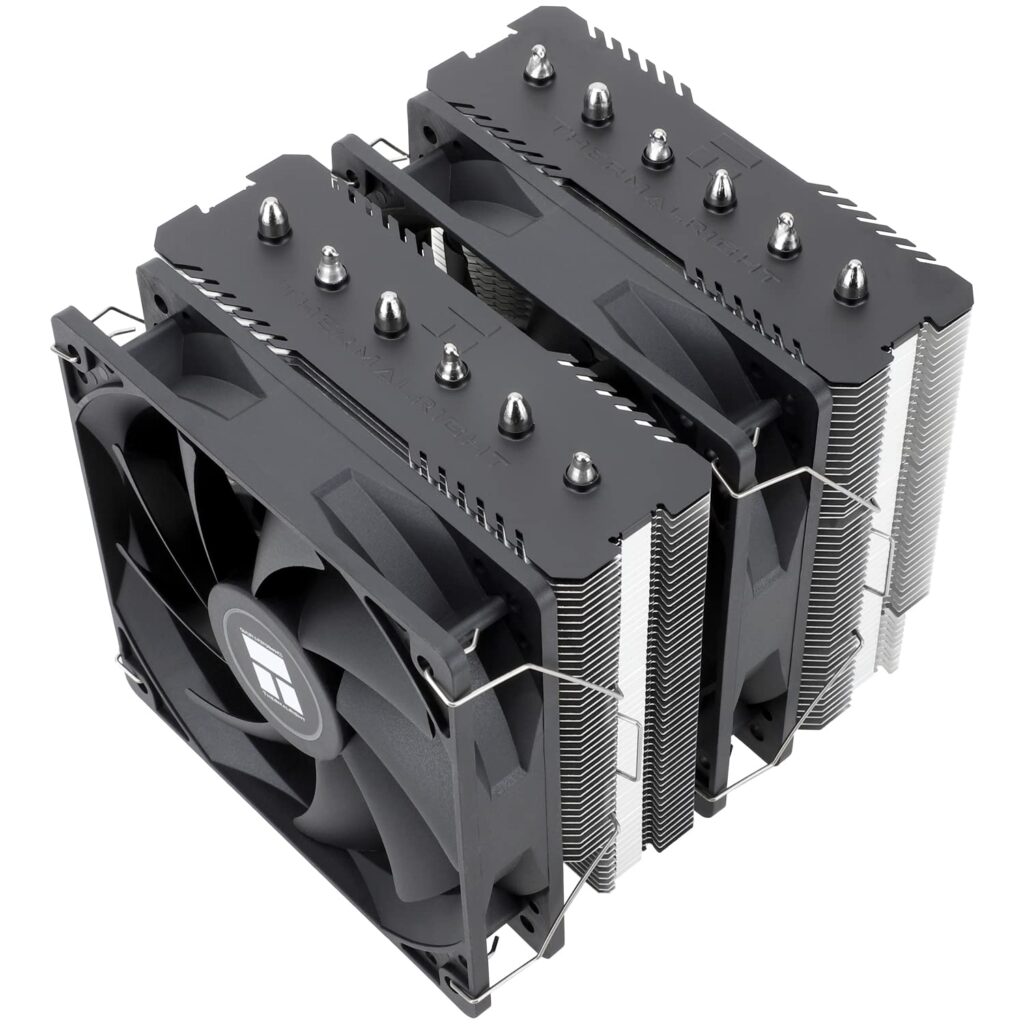
CPU Cooler: Thermalright Peerless Assassin 120 SE – $34.90 via Amazon
Since the higher-end CPUs do not include a cooler in the box, we need to get one ourselves. There are a lot of good options, but the best bang for buck right now is the Thermalright Peerless Assassin. With an understated design and excellent fans, the Peerless Assassin comes in at a price point that assassinates its large competitors from companies such as Noctua and Be Quiet!. It has easy installation (though some users report a bare-bones instruction manual) and is compatible with the RAM and case we have chosen.
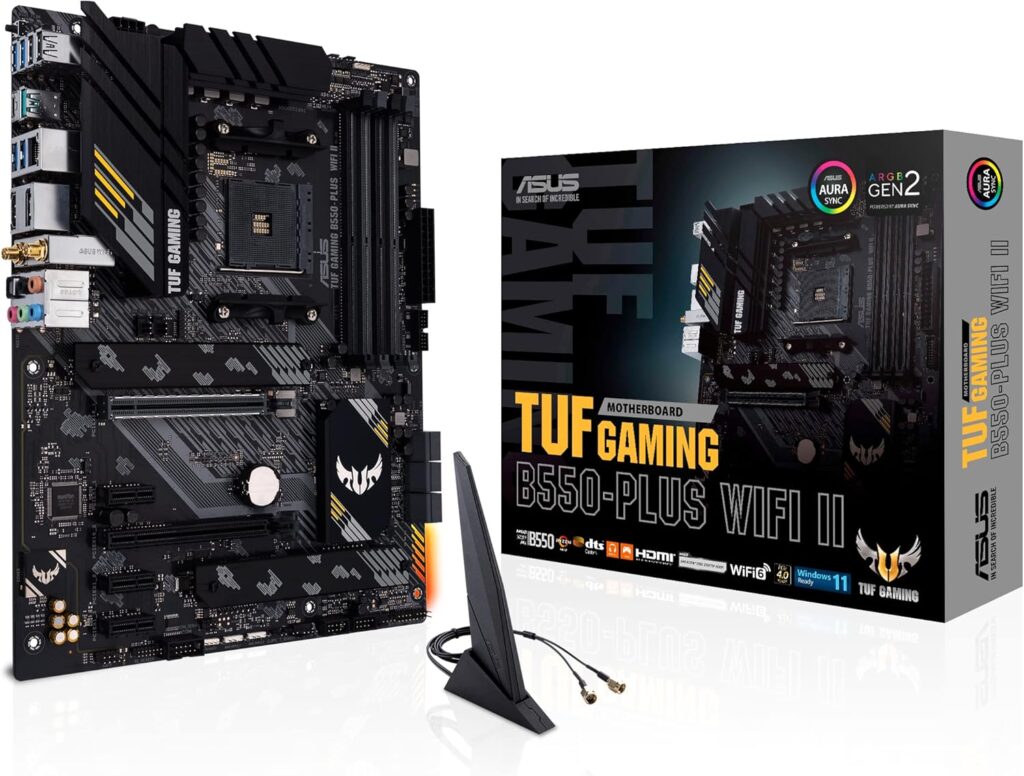
Motherboard: Asus TUF GAMING B550-PLUS WIF II – $129.99 via Amazon
On the surface, this is a very similar motherboard to the Gigabyte board in the previous build; however, it has a couple of small but key differences. First, it is equipped with better VRMs (Voltage Regulation Modules) in order to better support the higher-power 5800X3D chip – and it can overclock it too with the cooler we’ve chosen, should you be so inclined. It steps up network performance to WiFi 6 & a 2.5G LAN port to meet MSFS 2024’s demanding bandwidth needs. Finally, it includes debug LEDs making it easier to diagnose any issues that may arise with your build. If you want to save some money, the Gigabyte board will do fine – but to step up your game, this board is your buy.
RAM: 32GB (2x16GB) G.Skill Ripjaws V DDR4-3600 CL16 – $49.99 via Newegg
If it ain’t broke, don’t fix it – and this is just a good deal. You won’t find anything meaningfully better, and the only upgrade from DDR4-3600 CL16 memory is by either getting more of it or getting bling’d out RAM with fancy lights. If you do decide to upgrade to 64GB of RAM, I suggest buying a 4x16GB kit or two of the exact same 2x16GB kits – it’s very important that the RAM sticks match as closely as possible.

Storage: WD Black SN850X 2TB PCIe Gen 4 NVMe SSD – $139.99 via Amazon
This isn’t the cheapest 2TB drive out there, and you might notice that compared to the previous build we have spent more than double the price to get “just” double the storage. If you would like to save some money, it’s absolutely fine to grab two of the 1TB drives from the $800 build, or even just stick with a single terabyte of storage. However, the SN850X is one of the best-performing NVMe drives you can get for a reasonable price right now, with its excellent read speeds resulting in possible load time reductions, and we’ve chosen two terabytes here to store all those top-end sceneries and liveries.

Graphics Card: NVIDIA RTX 4070 12GB (PNY XLR8 Gaming VERTO EPIC-X RGB) – $499.00 via Walmart
When buying an RTX 4070, you need to be on the lookout for a sneaky downgrade that NVIDIA pulled earlier this year: Many newer models of RTX 4070 now come with the lower-bandwidth GDDR6 RAM rather than the GDDR6X that the card launched with. The PNY card recommended here keeps the GDDR6X memory while being one of the best-priced 4070s I could find on the market. GPUs at this price point are really something to look for sales on – pricing is variable, and the same card from different manufacturers can vary by hundreds of dollars. As we talked about in the $800 build, buy the NVIDIA card if you plan on going all-in on ray tracing in MSFS 2024 using DLSS 3 Frame Generation to make up for the performance drop.

AMD Graphics Card: AMD RX 7800XT 16GB (XFX Speedster SWFT210) – $469.99 via Amazon
We see a similar story here: The AMD card ekes out the NVIDIA option by about 8% here in pure performance and does it at a lower price. With 16GB of VRAM, the 7800XT is well-positioned to handle the toughest sceneries the new simulator can throw at it and can do so for years to come. However, its ray-tracing performance leaves something to be desired compared to the NVIDIA option once again. So, buy the AMD card to save a few more dollars without sacrificing performance.

Case: Montech AIR 903 BASE – $59.90 via Amazon
Welcome back, old friend. As proof positive that this simple case can handle serious power, the Montech AIR 903 BASE is my recommendation for this mid-range build as well. With the included fans, I have no qualms about its cooling performance, and the tower cooler that we are putting on the CPU will result in a very standard front-to-back airflow pattern with the same included fans. Plenty of space, plenty of expandability, and a great build experience make this case hard to beat.

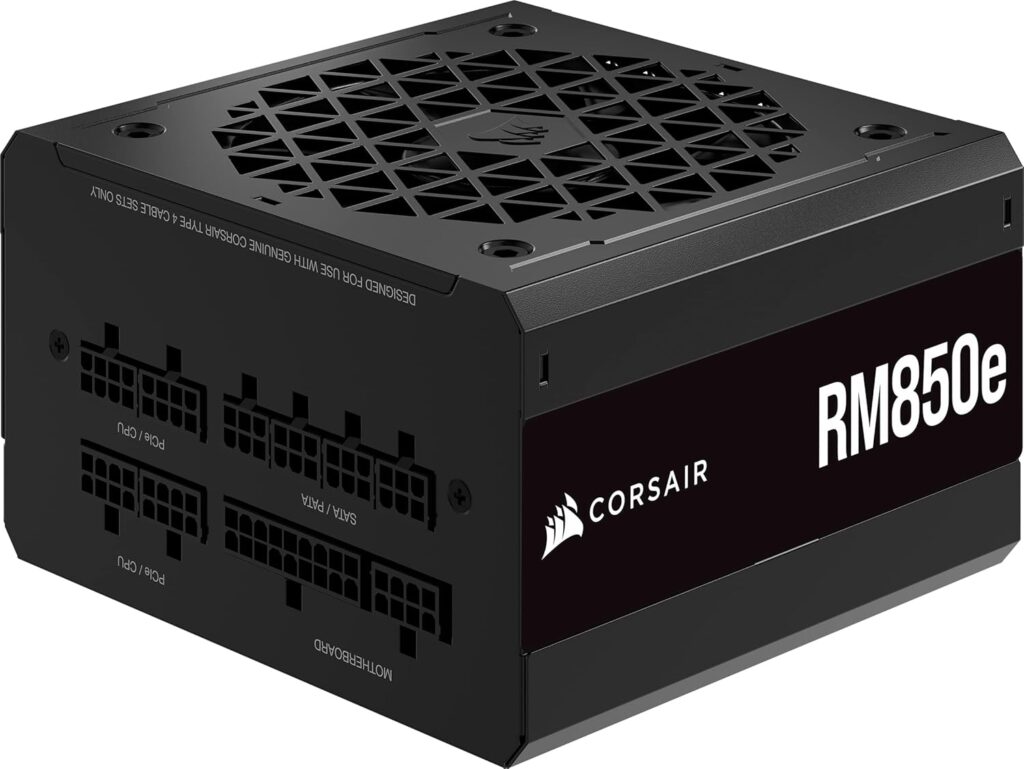
Power Supply: Corsair RM850e (2023) 850W 80+ Gold Fully Modular PSU – $109.99 via Amazon
This power supply adds an extra 100W of power over the 750W unit we put into our $800 build. Frankly, if you’re looking to save money you could stick with that and be just fine. But we’re not just adding wattage – we’re getting a power supply with the new 12VHPWR connector required by our RTX 4070 so we don’t need to use an adapter. However, if you use the AMD RX 7800XT instead, that does not need the new connector so you can feel comfortable with the 750W unit recommended earlier.
MSFS 2024 $2000 PC Build: 4K, Ultrawide, and VR
Stepping up another $600 can bring us firmly into the territory of high-end hardware. Not only does our performance step up once again, but we can start making choices that result in a more aesthetically cohesive build. While I am still recommending parts based on value first and foremost, I’m now choosing some parts to build a better-looking and quieter build. I’ll note where you can save some money if you choose a no-frills option, but honestly, when we get to these price tiers I treat PC building as an art. Your PC can be an extension of you and should be something you are proud to use and display. I admit that some of these choices reflect my own sense of style, but you do have some room to play here if you want to.
This PC will perform at or above the “Ideal” spec for MSFS2024 (Better processor, and if you go with the AMD GPU, it meets Microsoft’s “Ideal” recommendation). This is the performance tier to look at to get a smooth VR experience with high-end headsets such as the Pimax Crystal. It will also tackle any resolution screed you throw at it, including 4K or super ultrawide resolutions. As designed and at the time of writing, the PC can be built for $2057.02. View the list on PCPartPicker here.
CPU: AMD Ryzen 7 7800X3D – $399.99 via Amazon
This is the no-holds-barred king of the last-generation CPU when it comes to Microsoft Flight Simulator – and, frankly, most other games. Only recently superseded by the 9800X3D a couple of weeks ago, it’s hard to do better than this with only the newer chip usurping its crown. Motherboard options are plentiful, and it has a long and happy upgrade path ahead of it for AMD’s future releases. Pricing for the 7800X3D has been variable lately due to demand, but it is worth waiting for a sale – do not “settle” for a lower-tier chip simply because this one is not available.

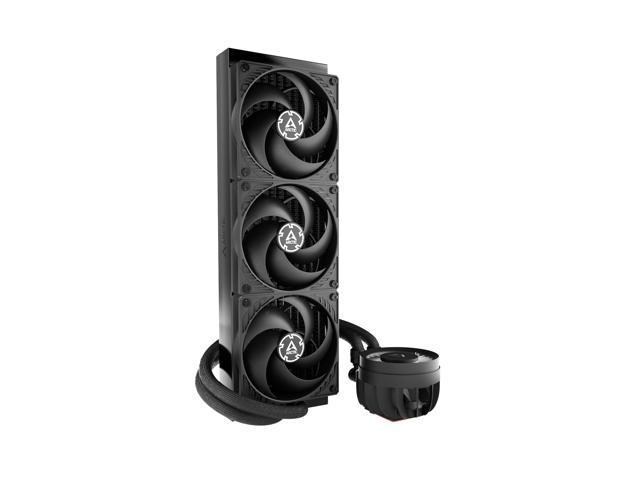
CPU Cooler: ARCTIC Liquid Freezer III 360 – $90.98 via Amazon
We have arrived in the realm of liquid cooling. Almost triple the price of the Thermalright Peerless Assassin, the Liquid Freezer III offers lower temperatures or similar temperatures at lower fan speeds (and lower noise) enabled by its 360mm radiator. The Liquid Freezer III also incorporates a downward-facing VRM fan in the pump block to push cooling air across the motherboard heatsinks, keeping them cooler under heavy load. While you will still be able to get the 7800X3D’s legendary performance with the Peerless Assassin (and could save money while doing so), you can do so cooler and quieter with this no-frills liquid beast.
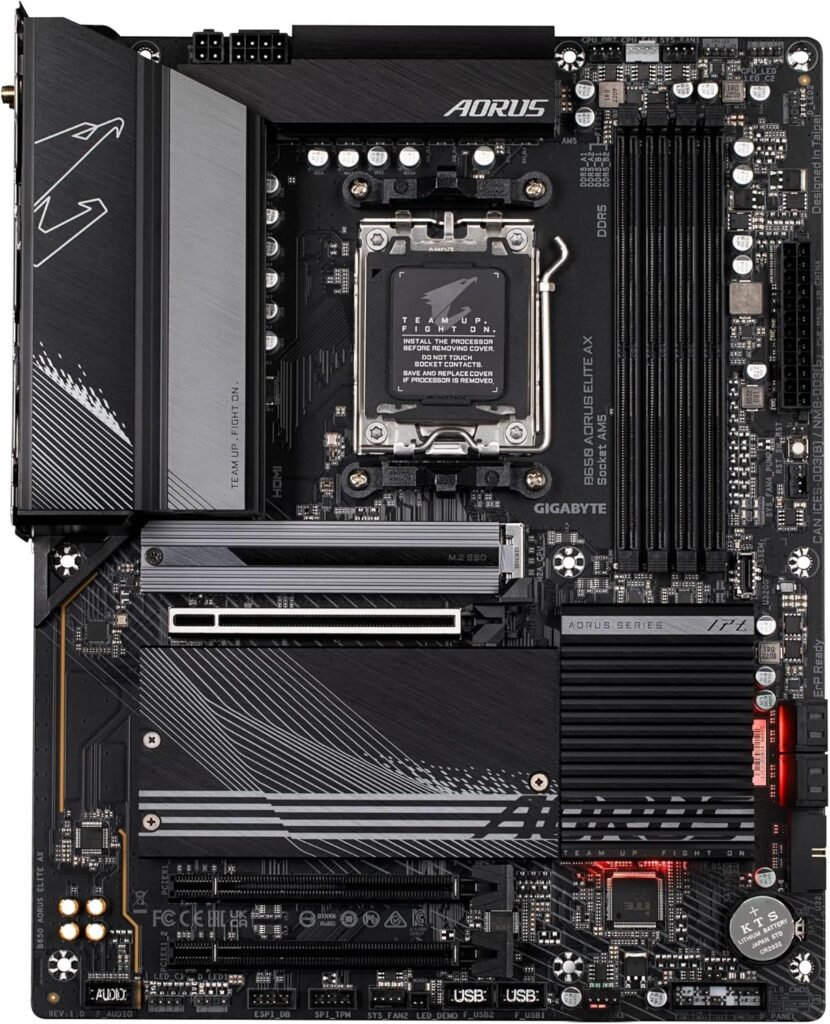
Motherboard: Gigabyte B650 AORUS Elite AX – $199 on Amazon
With a whopping eleven USB ports (12 counting the Type C), this motherboard offers everything that a simmer needs. It has enhanced power delivery options for the more powerful processor, with high-quality VRMs to match. It keeps the 2.5G LAN but now steps up the WiFi radio to WiFi 6E. It comes with a dedicated pump header for the liquid cooler, and a reset button & debug LEDs right on the motherboard for overclocking and troubleshooting.
RAM: G.Skill Trident Z5 RGB 64GB (2x32GB) DDR5-6000 CL30 – $189.99 via Newegg or $197.99 via Amazon
When buying DDR5 RAM for Ryzen processors, there are a couple of things to keep in mind: First, DDR5-6000 with CAS Latency 30 is the sweet spot for price/performance. Going higher puts a lot of strain on motherboard memory controllers for marginal performance gains. Second, limit your buy to two sticks, and make sure they’re part of a kit. Most memory controllers have trouble with four sticks right now and if they’re not matched, then you may not be able to get rated speeds.
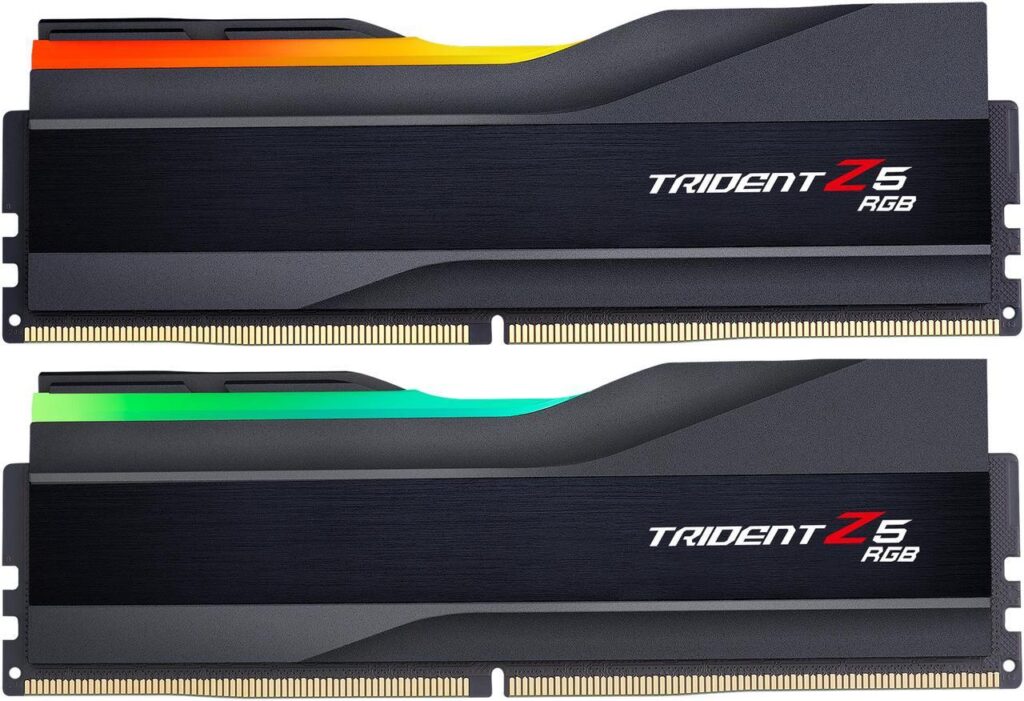
I’ve been buying the G.Skill Trident Z series for as long as I’ve been building PCs, and never been steered wrong. I’ve chosen a kit with RGB here, the first “frill” on a recommendation in this extensive guide. If you go with RGB RAM, I highly recommend controlling your lighting with OpenRGB instead of the Gigabyte RGB software. Of course, if lighting isn’t your thing, you can find phenomenal no-frills kits such as the G.Skill Flare X5 that will perform exactly the same, while saving some dough. Just make sure that you purchase the kits that advertize AMD EXPO capability, as there are some kits that are built specifically for Intel instead and they can be hard to tell apart.
Storage: WD Black SN850X 2TB PCIe Gen 4 NVMe SSD – $139.99 via Amazon
The SN850X is back! There’s little more to say here other than that it remains a top choice due to its read/write speeds that exceed that of the competition. The motherboard in this build does have three NVMe slots and a bevy of SATA connectors, so if you feel you need more storage there are plenty of connections for it. PCIe Gen 5 drives become an option at this tier; however, the price increase to a Gen 5 drive does not justify its modest improvement compared to Gen 4.

Video Card: NVIDIA RTX 4070 Ti Super 16GB (Gigabyte WINDFORCE OC) – $799.99 via Amazon
High-end video cards get ridiculously expensive, and the $300 jump from the 4070 in the previous build to the 4070 “Ti Super” version of the same card is emblematic of that. Still, the 4070 Ti Super offers a noticeable performance bump over the base card, with 16GB of GDDR6X VRAM to back it up. The flow-through design of the Gigabyte card I recommend here meshes well with the case choice, as you will soon see.
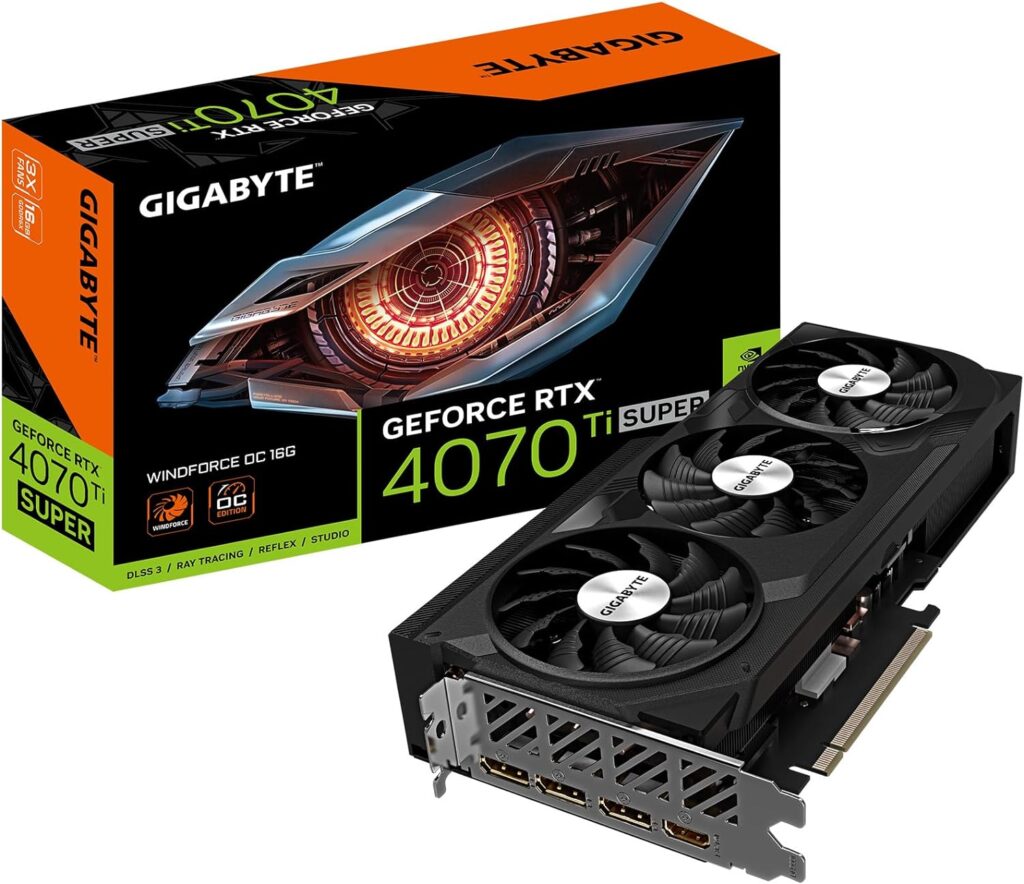
The NVIDIA option here is firmly geared to cranking the graphics up and enjoying the ray tracing, at a premium cost to match. While it technically doesn’t meet the “Ideal” spec according to Microsoft, it is very close. A 4080 Super, to meet and exceed the “Ideal” spec, starts at $999 (For what it’s worth, the non-Super 4080 also starts at $999 at the time of writing, so it isn’t worth splitting hairs between the two).
AMD Video Card: Radeon RX7900XT 20GB (XFX Speedster MERC310) – $670.61 via Amazon
I’m about to sound like a broken record: the AMD option for this build once again has better outright performance by about 8% but is slower in ray tracing applications. This time, however, it comes at a steep (Approx. $130) discount. This card meets the “Ideal” spec for MSFS2024, according to Microsoft. If you’re looking to save money on this build while keeping your performance high, this is where to do so. Use that money towards a sim accessory or add-on you’ve always wanted, and you likely won’t miss frame generation all that much – and, if it becomes critical, you can use something like Lossless Scaling to make up the difference.

Case: Antec FLUX ATX – $119.99 via Amazon
Antec is a name you may recognize from the olden days of PC building, but they are now back with a bevy of fantastic, well-priced cases that provide excellent build experiences and cooling to boot. I personally love the Walnut accents and swooping mesh front panel, and it is available in white if you prefer a light-colored build. The Antec FLUX Pro is a larger version with an easier build if you want to spend about $30 more, but has the same basic aesthetic and construction. But it’s not just aesthetics in which the FLUX Pro shines, it’s a fantastic performer when it comes to keeping your components cool.
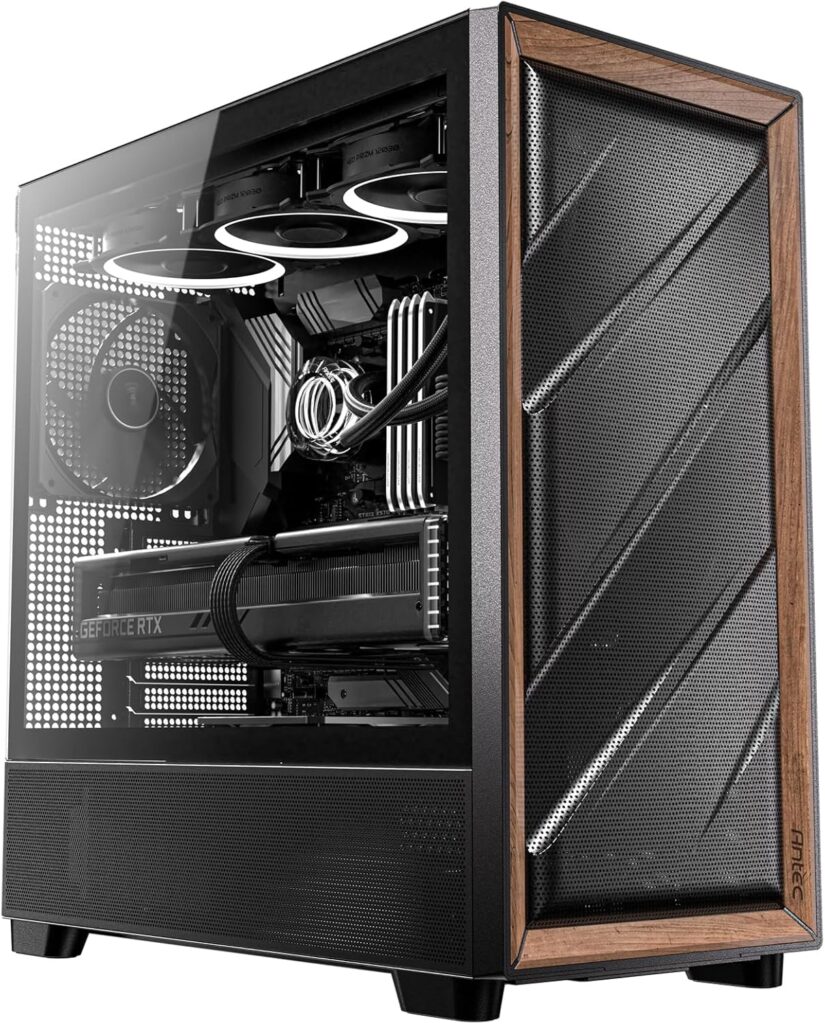
The Antec FLUX includes five preinstalled fans including one that pulls cool air in through the power supply chamber via a mesh lower panel in order to directly feed cool air to the GPU. It will easily support installing the 360mm liquid cooler either in the front or on top for a wide range of airflow configurations to suit your preference. The top of the case is entirely removable as well, which eases the build experience significantly.
Power Supply: Corsair RM850e (2023) 850W 80+ Gold Fully Modular PSU – $109.99 via Amazon
Another returning component from our previous build, there is no need to upgrade here. The RM850e has all the power this build needs, even with a hungry GPU in the mix. You still have some headroom for overclocking if you choose. I also like that this power supply is shorter which leaves some space in that mesh bottom chamber of the case, easing airflow through it to utilize that bottom intake fan effectively.

MSFS 2024 $3,800 PC Build: As Real As It Gets
Look, when the budget gets as high as this, there is basically one option: The best of the best. This build does just that, starting with the fastest CPU for flight sim and pairing it with the best graphics card on the market. You can run anything with this build, at high framerates, and do so without breaking a sweat. This build will handily beat the “Ideal” spec for MSFS 2024. Make sure, if you’re shopping for the ultimate PC, that you have the ultimate display as well – this performance is wasted on small, low-resolution screens.
However, at this price tier more than any, my point about PC building being almost an art form deserves repetition. While we don’t want to waste money, there is no reason not to make a purchasing decision influenced by what looks good to you. We can also exercise more discretion over ancillary aspects of our build such as noise levels and potentially exotic cooling solutions such as open-loop custom liquid cooling, and we can choose our components with a lot more room for our personal wants and setup needs instead of the raw value for money. The PC I present to you here is not far off from my own current PC build, and I hope that by explaining the decisions I made along the way I can help prime you to make similar decisions, should you choose to follow along. At the time of publication, this build cost $3,782.06 to purchase new. View the list on PCPartPicker here.
CPU: AMD Ryzen 9800X3D – $479.99 MSRP
The newest CPU in AMD’s -X3D lineup, the Ryzen 9800X3D is the no-contest pinnacle of a gaming CPU, and and a flight simulation powerhouse. Easily topping every benchmark chart since its release in November 2024, its only downside is its availability. This one, though, is worth waiting for. At the time of publication, it is the best – and with this budget, we’ll settle for nothing less.

Note that AMD also offers 12- and 16-core CPUs, yet we have selected an 8-core part. Isn’t that worse? While it falls behind in applications that rely on high core count, such as development and content creation, the lower core count actually enables it to be clocked higher, which benefits flight sim. There are some additional architectural considerations about how the CPU cache is shared between the “chiplets” on AMD’s higher-core parts that limits the impact of the additional cores. For an MSFS-focused PC, then, the 8-core part is the best bet.
CPU Cooler: ARCTIC Liquid Freezer III 360 – $90.98 via Amazon
The Arctic Liquid Freezer III 360 is the best-performing liquid cooler on the market today and its VRM cooling fan makes it ideal for high-power systems. There are a plethora of all-in-one (AIO) liquid coolers like this on the market, and for the most part, they all perform very similarly. Arctic’s offering tops the bunch, but if you aren’t a fan of its basic aesthetic then you can select one that matches your preference.

Motherboard: ASUS ProArt X670E-CREATOR WIFI – $420 via Amazon
This may be the most interesting part of the entire build. It’s a last-generation motherboard (Ryzen 9000 launched to the X870 motherboards), and it’s not a “top-end” SKU such as the Crosshair series. It will require a BIOS update to work with the Ryzen 9800X3D, so why even bother with the hassle when “better” boards exist? Isn’t this supposed to be the best build?
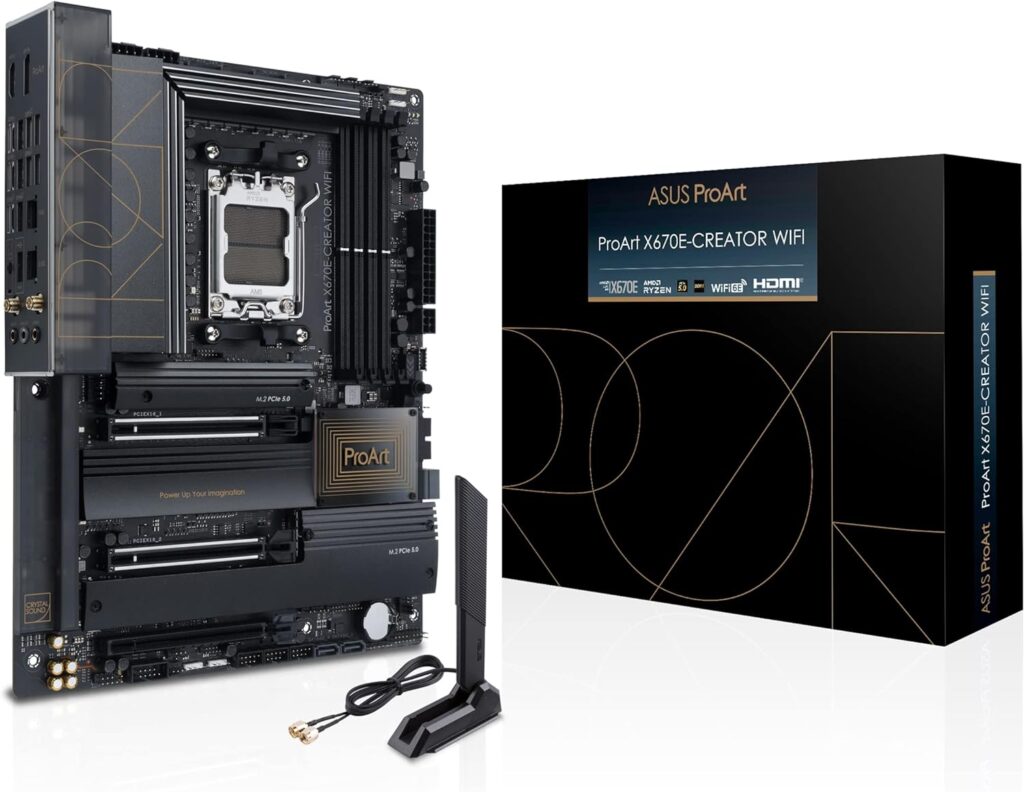
There are a number of reasons I chose this board for my personal flight sim rig and why I recommend it here. First, its unmatched connectivity. With eight USB-A ports, three USB-C ports, 10G LAN port and high-power USB-C front-panel connector, I will never be hurting for connections or ports. Two of those USB-C ports are high-speed USB4, and the board is unique in that it accepts DisplayPort input to drive displays with the graphics card via those type-C ports on the back. This opens up a wide array of smaller, flexible displays and accessories, and I use a type-C display underneath my main monitor for charts and instrumentation. This motherboard lets me drive that without using the built-in CPU graphics.
The board also has features that make it much easier to build with. The BIOS version is not an issue as it supports headless BIOS updating, without a CPU installed. It also has a unique push-button mechanical latch for the graphics card slot, which is a lot easier to work with when installing. The newer version of this board, in fact, gets rid of this mechanical latch (as well as the high-powered front-panel Type C connector), which means it has fewer features than the older board.
RAM: G.Skill Trident Z5 RGB 64GB (2x32GB) DDR5-6000 CL30 -$189.99 via Newegg or $197.99 via Amazon
We’ve seen this kit before in the previous build, and there’s no reason to get any fancier than this. Higher-speed memory costs significantly more with diminishing performance returns, and at full tilt my PC doesn’t use anywhere close to the 64GB of RAM I am recommending here. Really, the only consideration with this kit is whether or not you like the way it looks – and remember, they do offer it in white.

Storage: WD Black SN850X 2TB PCIe Gen 4 NVMe SSD – $139.99 via Amazon
The SN850X is back again! At this point, you may want to consider multiple drives. I actually have four separate drives in my PC right now: A fast boot drive, a fast flight sim drive, a cheaper drive for “other games”, and a big, slow hard disk for archival purposes. All except the hard drive are still NVMe Solid State Drives. Having multiple drives makes it easier to “Segment” your work and games, keep yourself organized, and make changes/upgrades without having to worry as much about causing issues.

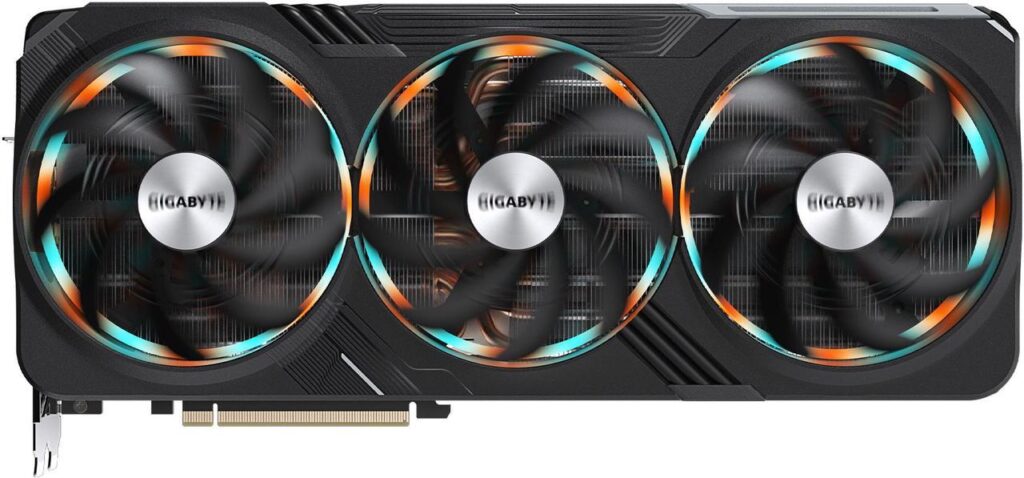
Video Card: NVIDIA RTX 4090 24GB (Gigabyte GAMING OC) – $1,919.98 via Newegg
The best of the best, at an astronomical price to match. The RTX 4090 is not a good value, but there’s nothing on the market that can touch its performance. You can spend a ton more on the 4090, and here I have chosen one of the lowest-priced examples currently on the market. However, its cooler still offers a triple-fan, flow-through design that can cope with the high power of the card, and it will perform exactly the same as any other 4090 – no need to spend even more.
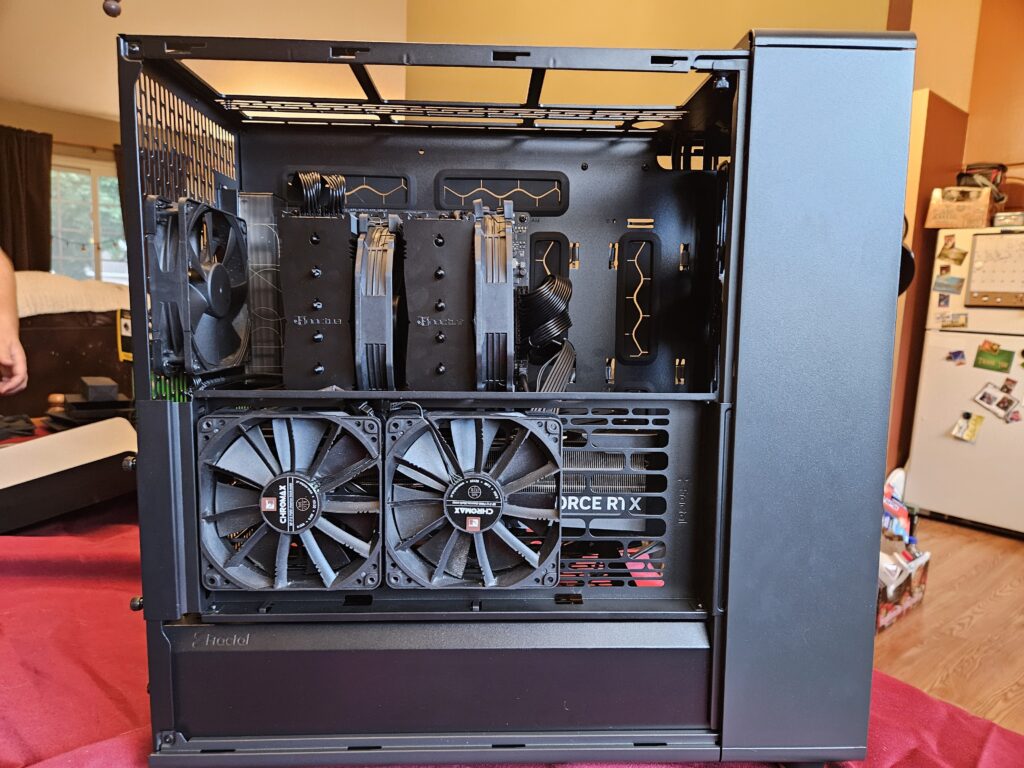
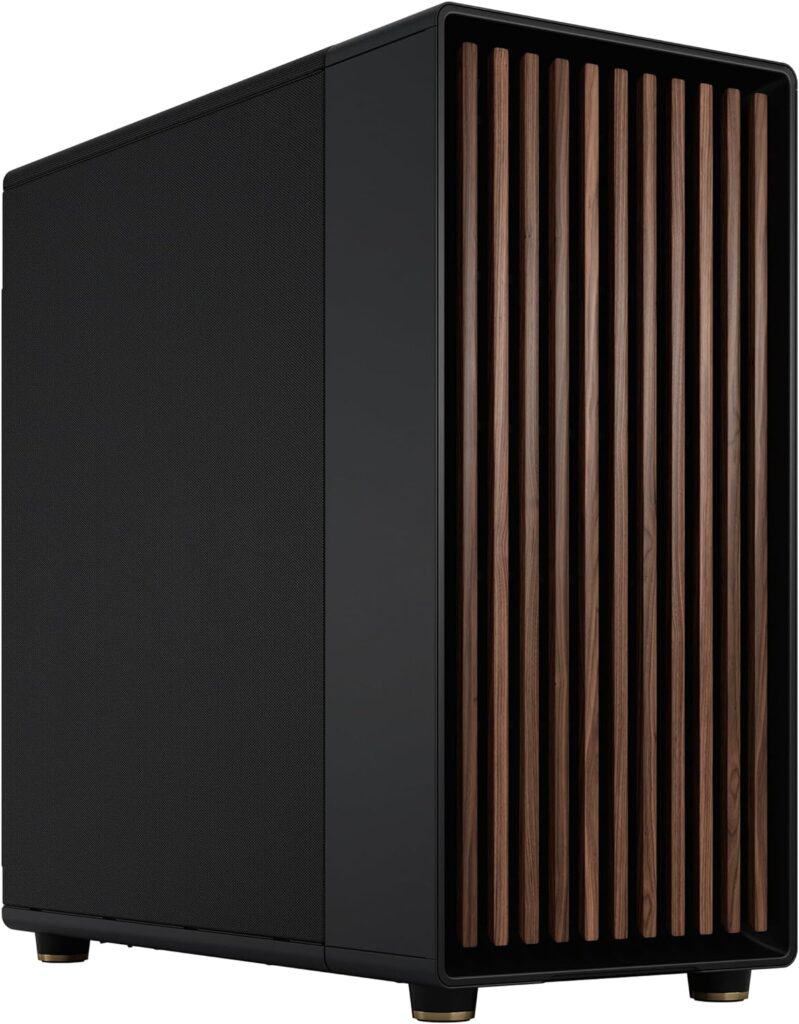
Case: Fractal Design North XL (Mesh) – $179.99 via Amazon
I love building in the Fractal Design North XL. Its spacious interior makes it a breeze to work with, and it has a plethora of options for mounting and cable managing your components. I also really like the wood aesthetic. I have specifically chosen the mesh-side-panel version (tempered glass is also an option) in order to enhance cooling performance. The Mesh version offers side-mounted fan brackets for flexible airflow patterns which keep the high-powered gear inside cool while reducing noise.
Power Supply: Corsair RM1200x Shift Fully Modular 80+ Gold PSU – $209.79 via Amazon
1200W is overkill even for a system with the immensely hungry RTX 4090 – I estimate that this system will only consume about 800W of power at full load. However, running a high-power power supply at low load levels results in more efficient, cooler, and quiet operation – not to mention that I prefer some headroom for future expansion and Corsair’s ten-year warranty. This PSU also has one very unique feature – side-mounted (“shift”) connectors. This makes the process of building with it significantly easier, but you do need a deep case such as the Fractal North XL to accommodate the unique form factor.

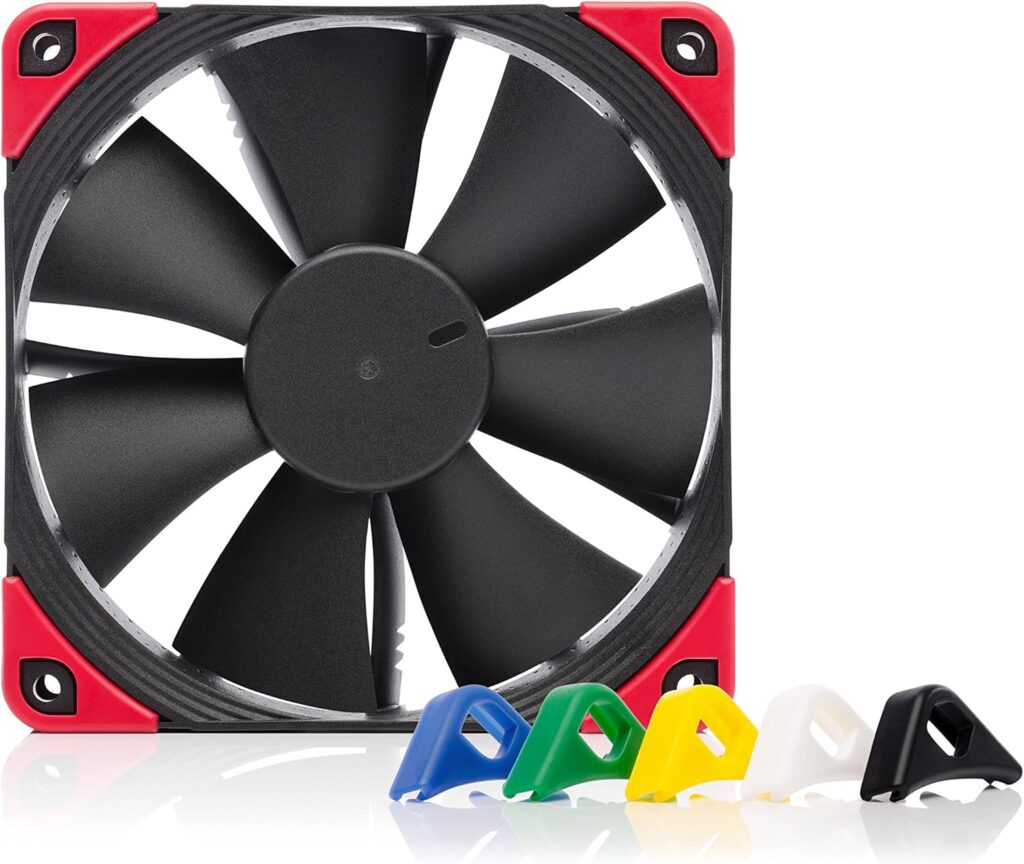
Additional Accessories: Noctua NF-F12 Chromax Fans (3x) – 24.75 ea. via Amazon
Noctua’s fans are quiet, effective, and in black, match the aesthetic of this build well. There are a number of fan options should you not like Noctua’s, but you will need additional fans since the Fractal North XL only comes with three included front fans. You will need at least a rear exhaust, and the North XL can accommodate two side-mounted fans as well. I mounted two on the side as exhaust in order to directly exhaust hot air from the graphics card. This resulted in lower temperatures than using them as an intake. Using more fans and running them at lower speeds can result in great temperatures at lower noise than fewer fans at higher speeds.
Conclusion: Get Building!
Building a PC for flight sim can be intimidating, but I hope that this guide has provided a great foundation for getting set up with the best PC within your budget. If you have questions or want to show off your sim rig, join our Discord and get discussing! We would love your input and to see your sim setups.
Feel free to join our Discord server to share your feedback on the article, screenshots from your flights or just chat with the rest of the team and the community. Click here to join the server.

