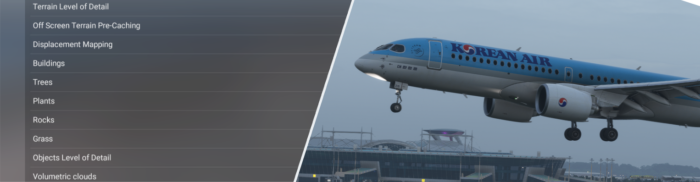
Anyone having spent more than a few hours in Microsoft Flight Simulator will know that getting the sim to run “just right” is somewhat of an undertaking that has led many an experienced simmer into depths of obsession if not outright despair.
Flight simulators are, by nature, particularly resource hungry applications: entirely flight-sim-dedicated computer builds aren’t at all unheard of. But with the amazing broader ecosystem that MSFS2024 has become, the challenge of managing one’s settings extends far beyond having a powerful PC and popping a slider to “High”.
This guide therefore does not aim to provide copy-and-paste settings. Even if we all ran the same system, every simmer has different needs, expectations, and preferences for their individual sim experience. What I hope instead, is to give our readers a starting point and a basic understanding of which settings affect what and to identify common issues from which you can start tweaking your sim to your needs, regardless of your system.
What’s good for the goose may not be good for the gander
…or the Fenix. Which is to say: what you fly, where you fly, and why you fly determines to some extent how your settings might look like. Do you mainly fly VFR/GA, or even bush flying? Or are you happiest in a cargo 777? Having highly detailed grass or fauna in the latter case will do absolutely nothing to improve your sim experience while a densely populated ramp environment will do the same for your Piper Cub. One configuration might work well in one scenario but struggle in another. Finding the “right” settings is about finding a balance between performance and visual fidelity and knowing what you want from the sim.
Most of us (including this writer) do not have access to a 10k sim rig and yet you will find countless posts on various platforms along the lines of “I have a 5090 but I am getting stutters.” You may have the most high-end system, but your performance might still suffer under a less-than-well-optimized aircraft.
All of this is to say: finding the right settings on MSFS 2024 is not a matter of finding a “max setting” on your system, but one of tweaking settings smartly and making compromises to boost performance where you need it.
What is good performance?
Understanding the trade-off
Microsoft Flight Simulator is designed to and absolutely capable of delivering a visually rich and gorgeous sim experience, but rendering complex environments requires considerable computing resources. As established, making global changes to your graphics settings is unlikely to lead to satisfactory results, whether you are reducing or increasing your settings. In order to answer the question where to start, we first need to establish what good performance actually means.
Good Performance or: How I Learned to Stop Worrying and Love 30fps
When we’re talking about good performance, we are generally looking for a stable fps range while aiming to achieve the highest possible visual fidelity with that setting. The most reliable way to achieve this is to cap your FPS. Now, this may feel absolutely counterintuitive, even painful, but especially if you are using frame gen, this will save you a lot of headache and set a stable baseline for your sim experience.
Capping your FPS to the highest consistent framerate frees up your CPU and tells it that it doesn’t need to chase peak frames every millisecond, evening out the workload across main thread and GPU. 30fps is a great starting point for a broad range of systems. This may seem low, but you might be surprised how much smoother your sim will feel with this simple change. 30fps consistently will feel a lot smoother than jumping from an average 40 to 60 and lows of 35fps. Our brains react more to changes in pace than actual framerate. Once you have gone through the steps laid out in this guide you can go back and raise this number, but it is better to start low for consistent results.
A Note on Visual Fidelity
Visual fidelity is an important part of the flight simulator experience that greatly adds to immersion. It is therefore important to carefully choose which settings to prioritize. However, certain settings carry a greater visual impact relative to their performance cost, so you may want to add these to your baseline and work down from a higher setting. For example, volumetric clouds is a setting that many simmers will not compromise and keep at high or even ultra while their overall settings are much lower.
Before You Start Moving Sliders: Understand Your Hardware Bottlenecks
Before you dive into your settings moving individual sliders it is important to establish what is limiting your system. Go to General Settings -> Advanced Options -> Developer Mode ON. This enables the devmode bar.
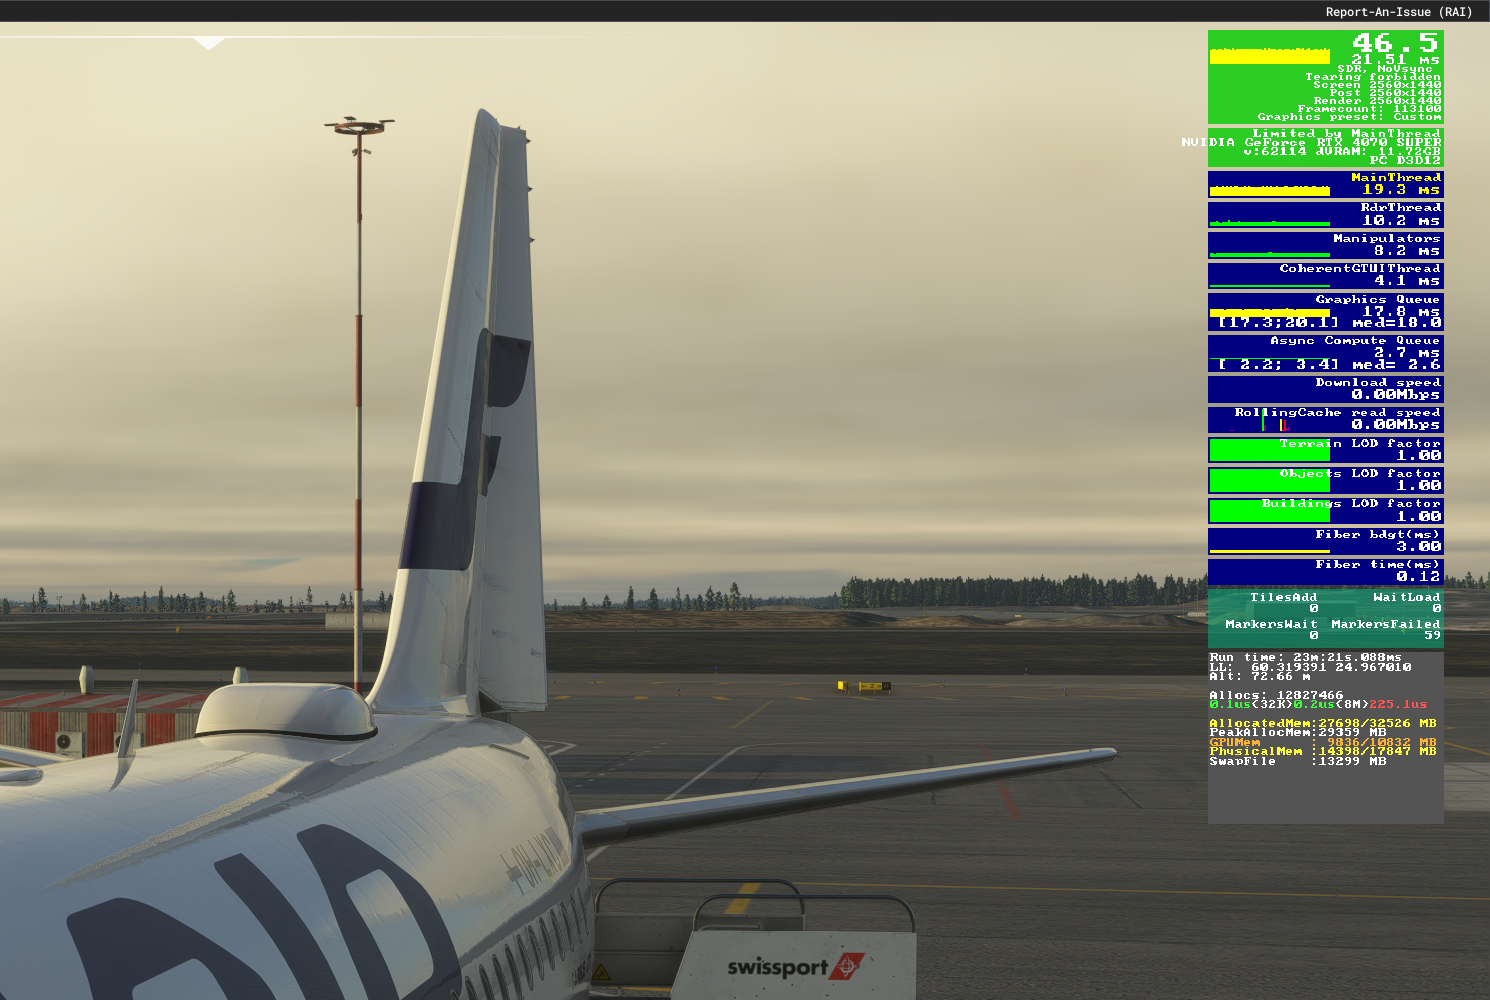
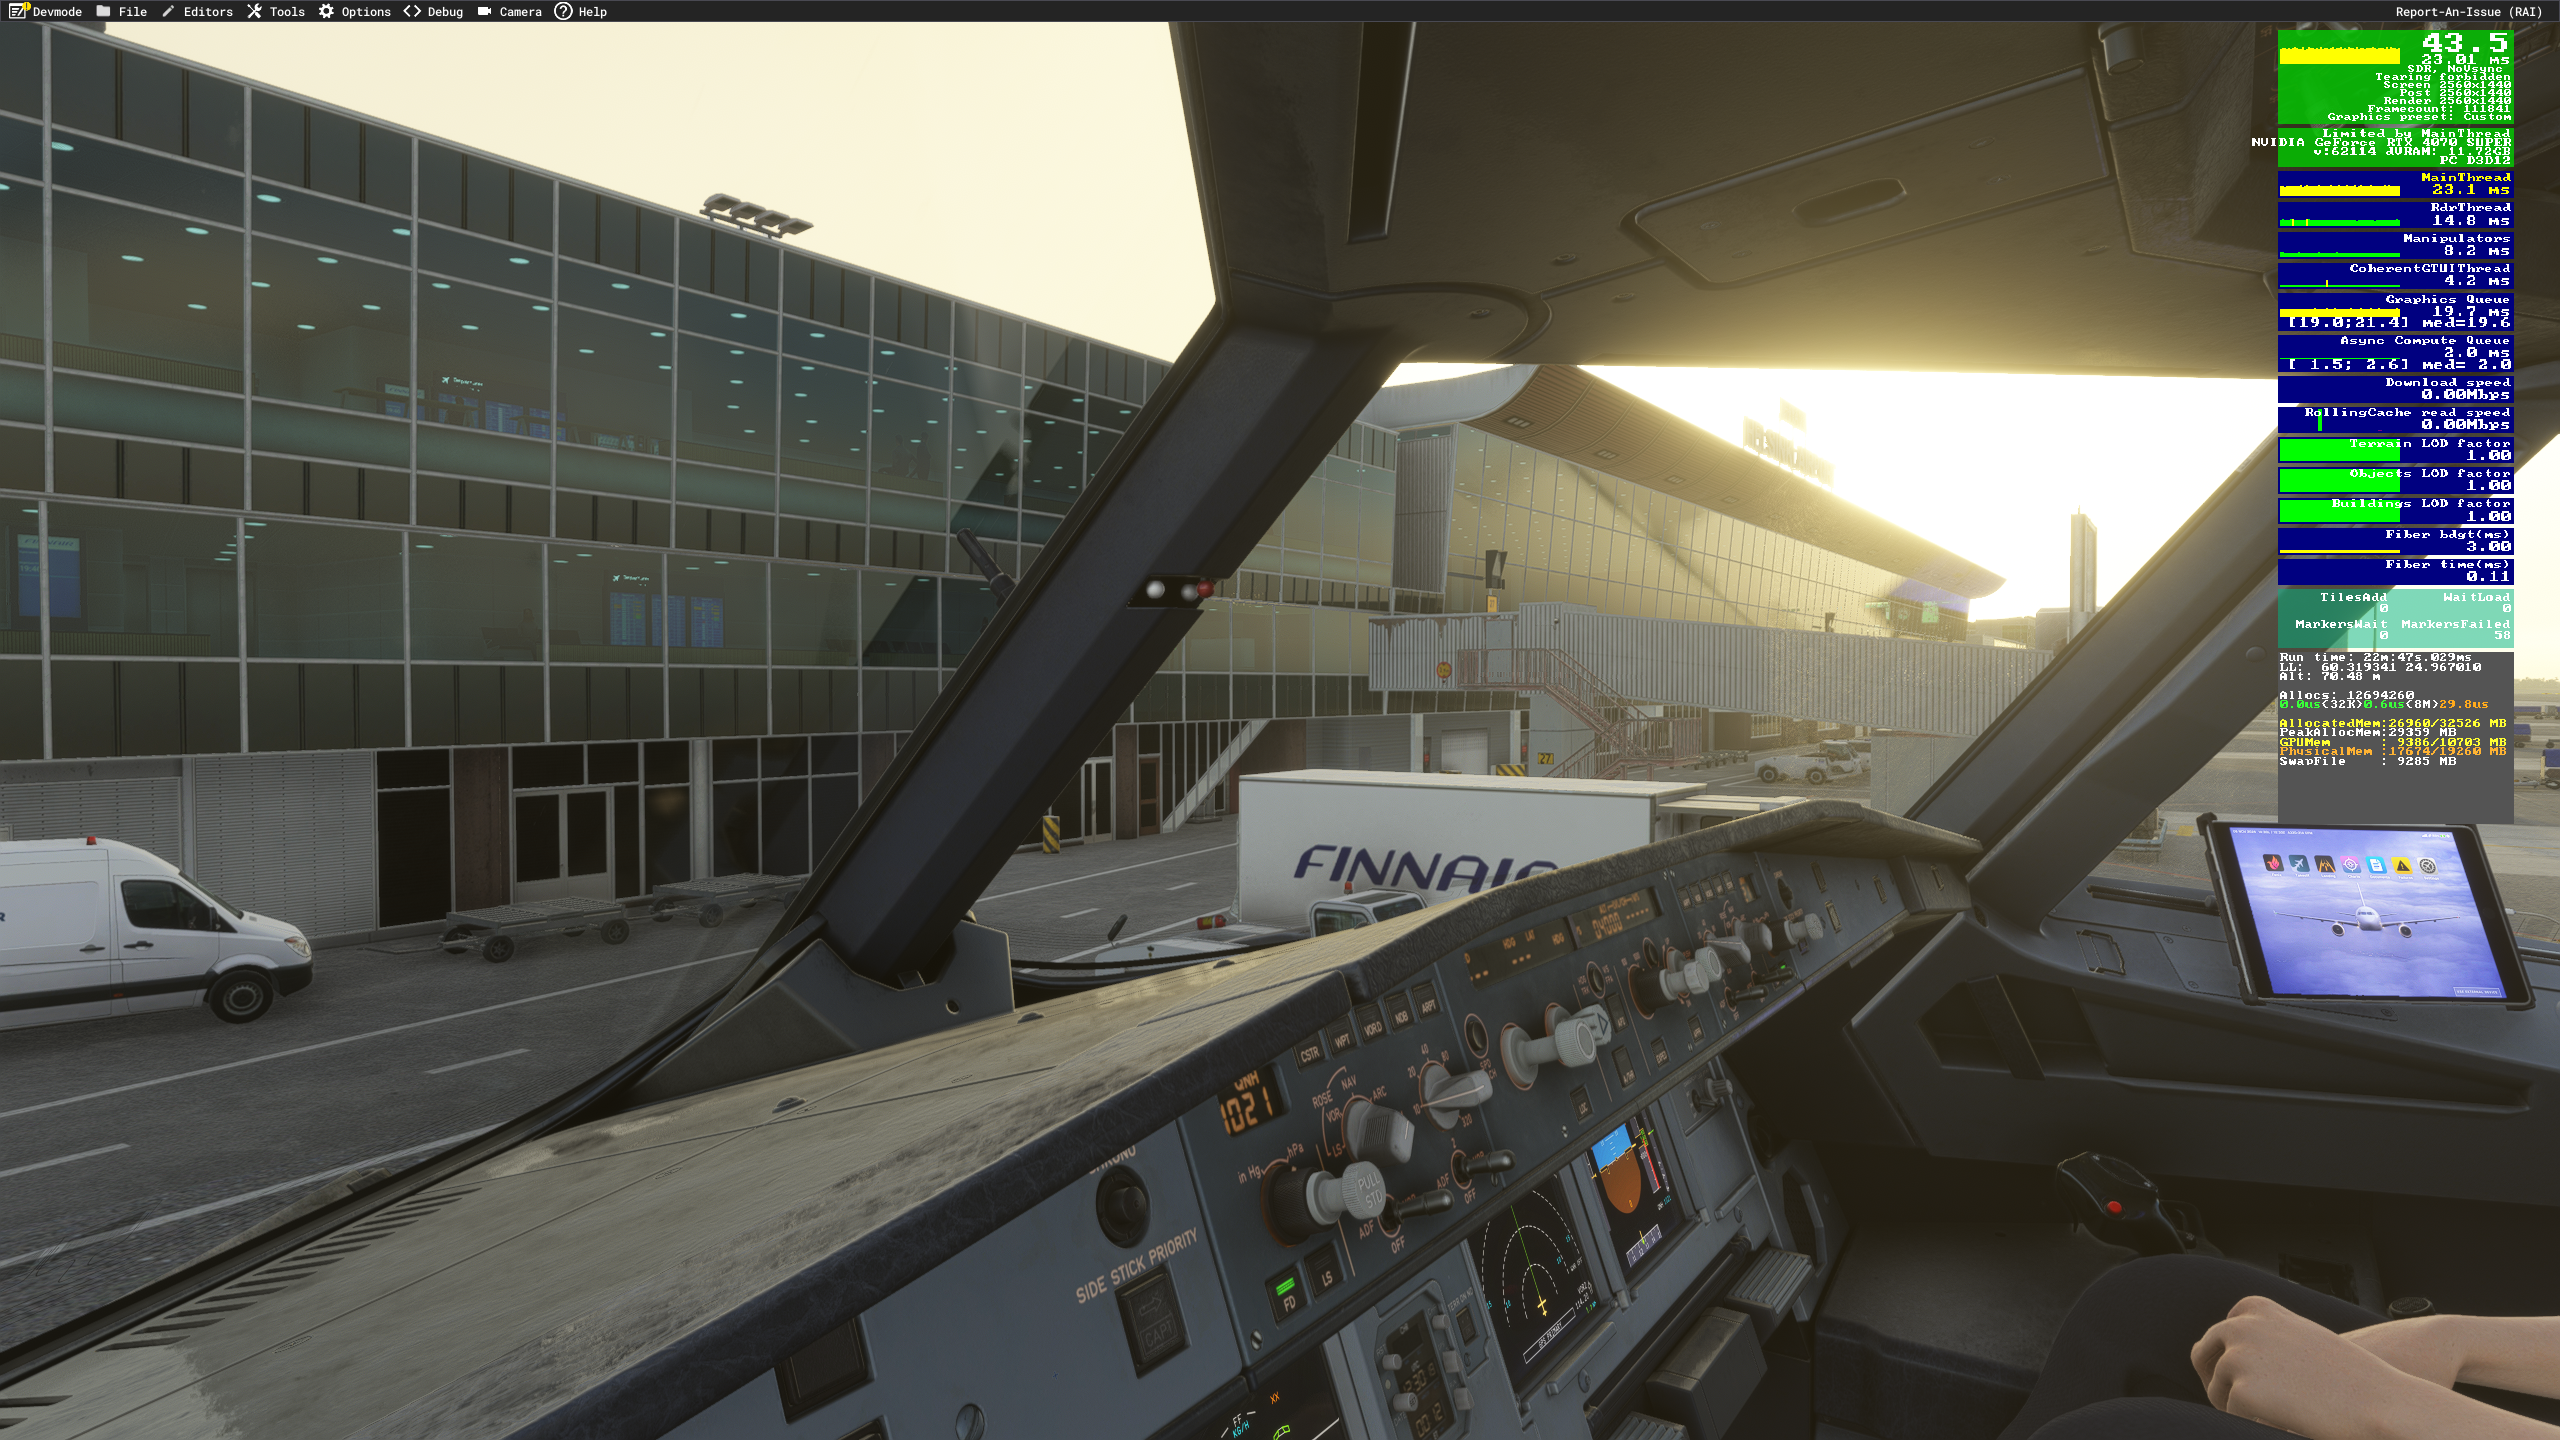
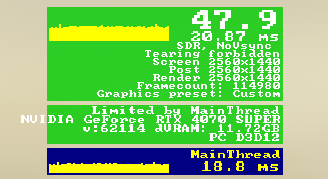
Now load into a flight. Preferably, choose a stable aircraft you frequently use and load into a scenery you commonly fly from. In my case, this is the Fenix A320 and my home airport EFHK. This establishes a realistic baseline. On the developer bar, choose Debug -> Rendering, and click “Display FPS”. This opens an overlay which shows your current FPS, and importantly, which hardware component limits it.
Below the FPS counter box, a smaller box might read “Limited by Main Thread” (your CPU) or “Limited by GPU” or “Limited by Graphics Queue”. A GPU bottleneck means that your GPU cannot render fast enough. You solve this by lowering GPU-heavy settings, e.g. resolution, shadows, or clouds. If your sim is CPU limited, your processor can’t keep up while your GPU is underutilized. Lower settings that mainly affect CPU, e.g. Terrain-LOD, Object-LOD, etc. Once you have established this, you can making educated decisions and begin tweaking your settings.
Graphics Settings – Where to Make Adjustments
The following settings will be the ones with the greatest impact on performance, and where I recommend you begin.
To begin with, set VSync to on and the refresh rate to half monitor refresh rate. Then turn VSync off again.
Terrain Level of Detail (TLOD)
- Controls the level of detail and rendering distance of terrain and associated scenery.
- Considerable CPU and GPU impact: if you are CPU-limited, lower this setting
- Recommended setting: 100-150. Start low and work yourself up to where you’re happy with frames and scenery.
Object Level of Detail (OLOD)
- Determines rendering distance and level of detail of objects in the simulator, i.e. buildings, vehicles, aircraft, and other environmental objects
- CPU, GPU, and RAM impact on higher settings: especially around busier airports, OLOD can have a notable impact on performance.
- Recommended setting: 100-150. Start low and tweak once you’ve established your performance baseline.
- Note: It may be worth experimenting with OLOD. Some users report better performance with higher OLOD. With higher OLOD, the sim loads in more of the airport/objects around you, which might lead to reduced stuttering, especially during approach. Nobody wants an FPS drop over the numbers because the sim is loading hangars on the other side of the airport!
Volumetric Clouds
- Controls the quality and resolution of cloud rendering
- Considerable GPU impact: especially with complex weather conditions.
- Recommended setting: High or Ultra. Despite a relatively high impact, this is a setting I don’t compromise on. It is flight simulator, after all.
Texture Resolution
- Determines the resolution of textures displayed. A higher setting provides sharper and more detailed surfaces, especially on aircraft and scenery.
- Primarily affects VRAM consumption rather than GPU demands
- Recommended setting: VRAM dependent: I am happy on high with my 4070 super, although some recommend medium below 16gb vram. If you are running an older GPU, this might be a performance killer.
Raytraced Shadows and Shadow Maps
- Raytraced shadows significantly improve shadow quality, especially in the cockpit and on the ground around the aircraft. No perceivable external difference in flight.
- Noticeable GPU impact of around 10% lower fps
- Recommended setting: Raytraced shadows On. This is up to you. Personally, I find this is one of those things that make the sim look real, but with certain, more resource-hungry aircraft I have noticed it can make or break my framerate. Tweak to your needs and use case.
- Shadow maps should have a negligeable impact on performance. Start with 1024 and terrain shadows 512.
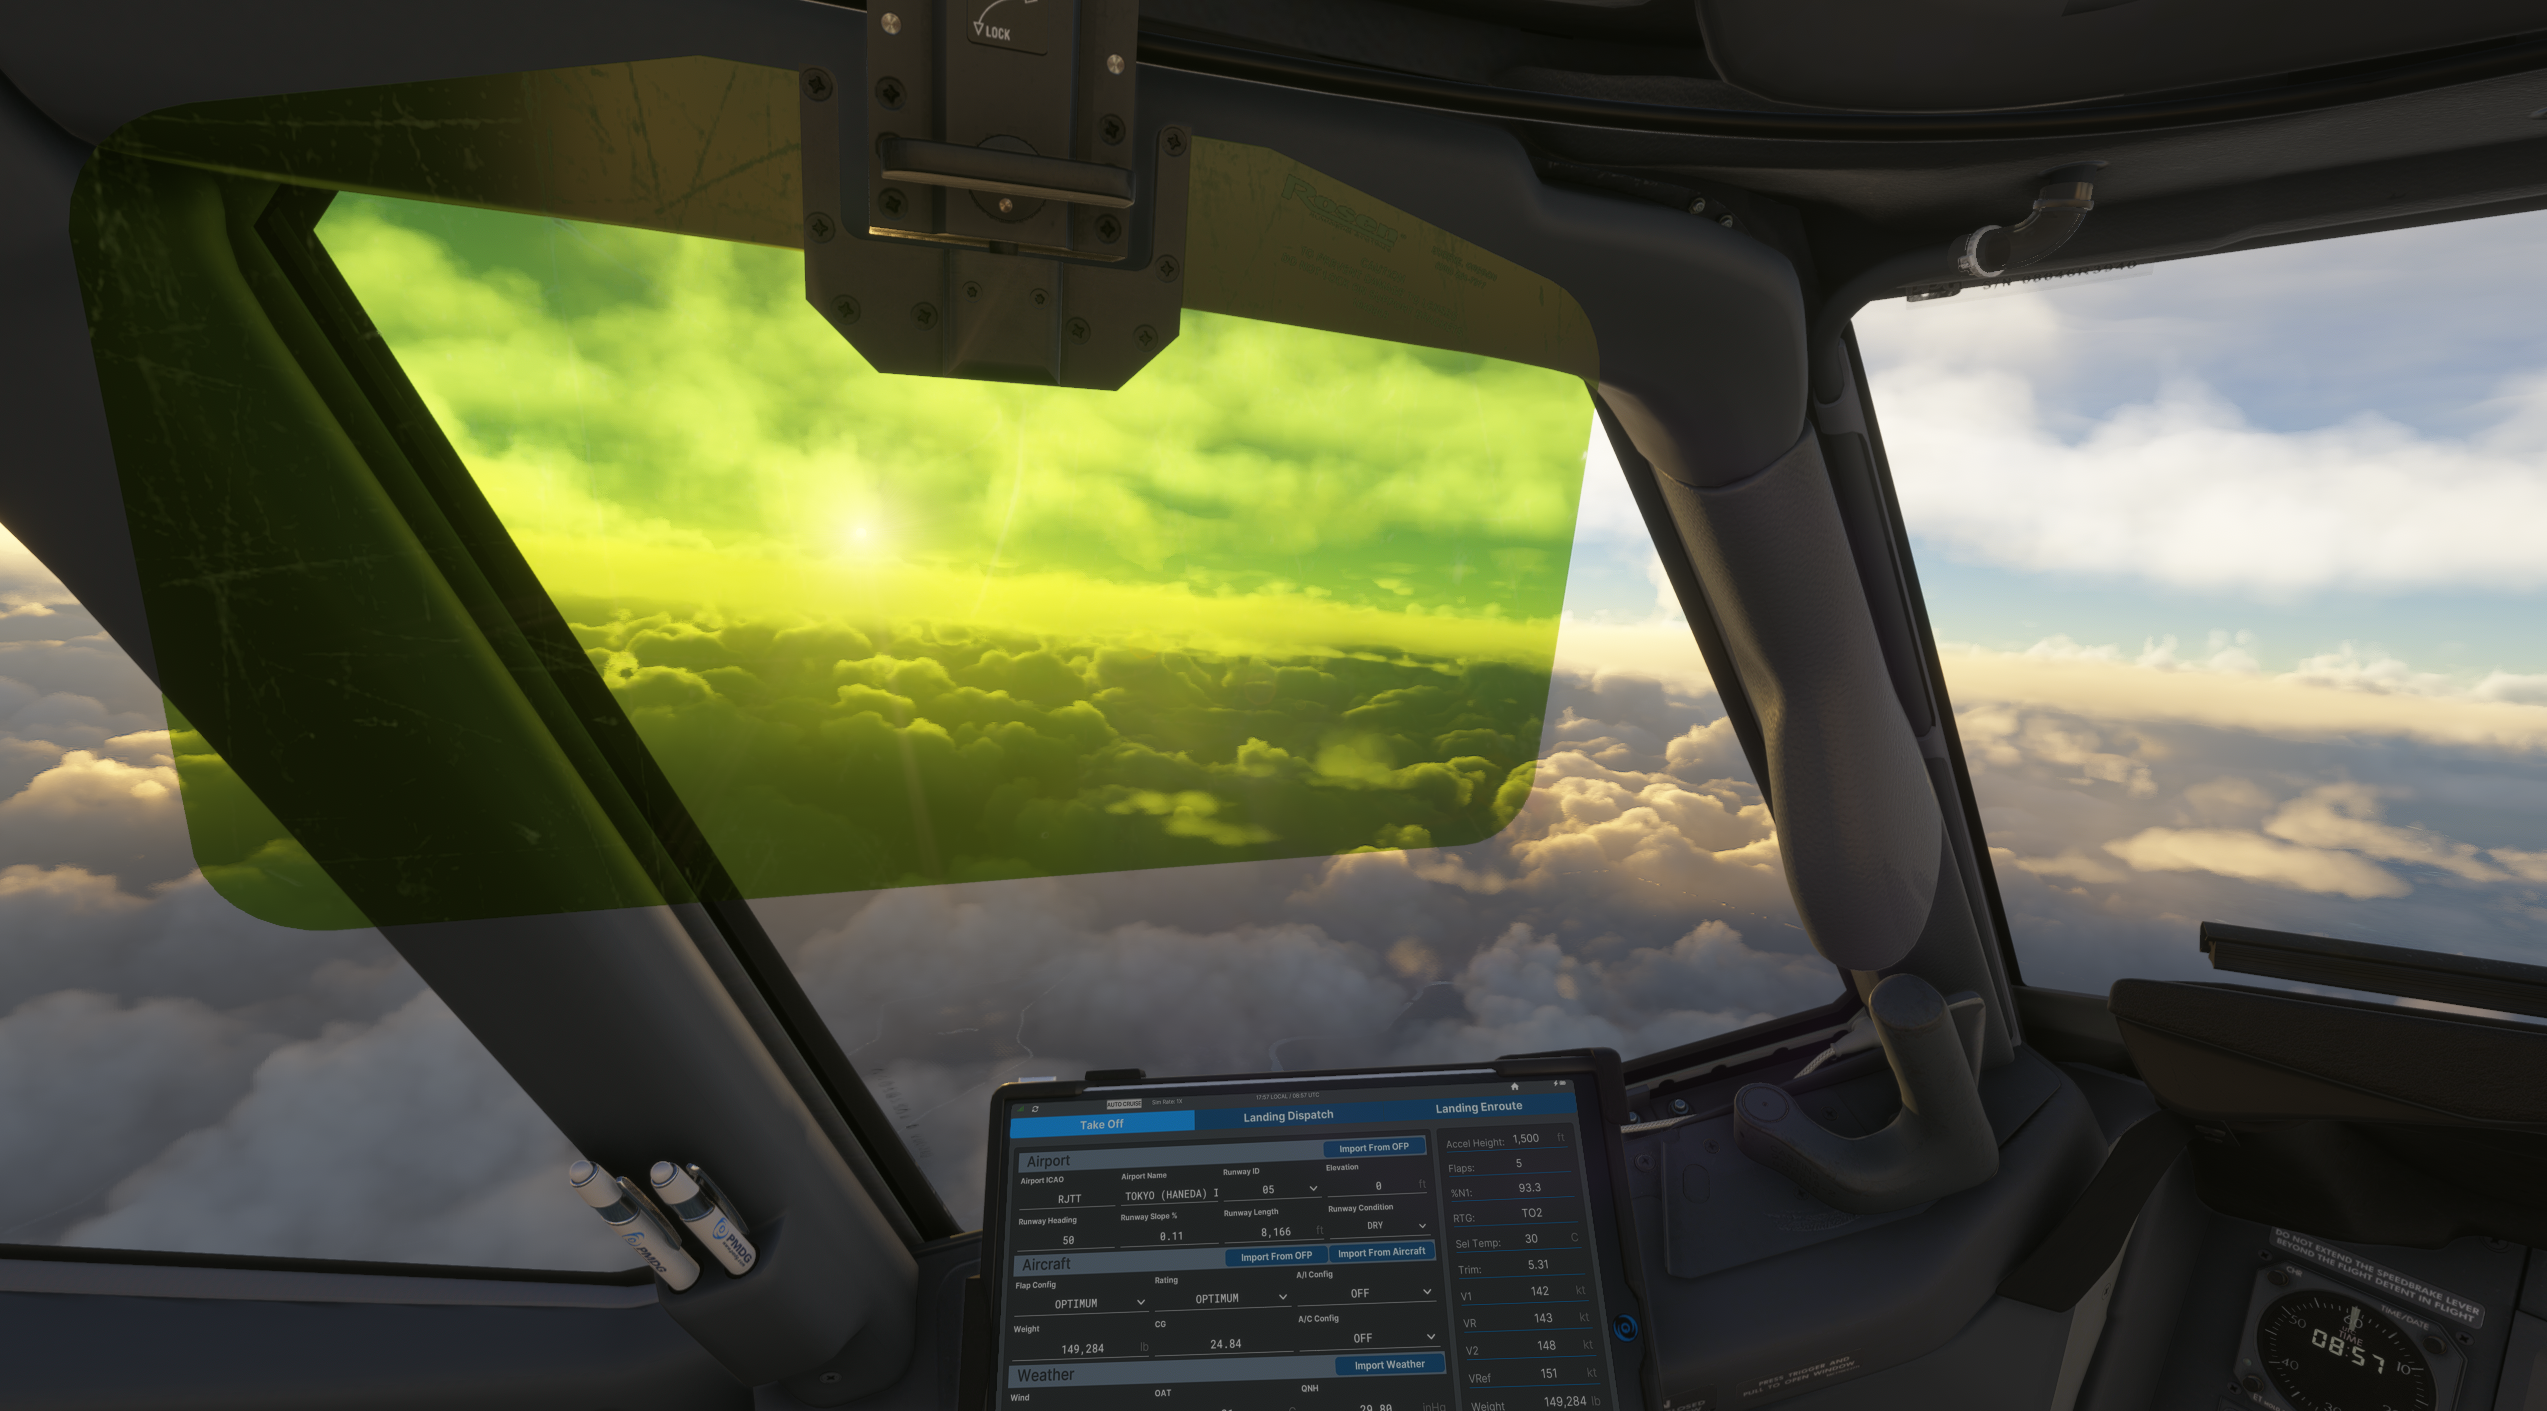
Ambient Occlusion
- Adds shading where objects meet or light is naturally obstructed for greater visual depth
- Can increase GPU workload depending on hardware
- Recommended setting: high
AI-Traffic and Ground Services
- Traffic can have significant CPU impact. Especially at busier airport, playing around with traffic and ground service settings may bring some fps gains.
- Character settings have negligeable impact on performance.
Buildings, Trees, Rocks, Plants, and Grass
- Noticeable GPU and CPU impact: Especially trees and buildings can really slow down your performance.
- Recommended setting: High / adjust based on preference. Here I highly recommend to choose a setting that reflects what you want from the sim. If you mainly fly airliners with complex systems modeling, grass might not be the highest priority when you’re spending 90% of your time above the clouds.
Road/Sea Traffic and Fauna
- Affects CPU performance
- Recommended settings: Medium to High. If you experience a lot of stutters when you are getting closer to the ground, you might want to investigate these settings. If you don’t care about cows and camels, you can turn Fauna off alltogether.
Render Scaling
- Determines the internal resolution at which the simulator renders its images.
- Values above 100 increase GPU workload significantly, values below can improve GPU performance at the cost of sharpness
- Recommended setting: 100, unless you have a specific reason to tweak this.
Glass Cockpit Refresh Rate
- Recommended setting: Medium. Can potentially alleviate workload associated with complex avionics, but can vary highly between aircraft and system. Change this setting once you have your baseline set.
Anti-Aliasing, Upscaling, and Frame Generation
Depending on your graphics card, you have the option of using TAA, and either DLSS for Nvidia, and FSR for AMD GPUs. TAA is the native anti-aliasing and will generally deliver stable results. However, with the advent of frame-gen and upscaling, users are able to achieve amazing framerates north of 100fps even on more modest setups.
However, it is a good idea to see these features as additional tools that can help you achieve a smooth experience, not as a substitute for a well optimized system. Therefore, I recommend delving into these settings after having set a stable baseline.
Upscaling uses AI-based reconstruction to produce a higher-resolution image from a lower-resolution render.
Nvidia’s DLSS Super Resolution and AMD’s FSR both offer different presets for quality and performance. Upscaling can improve performance in GPU-limited scenarios, but not with a CPU-bottleneck.
Nvidia DLSS and FSR Frame generation use AI and motion information to generate intermediate frames. This can raise your framerate by up to 40%. However, with these generated frames comes latency and occasional odd artifacts (move the camera around quickly in external view and look at spinning engines). More notably, DLSS introduces a significant blurriness to glass cockpit instruments. For this reason, many simmers who mainly fly airliners opt to stick with TAA.
NVIDIA App and Windows Settings
If you are using an Nvidia GPU, go into the Nvidia App and change the following settings as such:
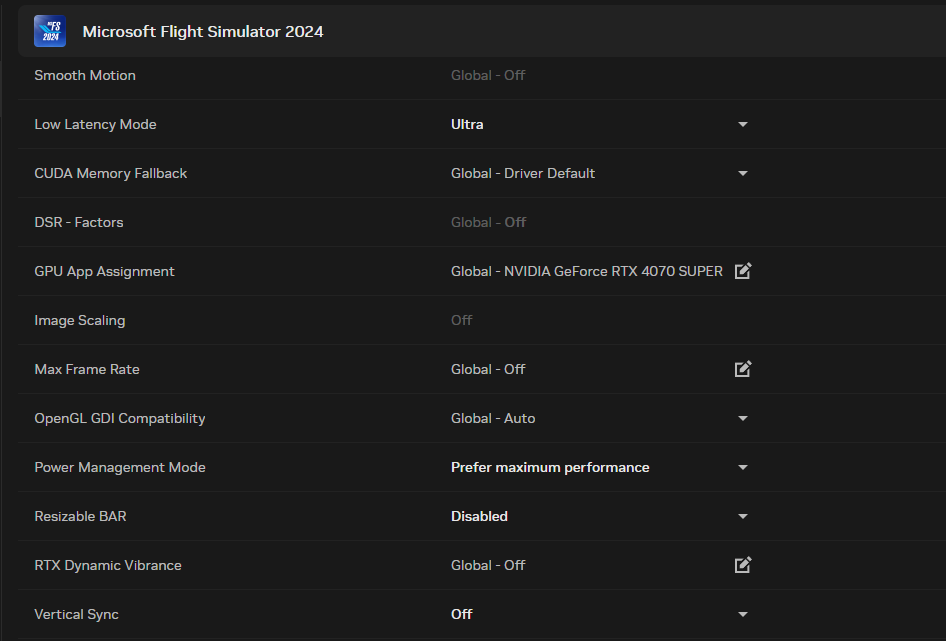
Finally, set your windows power settings to High Performance and Game Mode on.
Remember to keep your drivers up-to-date and regularly empty your Nvidia shader cache, especially after updates. Via the explorer go %LocalAppData%\NVIDIA\ and delete the contents of the folders DXCache and GLCache.
Finding Your Sweet Spot
If you have made it this far without going loopy, congratulations! Now it is time to get into the cockpit and start tweaking. As in the beginning, start with a baseline, your favorite plane, airport, and predictable conditions. Prioritize the biggest gains by focusing on settings that have major impact before making minor visual compromises. Change one setting at a time, and see how the performance responds. Take notes. Try other aircraft too. Repeat. Soon you will find a sweet spot that covers most scenarios, or, if this is your preference, one that maximizes performance for exactly the setup you have.
Finding the right settings in MSFS requires a holistic approach taking into account more than just your hardware. The reality is that most of us run at least several or more third party add-ons on top of the sim. GSX, atmosphere mods, Chaseplane, your ATC of choice, these can all impact performance in some way. Be patient and be ready to compromise a few frames here and there for a smoother flight.
And, finally, do not take this guide as the gospel truth: if something works for you, it works!
Feel free to join our Discord server to share your feedback on the article, screenshots from your flights or just chat with the rest of the team and the community. Click here to join the server.